Add a CI Provider
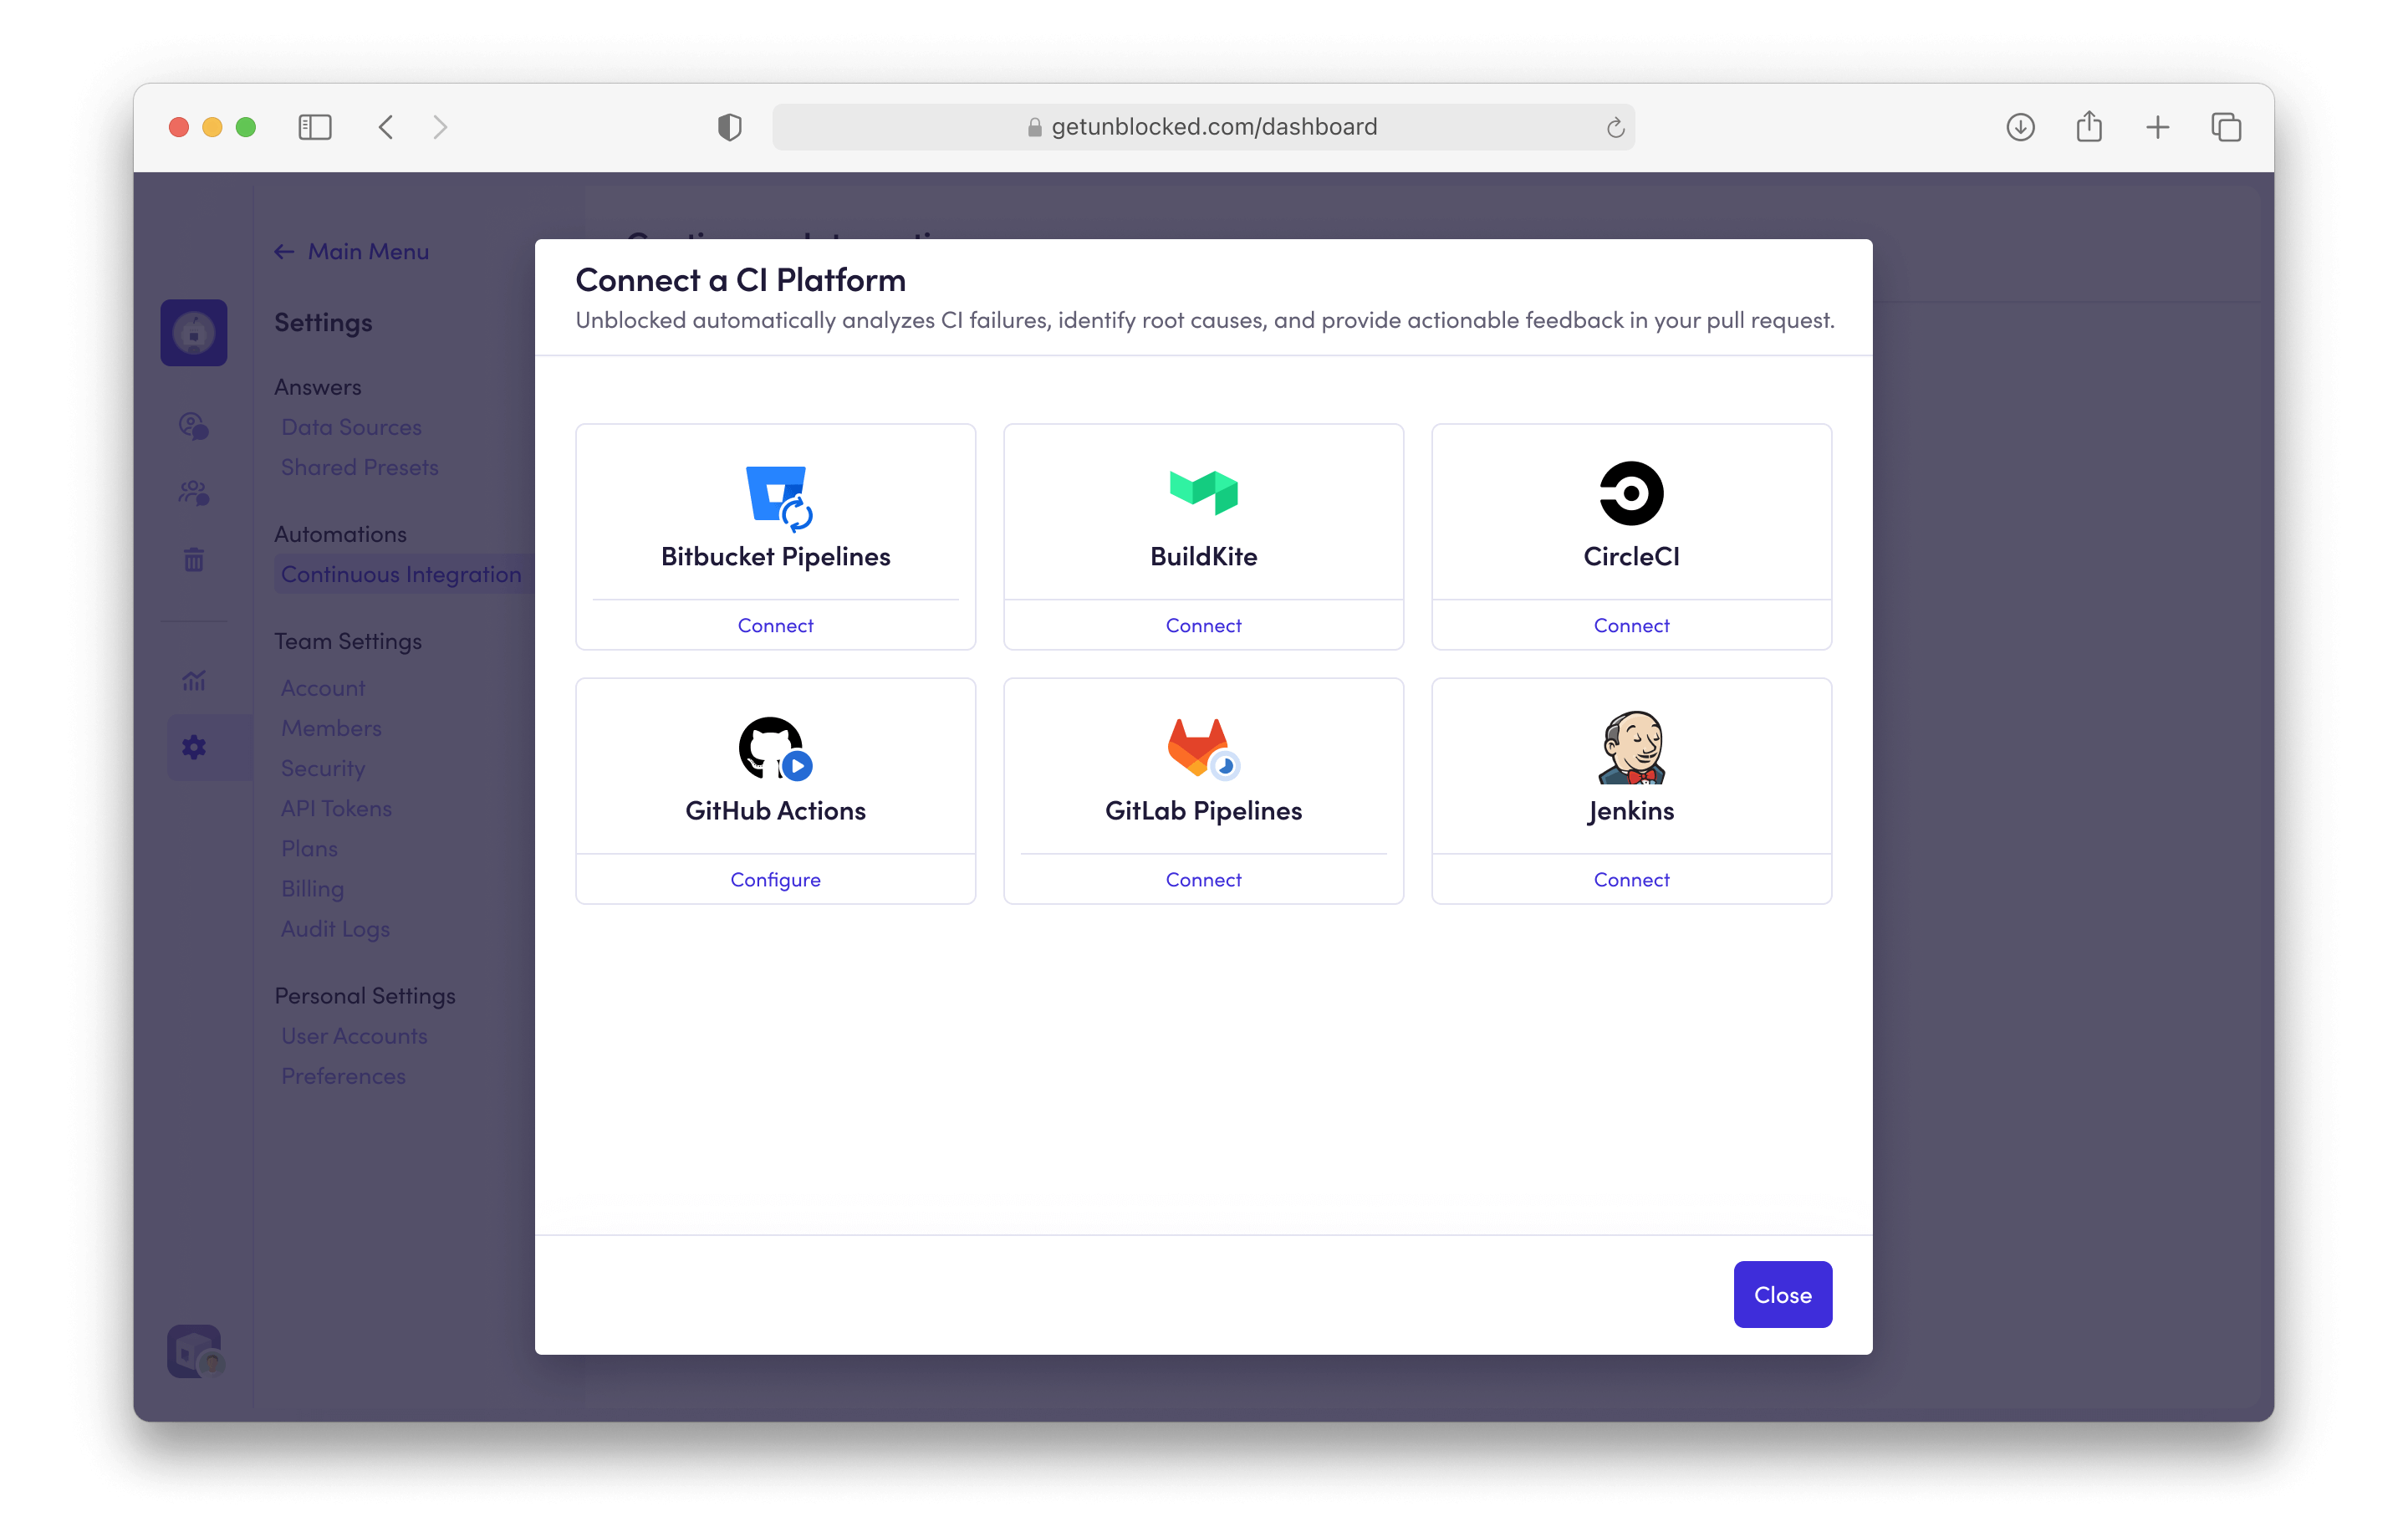
In the left sidebar, click on Settings, then Continuous Integration.
Then click on Add a CI platform.
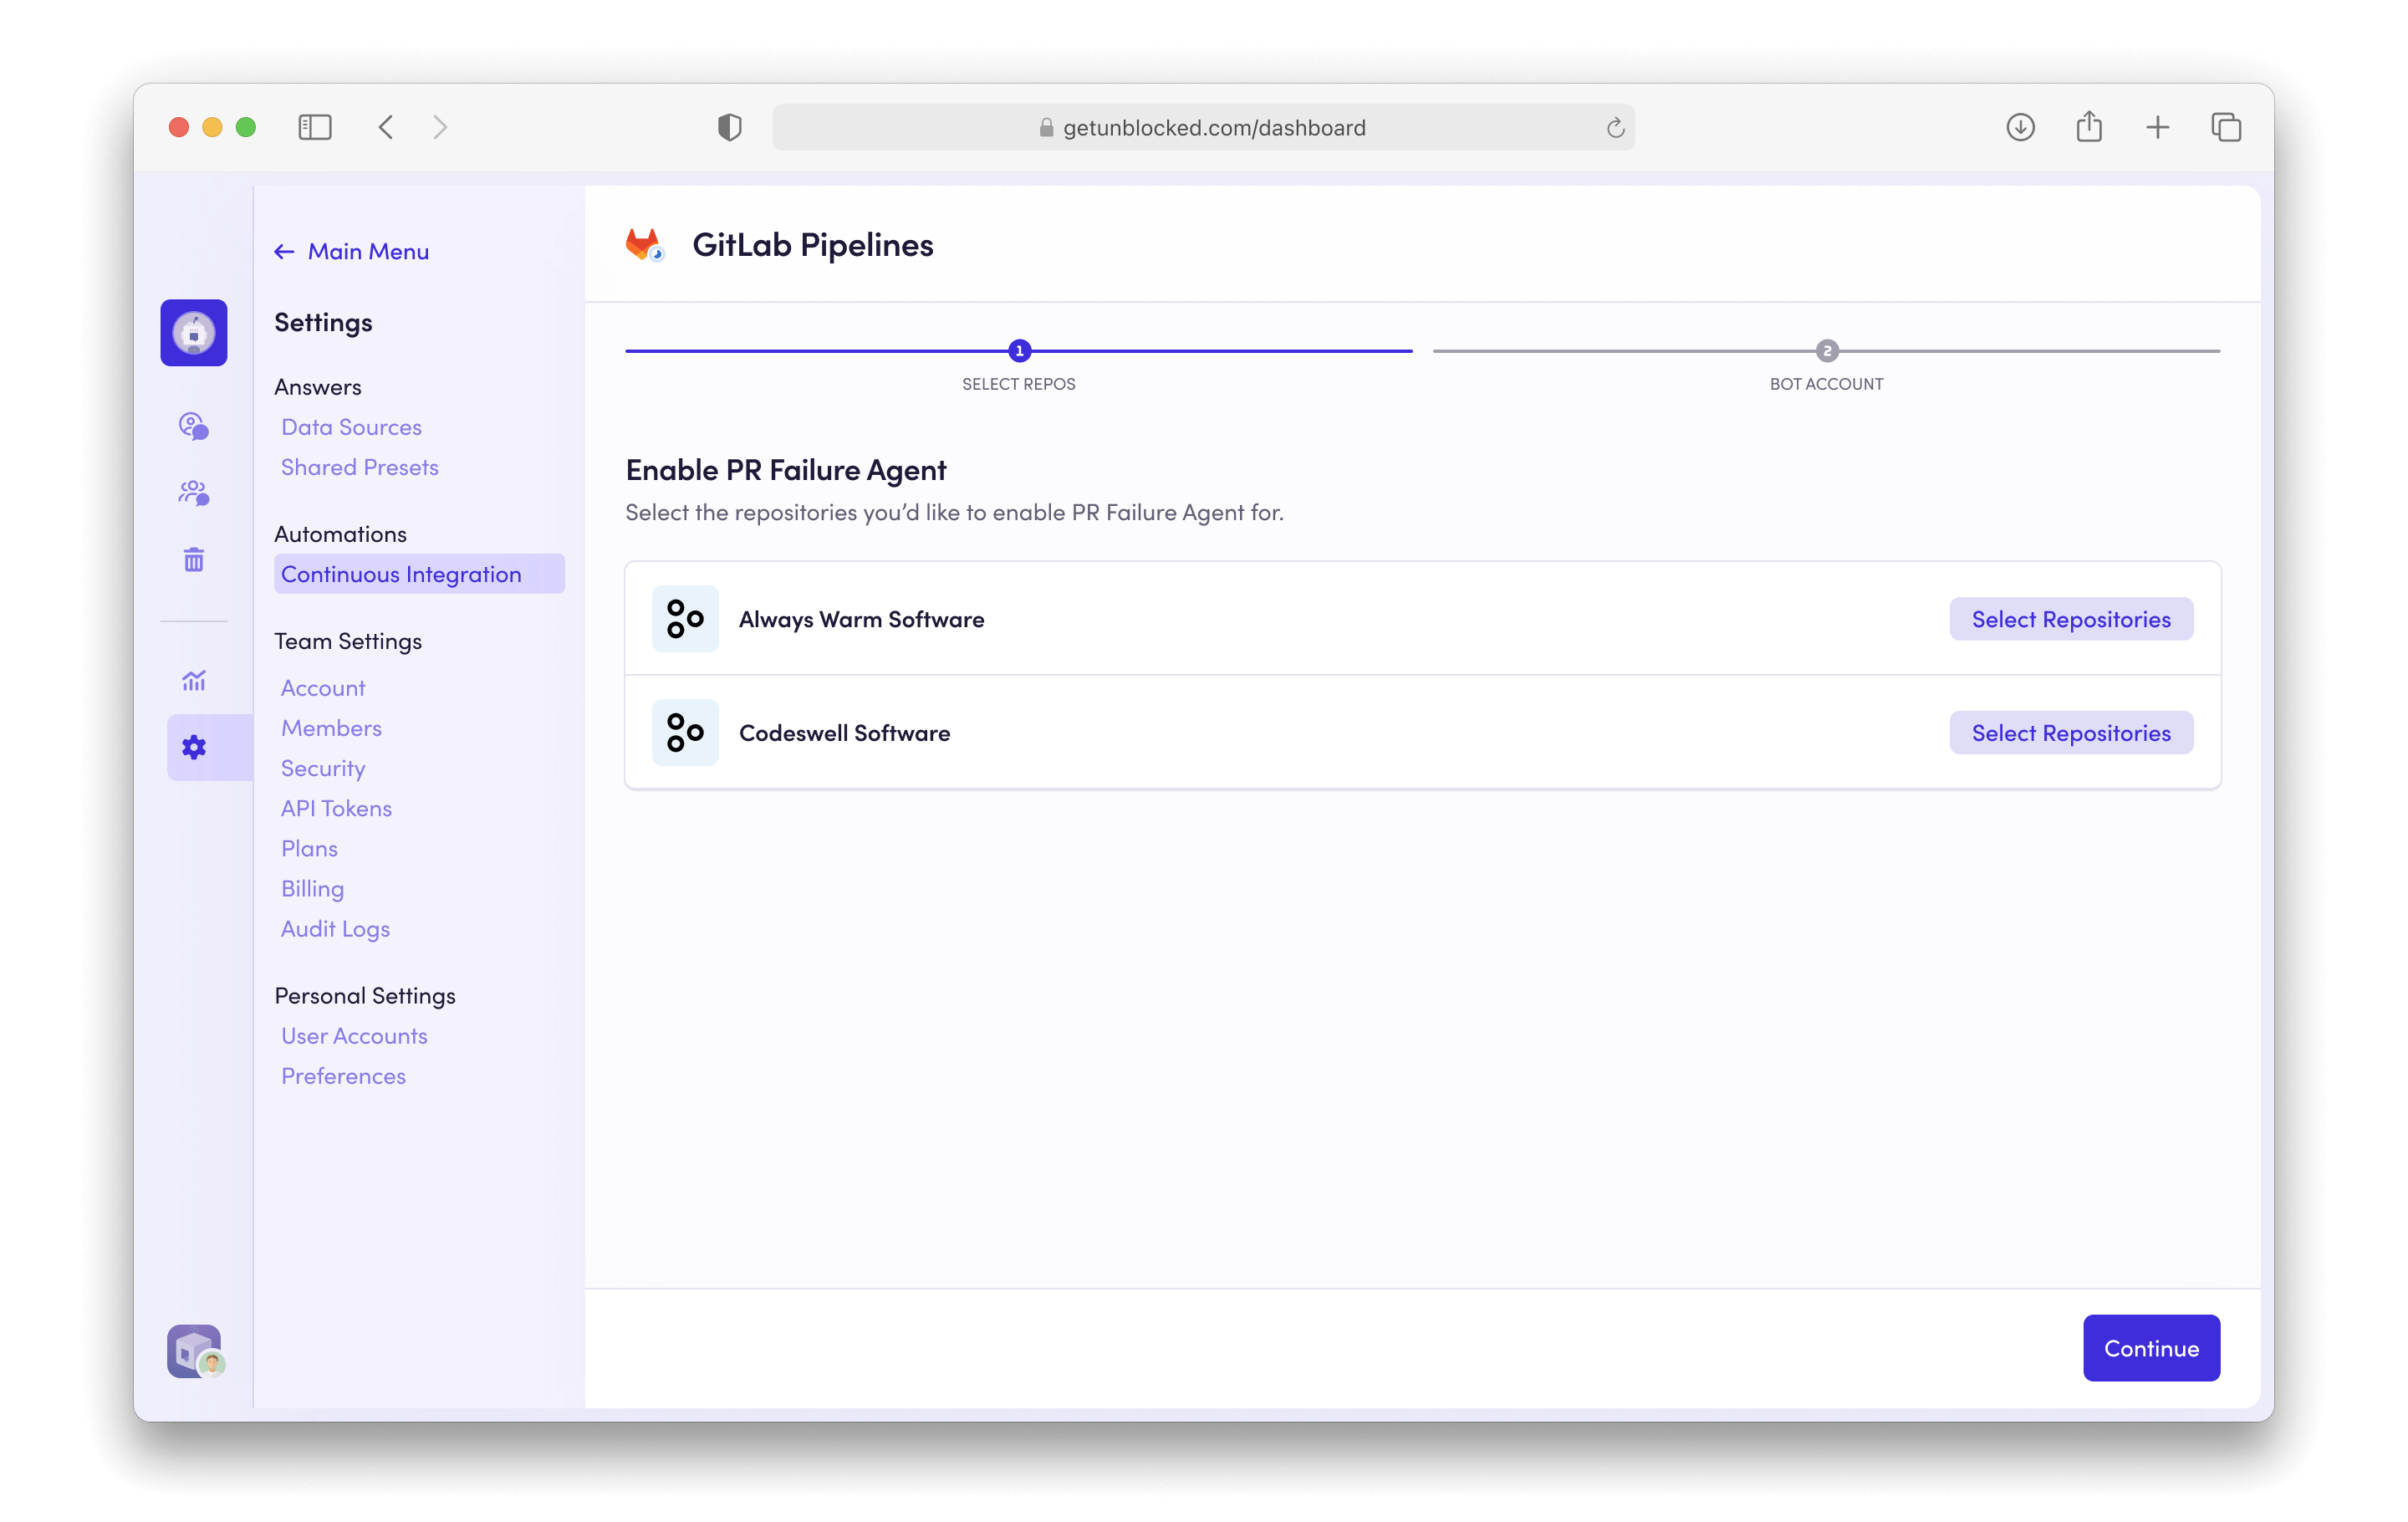
Enable CI Failure Agent
Click Select Repositories to choose the repositories
you want to enable the CI Failure Agent on. 

Create a Bot Account
CI analysis reports need to be posted on behalf of a GitLab user account. We recommend
creating an Unblocked bot account for this specific purpose.
Already have a bot account?
Some teams already have a bot account they use for posting automated messages. If you already have a bot account that you can repurpose for posting CI analysis reports, select it and skip to the next step.
- Create a new account in GitLab.
- Click on your avatar in the top left, and click Edit Profile.
- Change the following information:
- Name: Unblocked
- Avatar: download and use the Unblocked logo below

- Sign out of your GitLab bot account.
- Sign in as a Group admin for your GitLab Group and navigate to it.
- Click Manage in the left navigation and select Members.
- Click Invite members
- Set the role as “Planner” or above and click “Invite”.
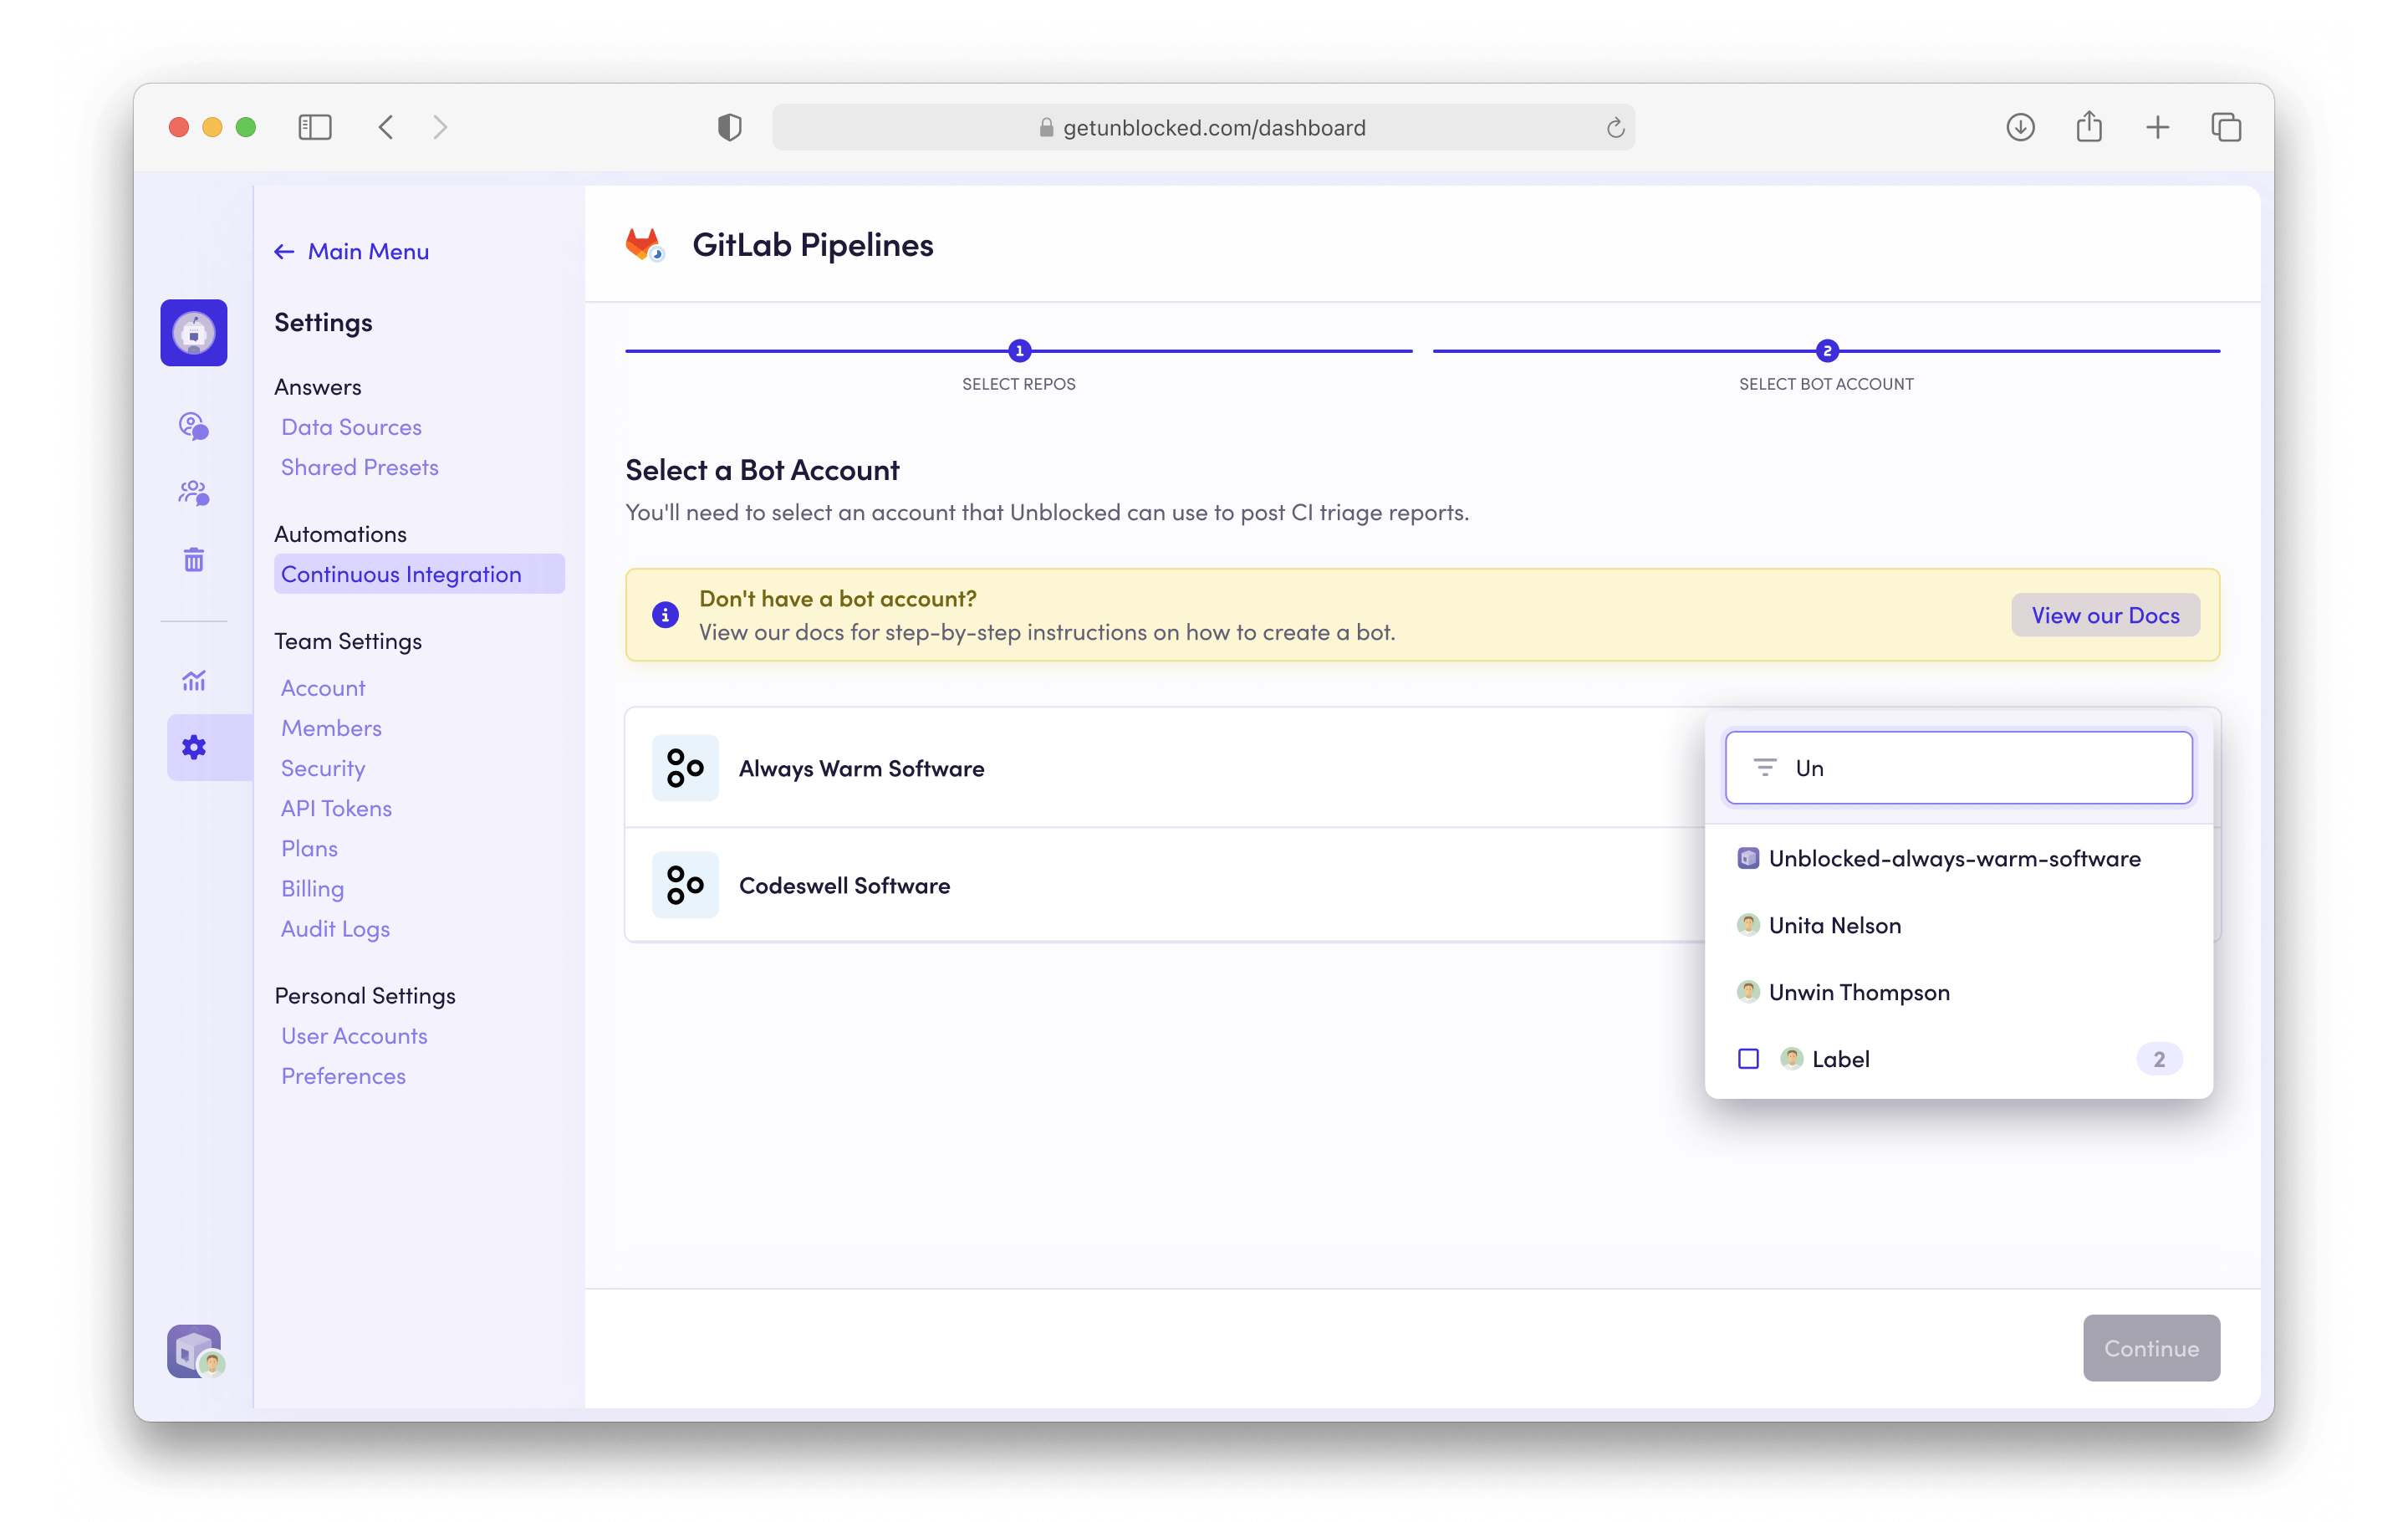
Select your Bot Account
Search for the Bot Account you just created and select it. You may be required
to authorize this account with Unblocked.


