Overview
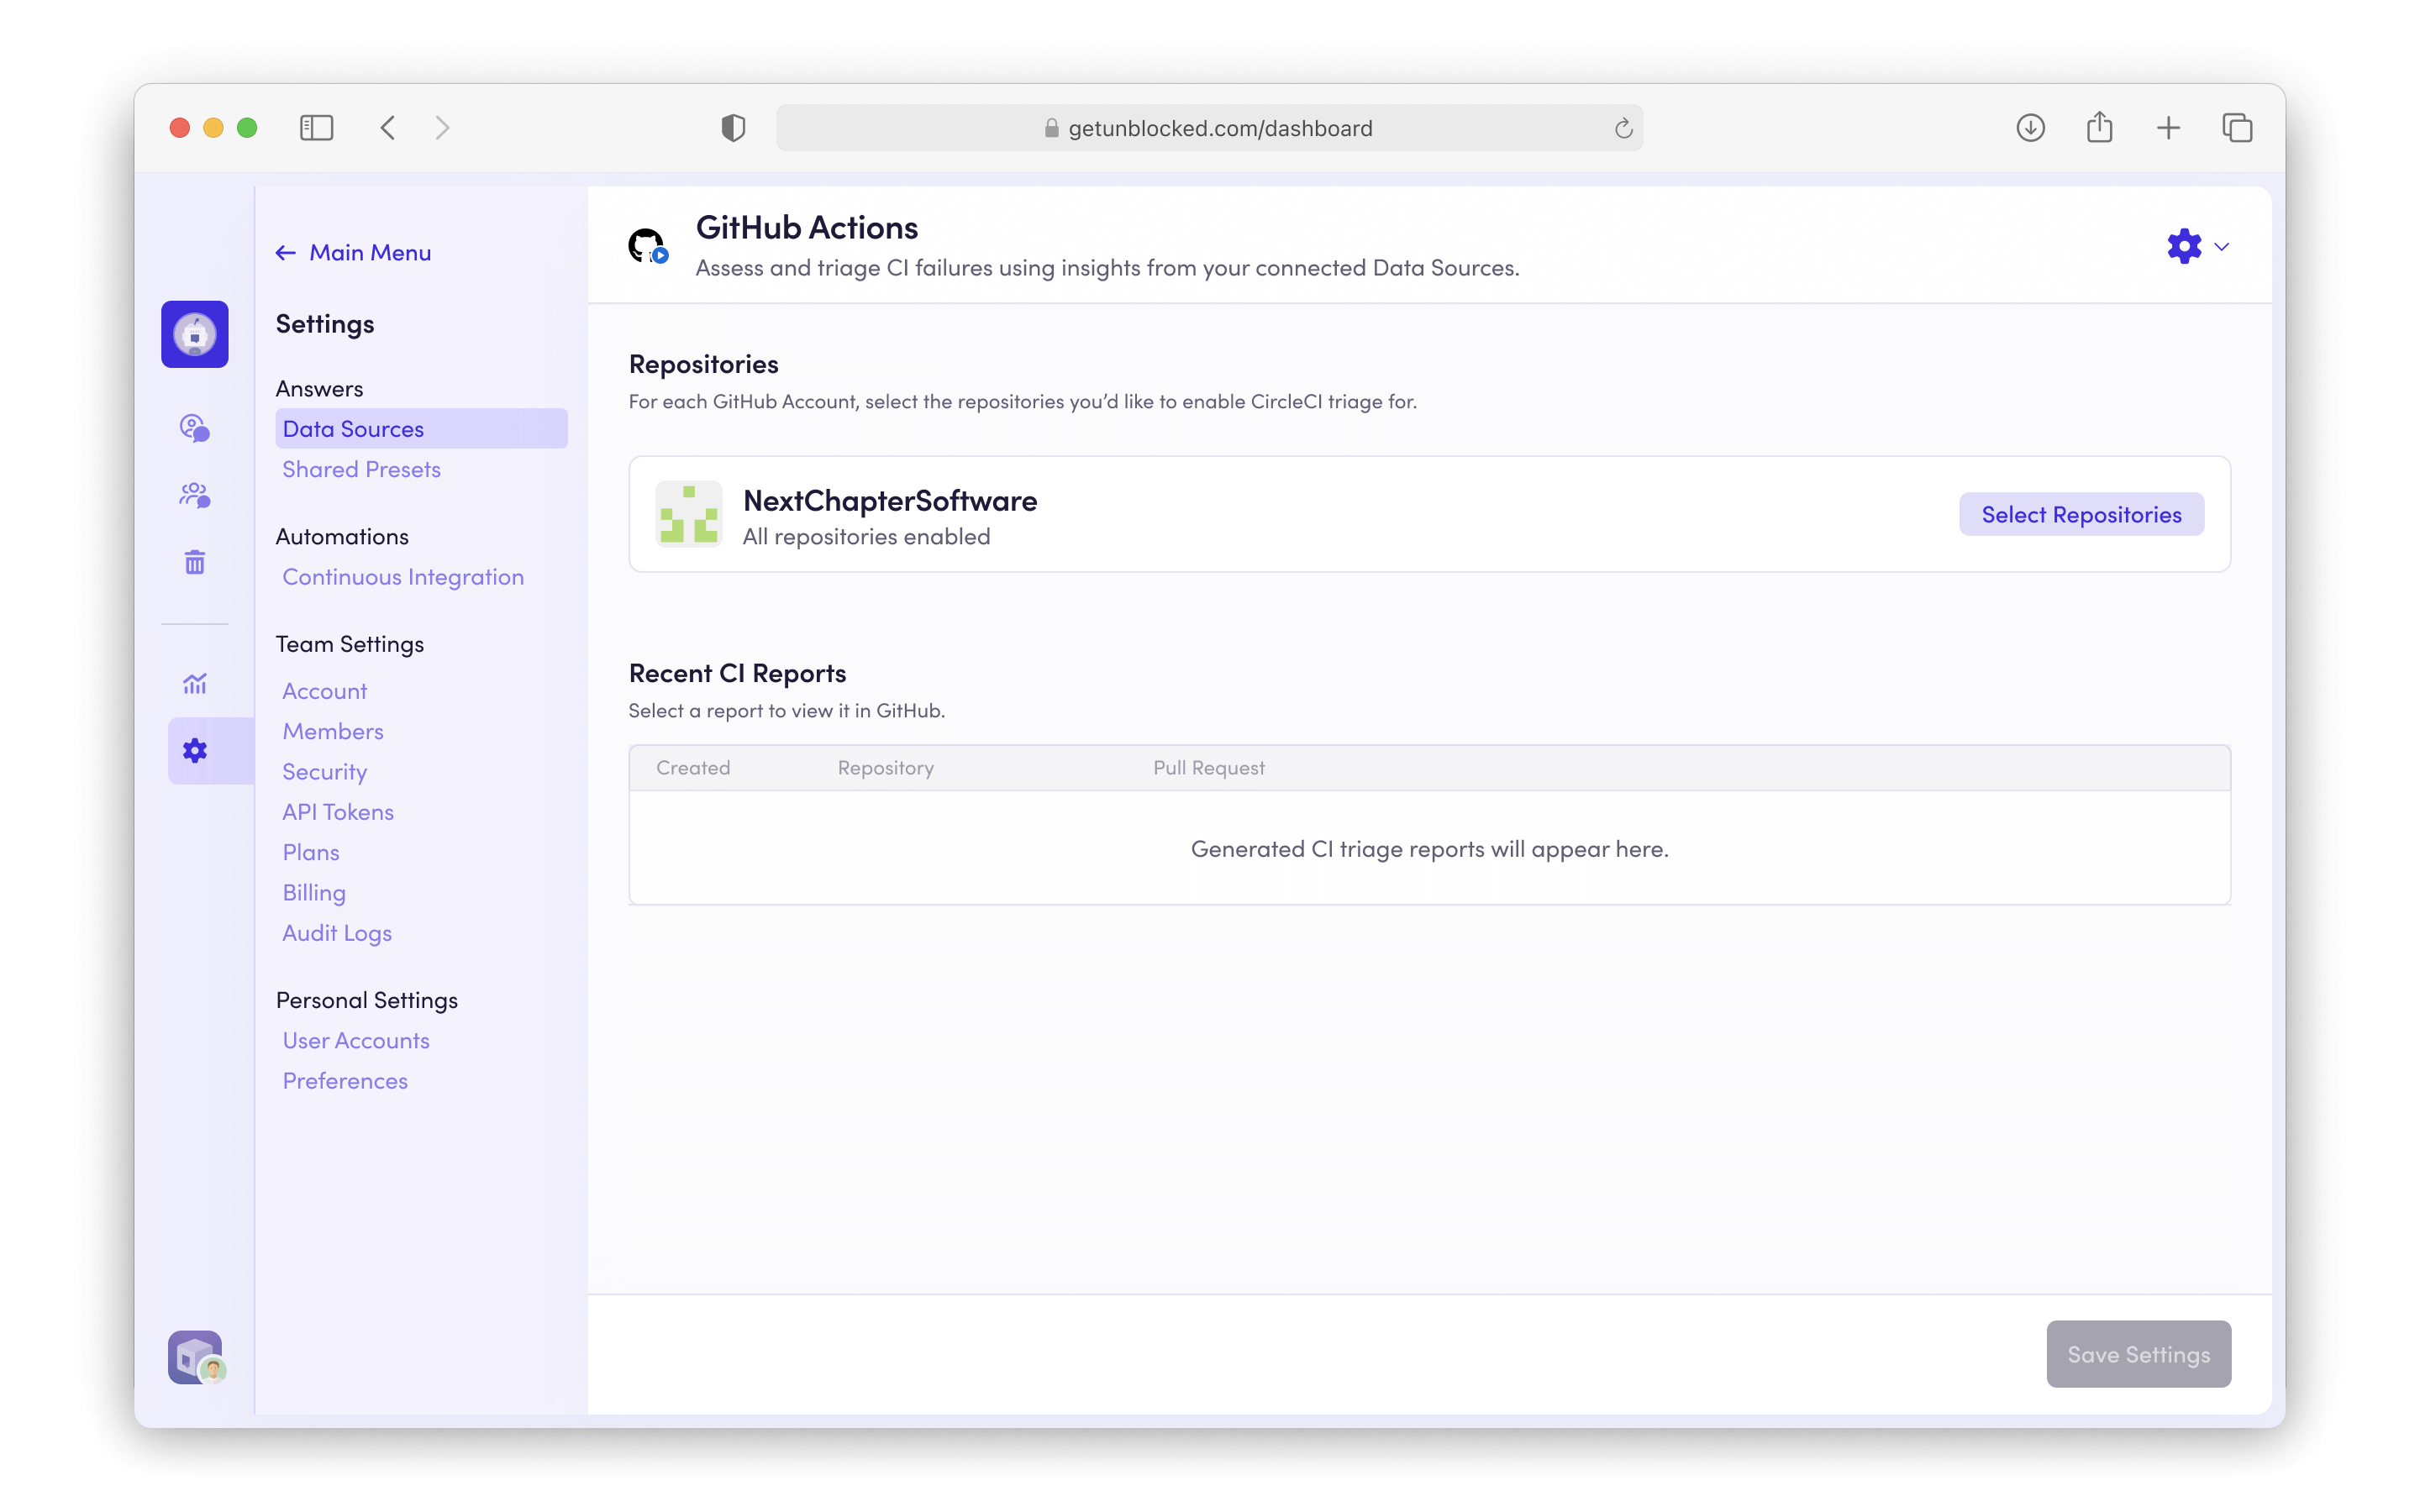
Debugging CI (Continuous Integration) failures in pull requests can be time-consuming and complex. Unblocked automatically analyzes failure logs and provides actionable fix suggestions when it has high confidence in the root cause of the failure. When a CI job fails on a pull request, Unblocked will post a report as a comment in your pull request, helping you quickly identify and resolve the issue.Connecting CI Systems
Unblocked supports Bitbucket Pipelines, Buildkite, CircleCI, GitHub Actions, and GitLab Pipelines. Select the CI system you’d like to configure:- Bitbucket Pipelines
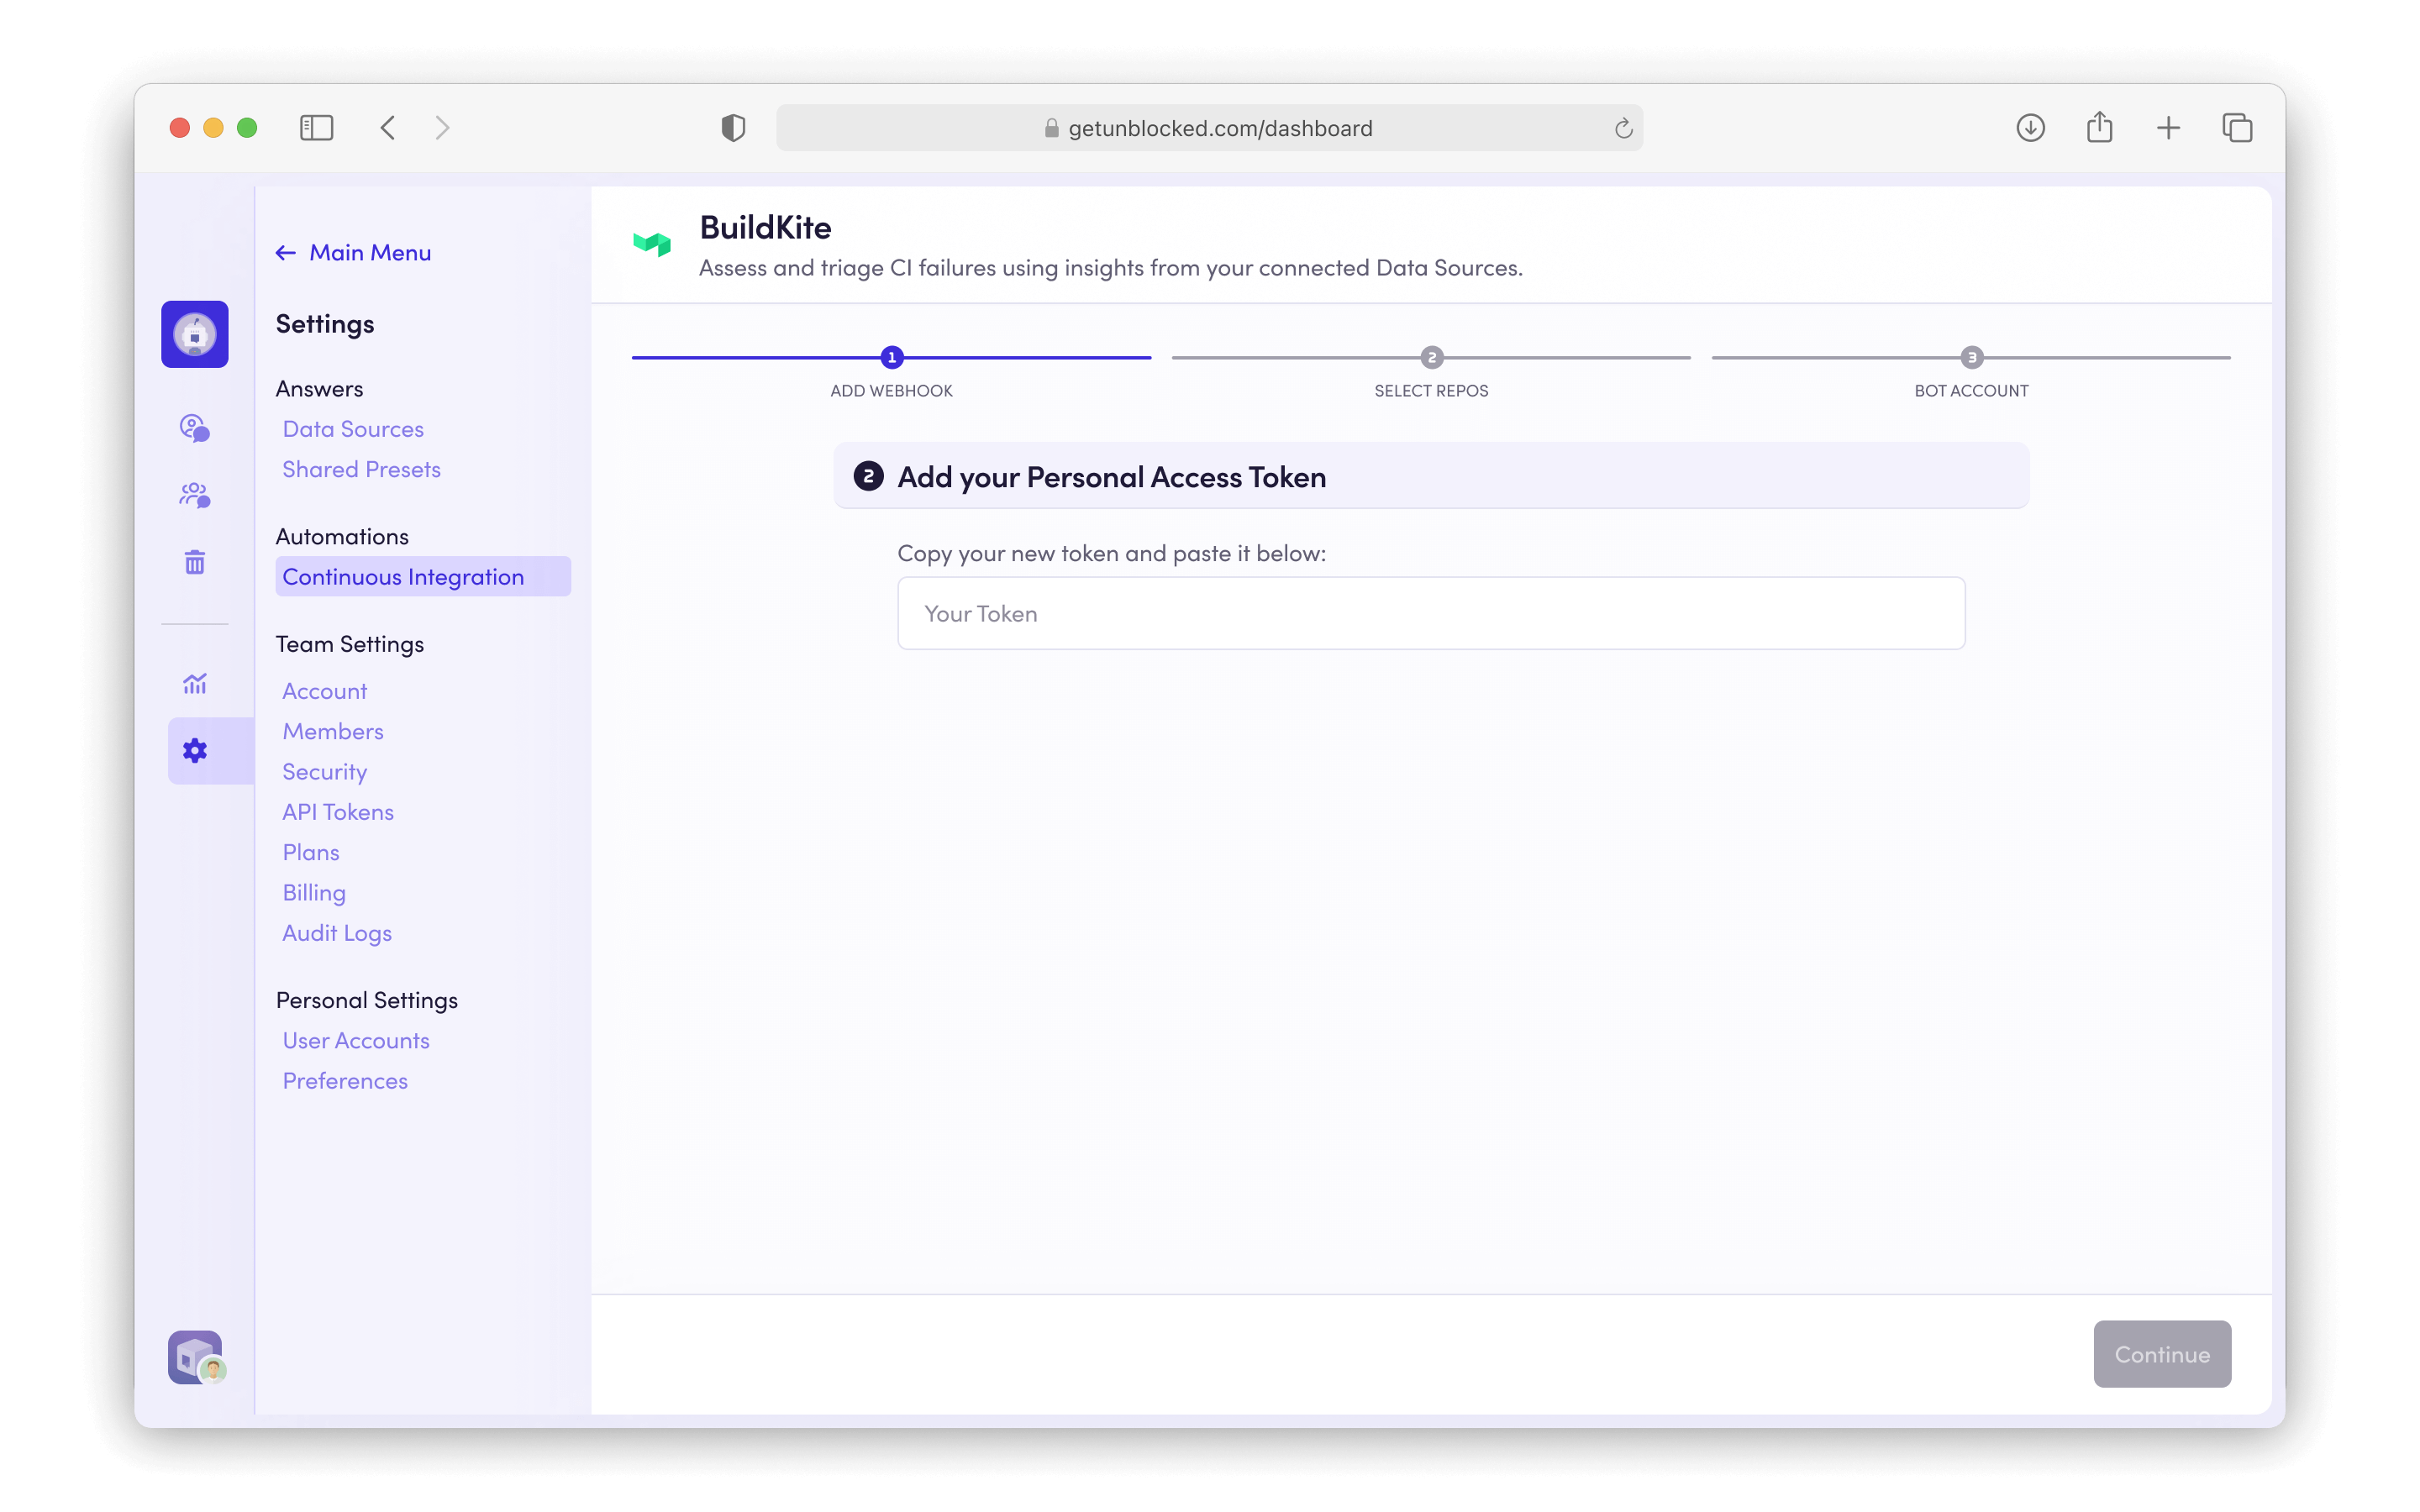
- Buildkite
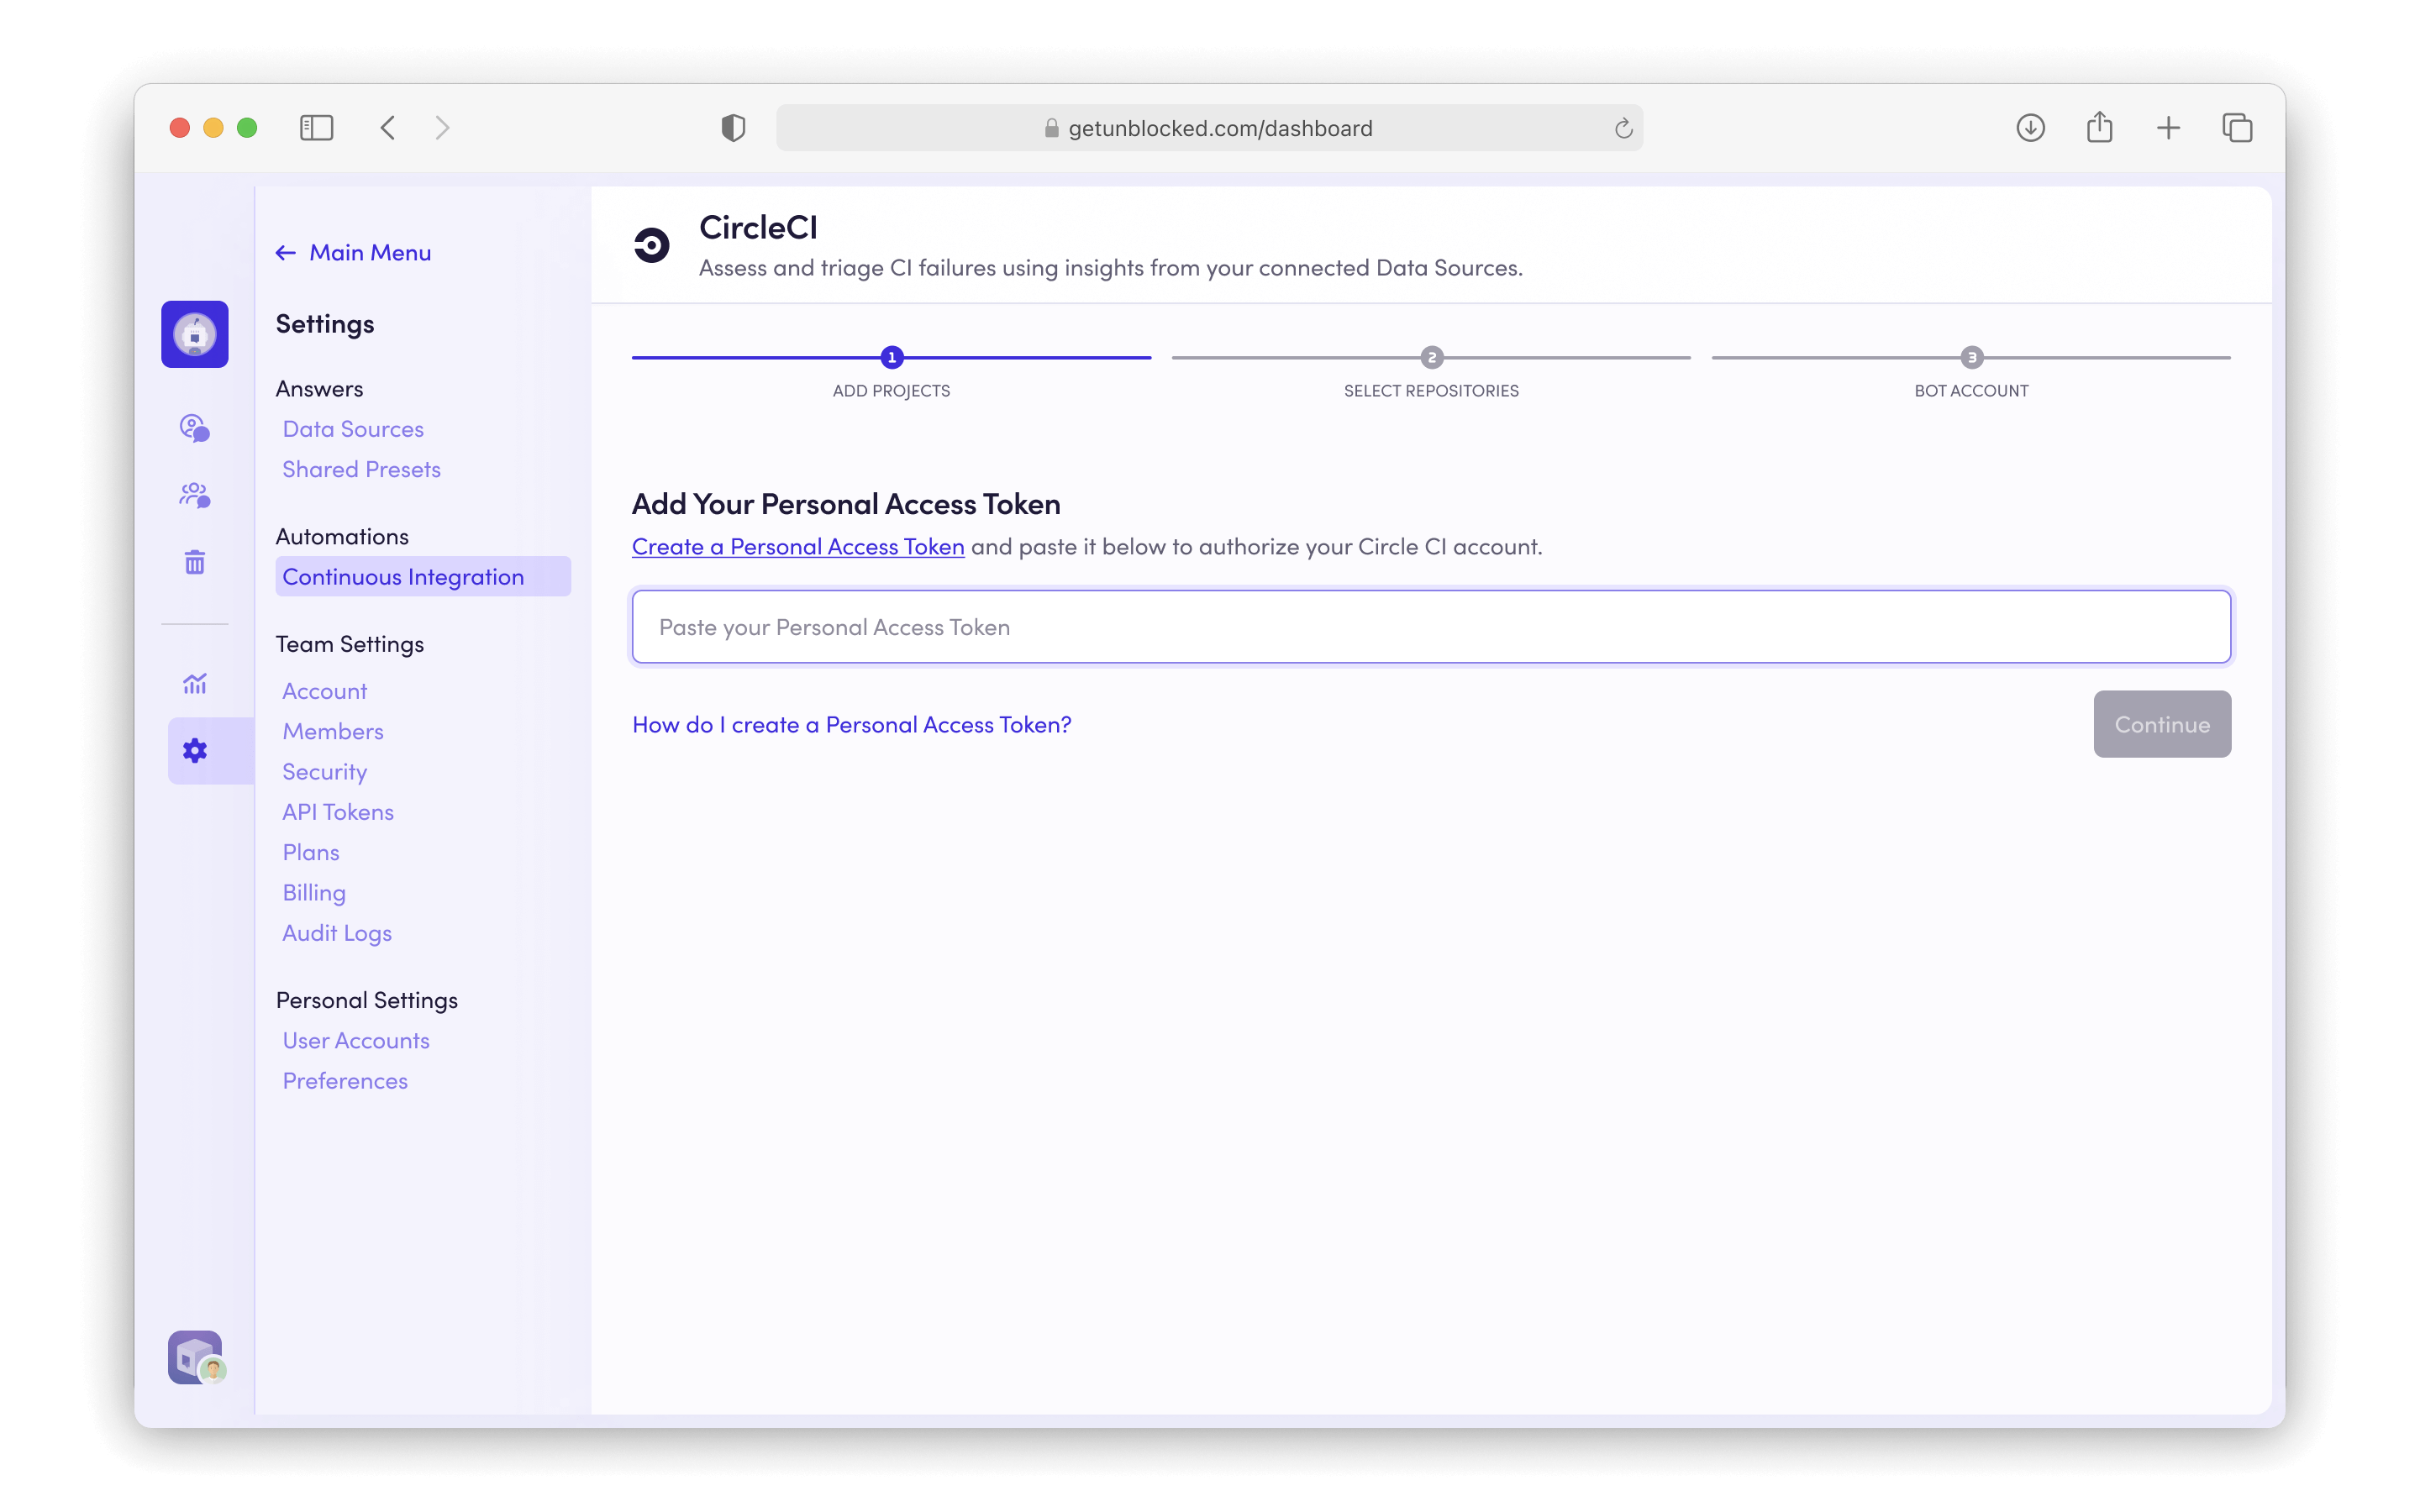
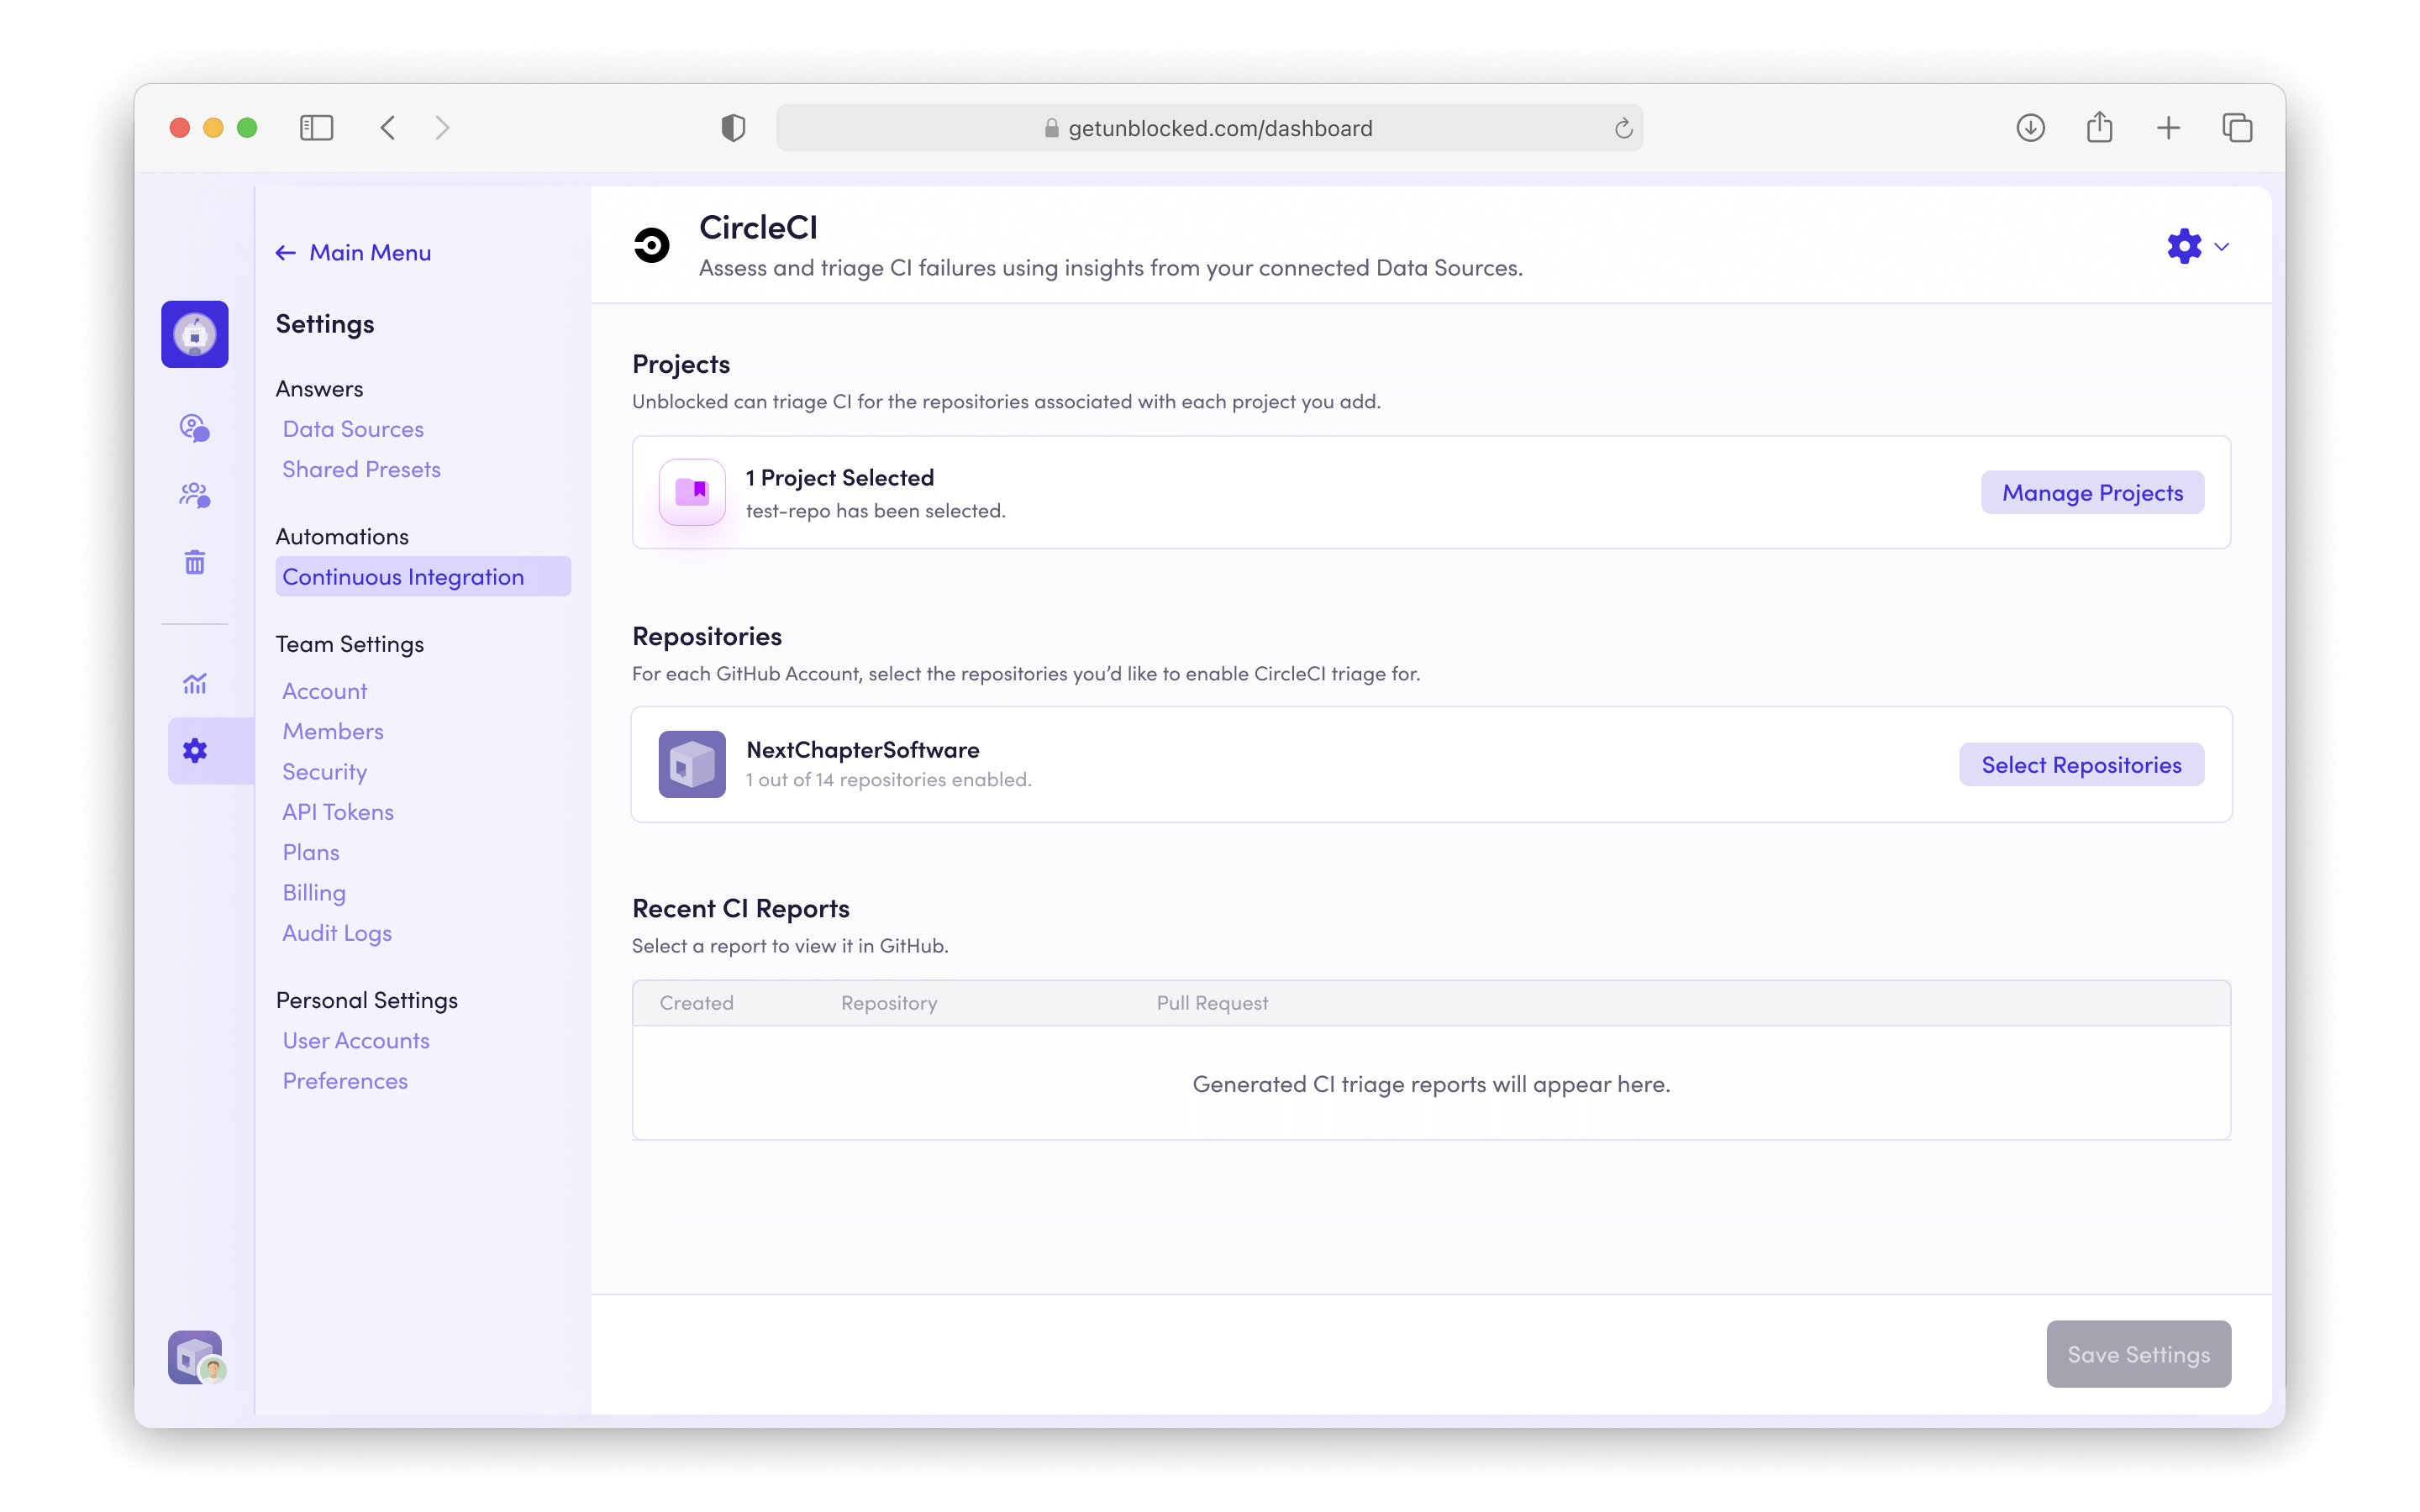
- CircleCI
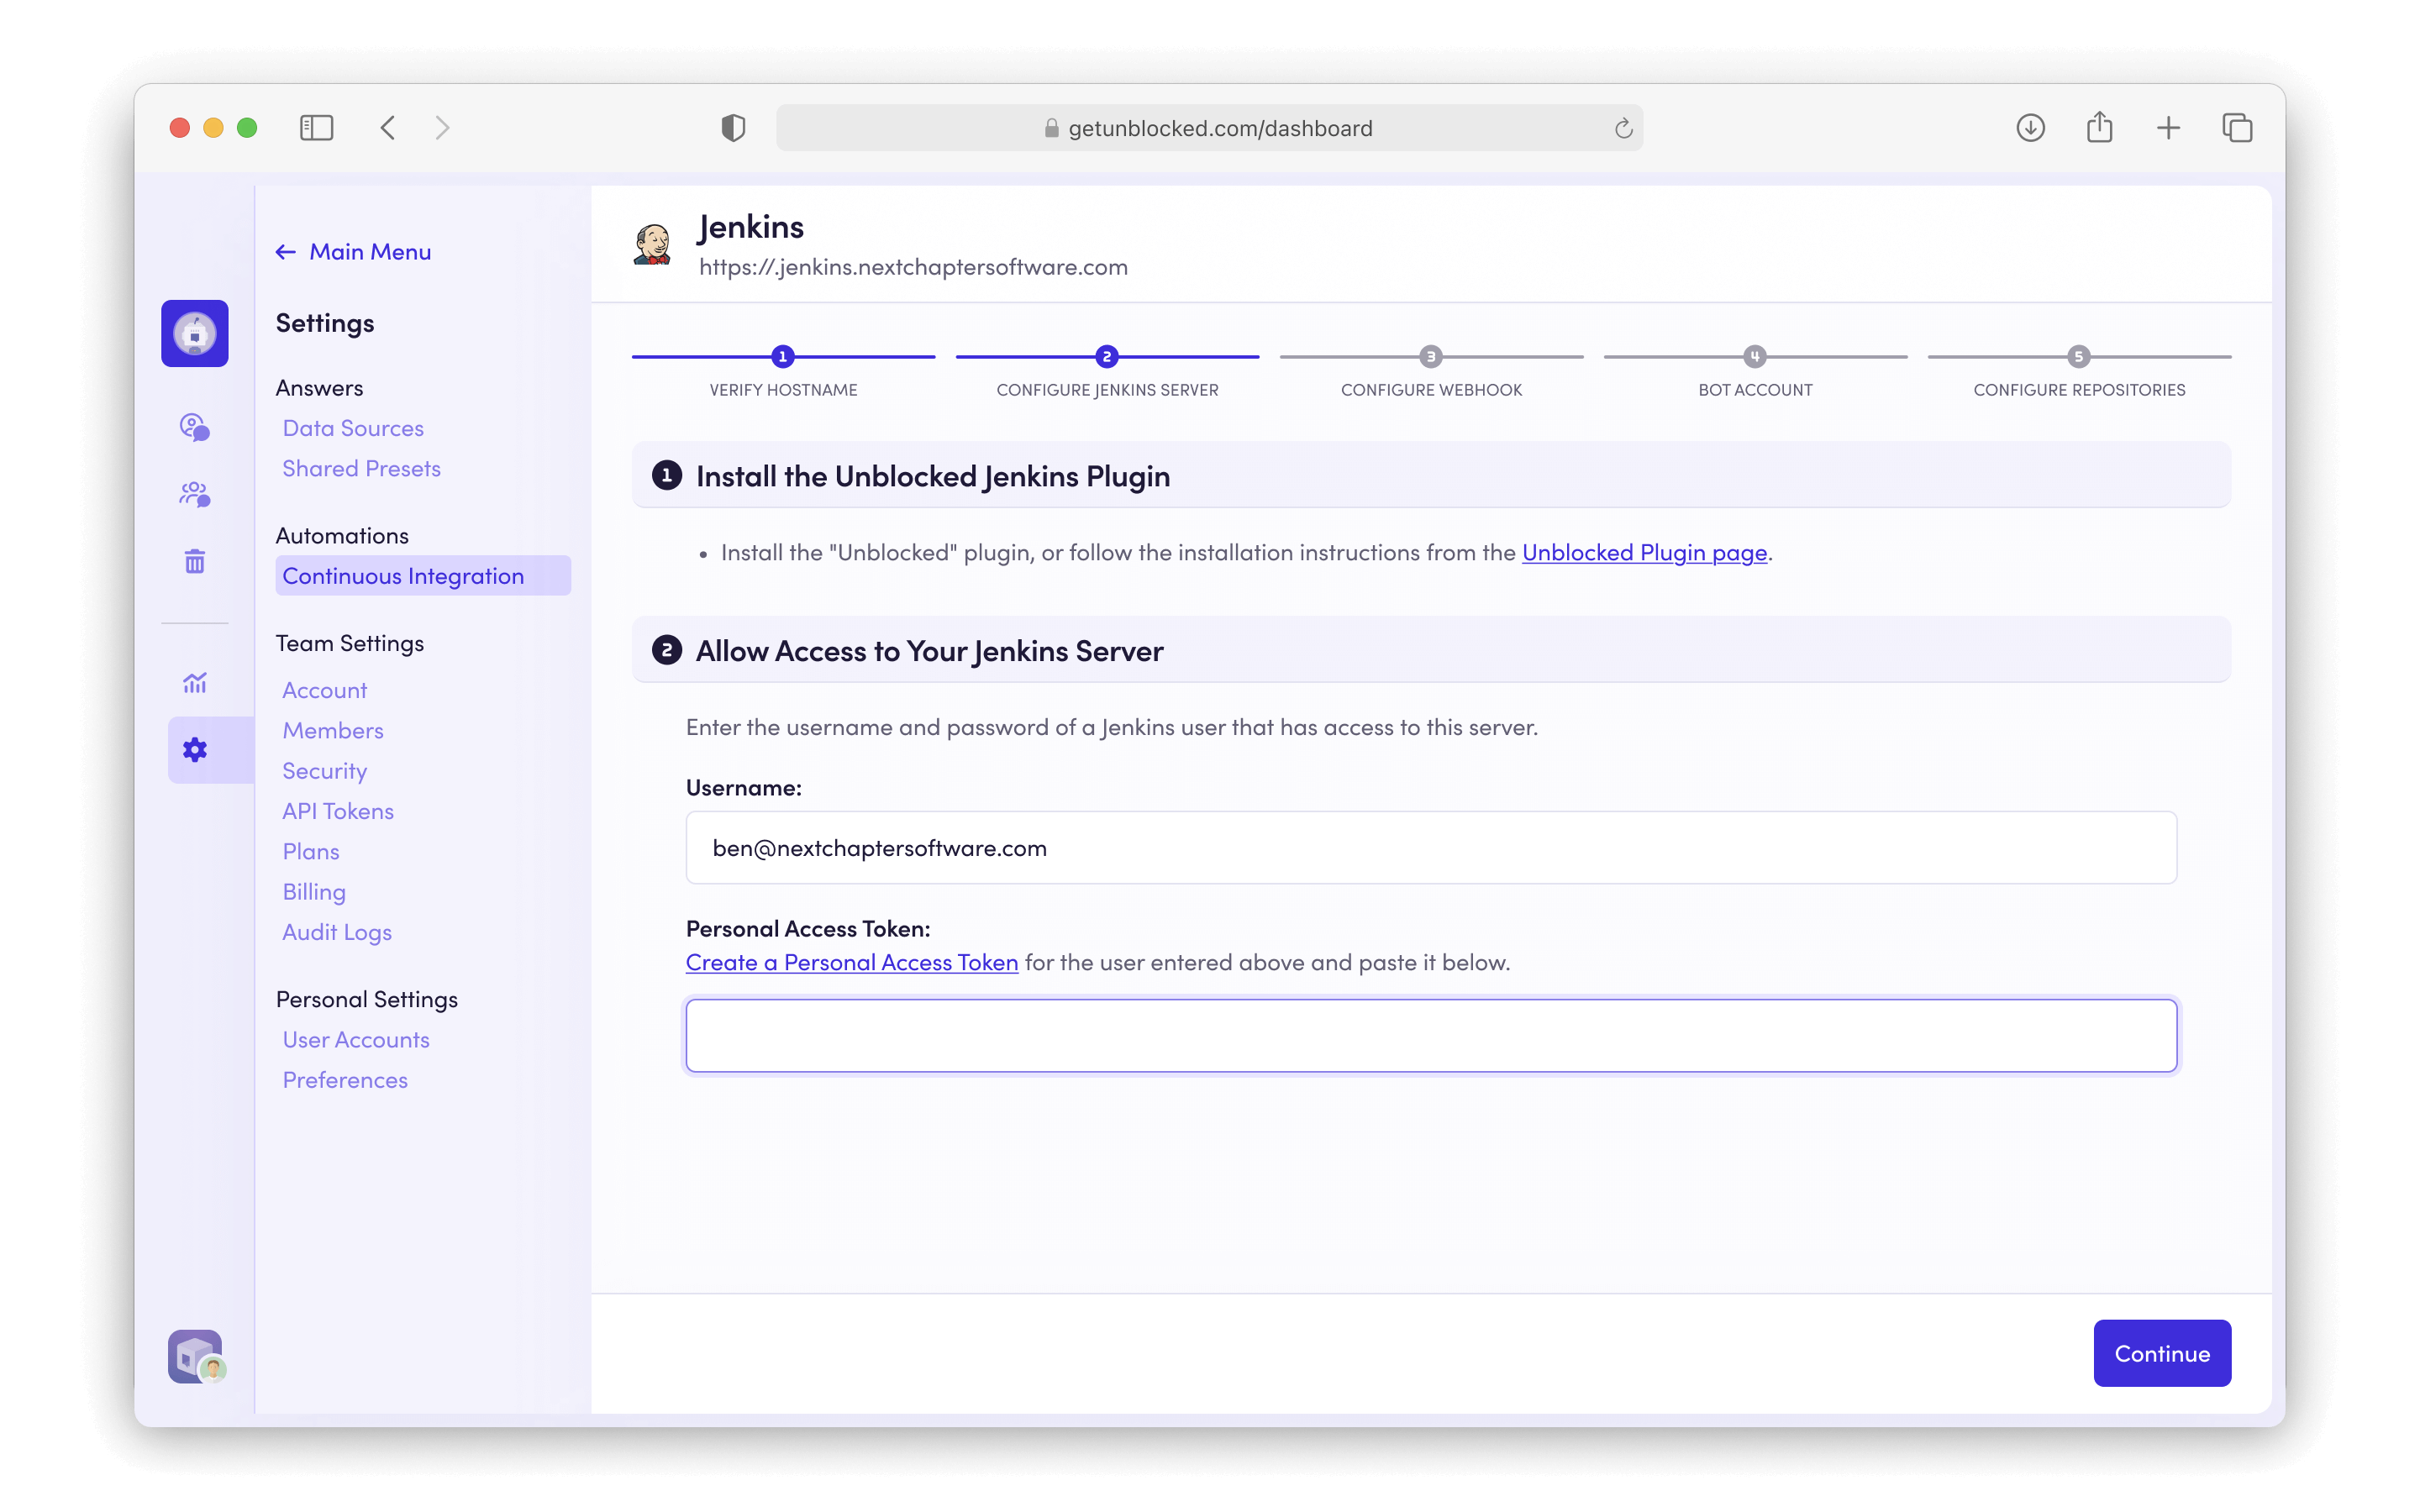
- Jenkins
- GitHub Actions
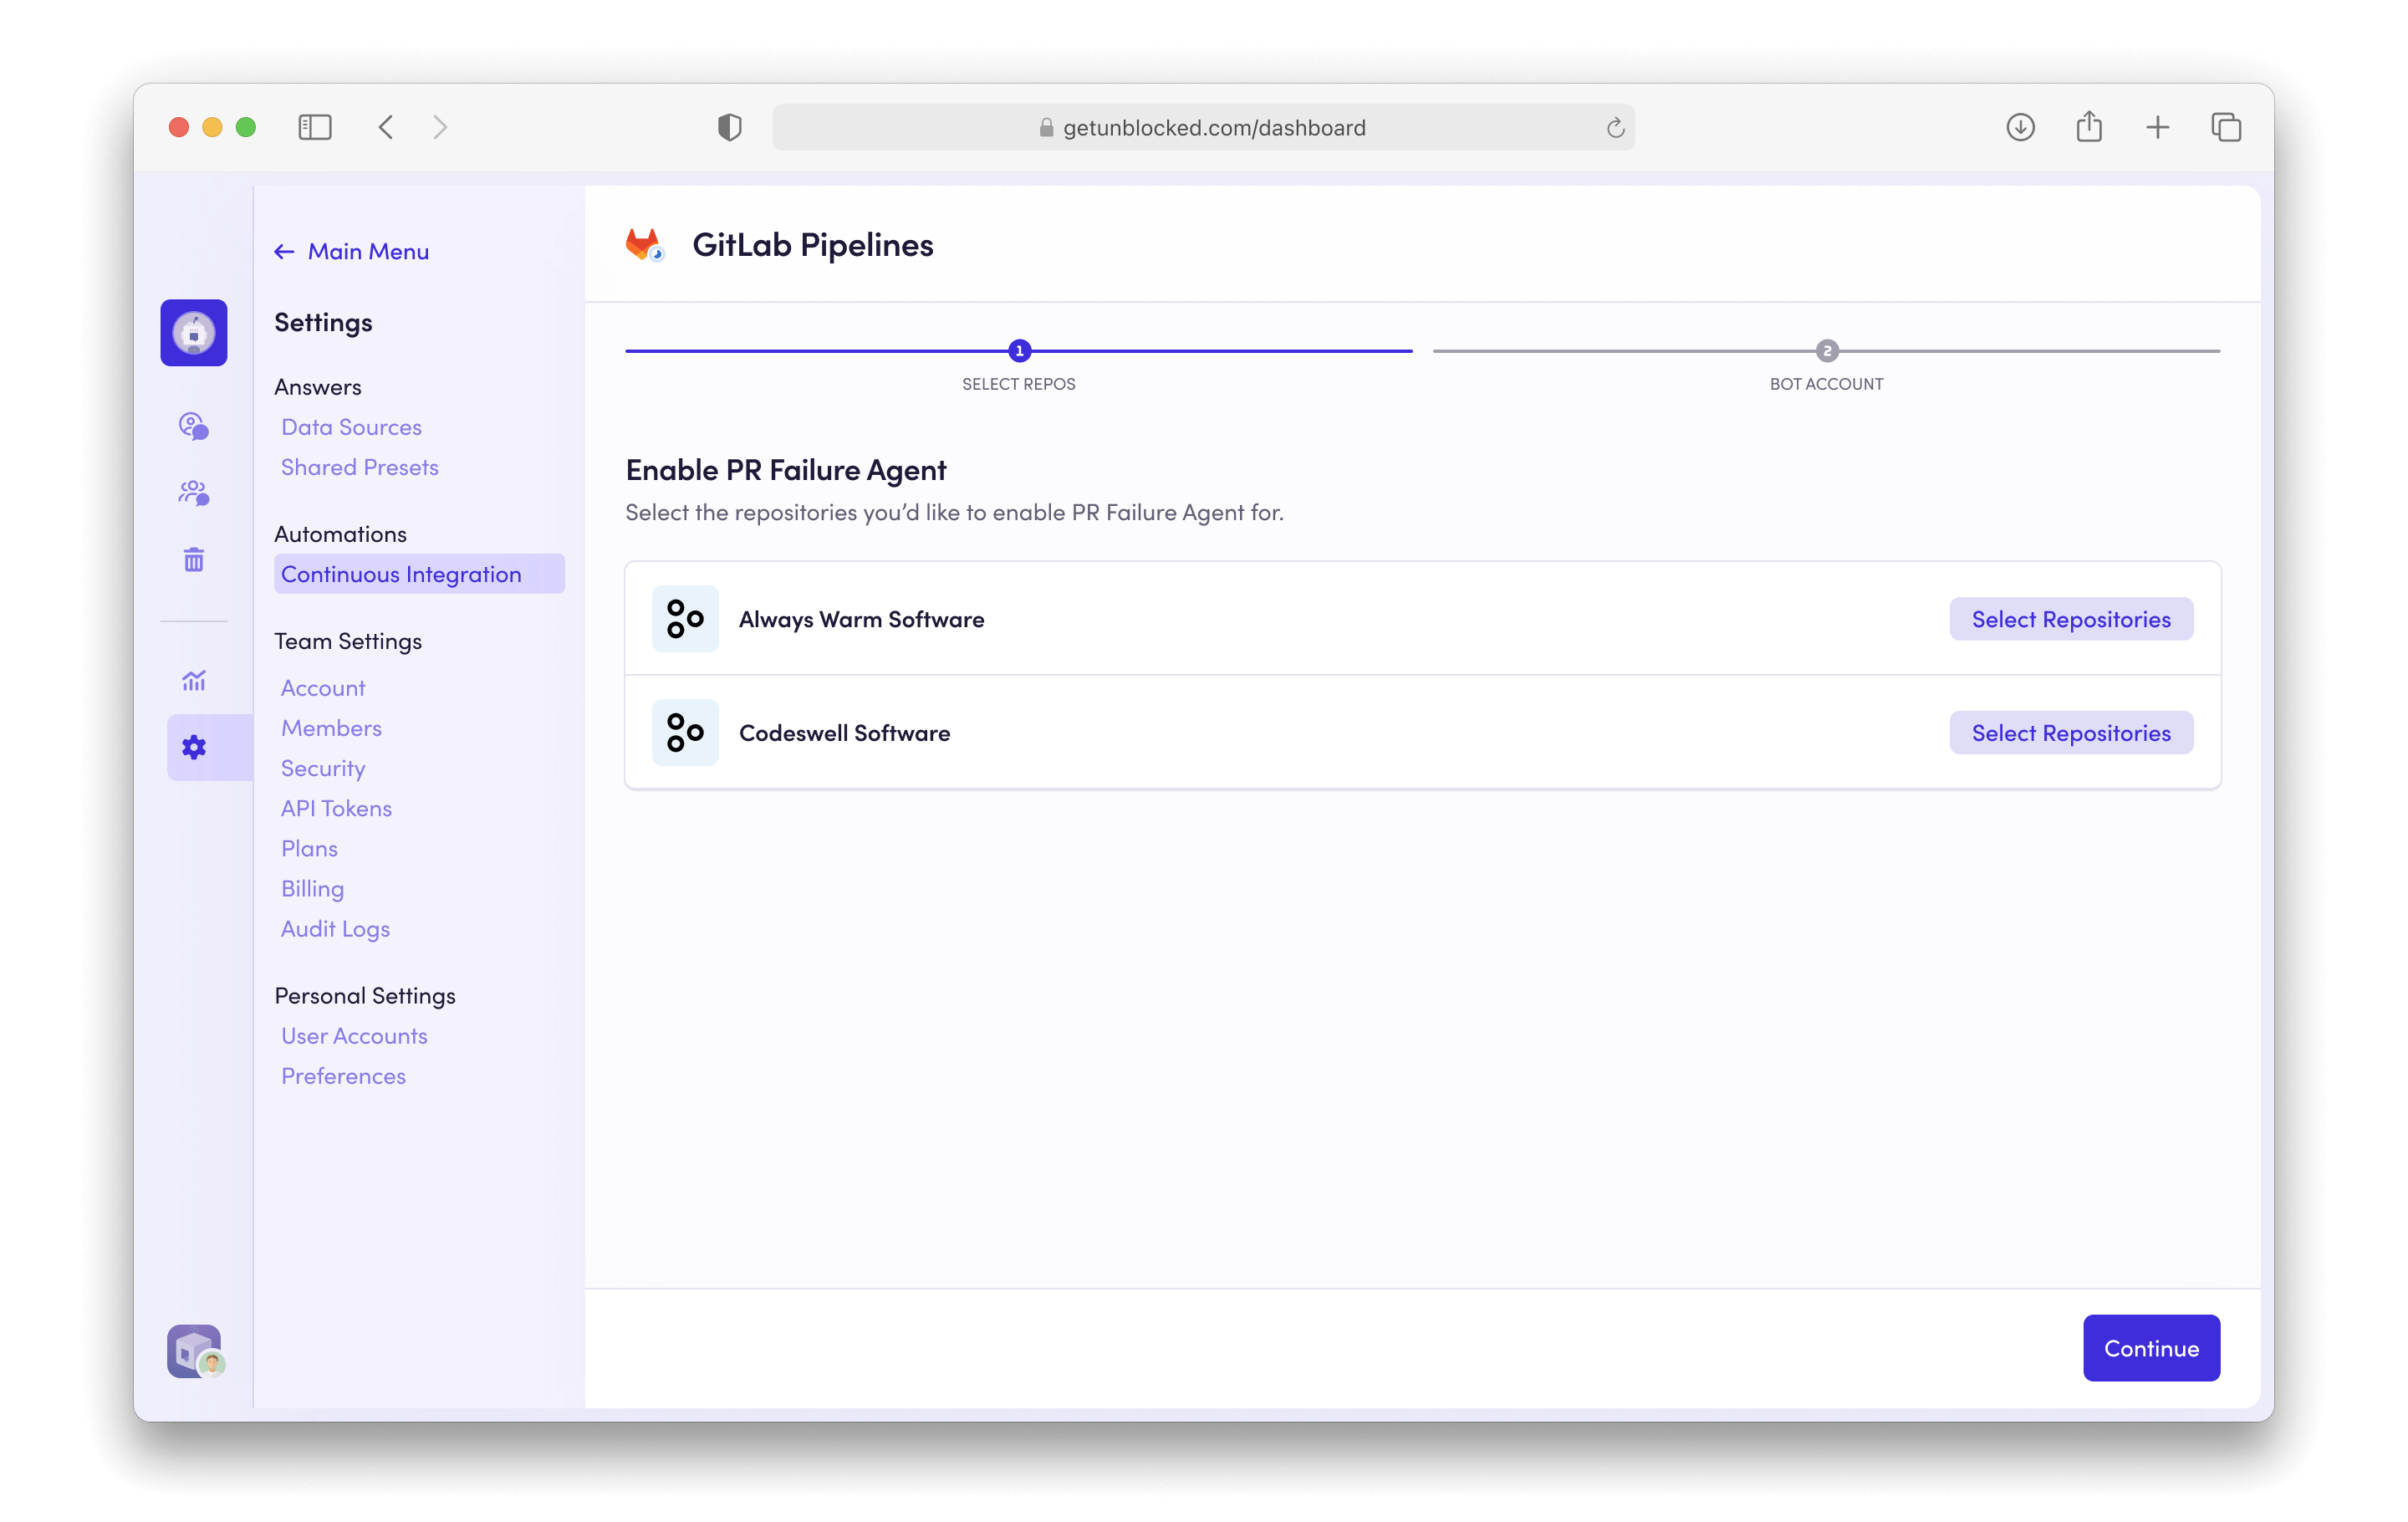
- GitLab Pipelines
Configuring Bitbucket Pipelines
To connect Bitbucket Pipelines to Unblocked, follow these steps:1
Add CI Data Source
In the left sidebar, click on Settings and then Continuous Integration.
Then click on Add CI Provider.
2
Connect Bitbucket Pipelines
Click on the Bitbucket Pipelines tile. 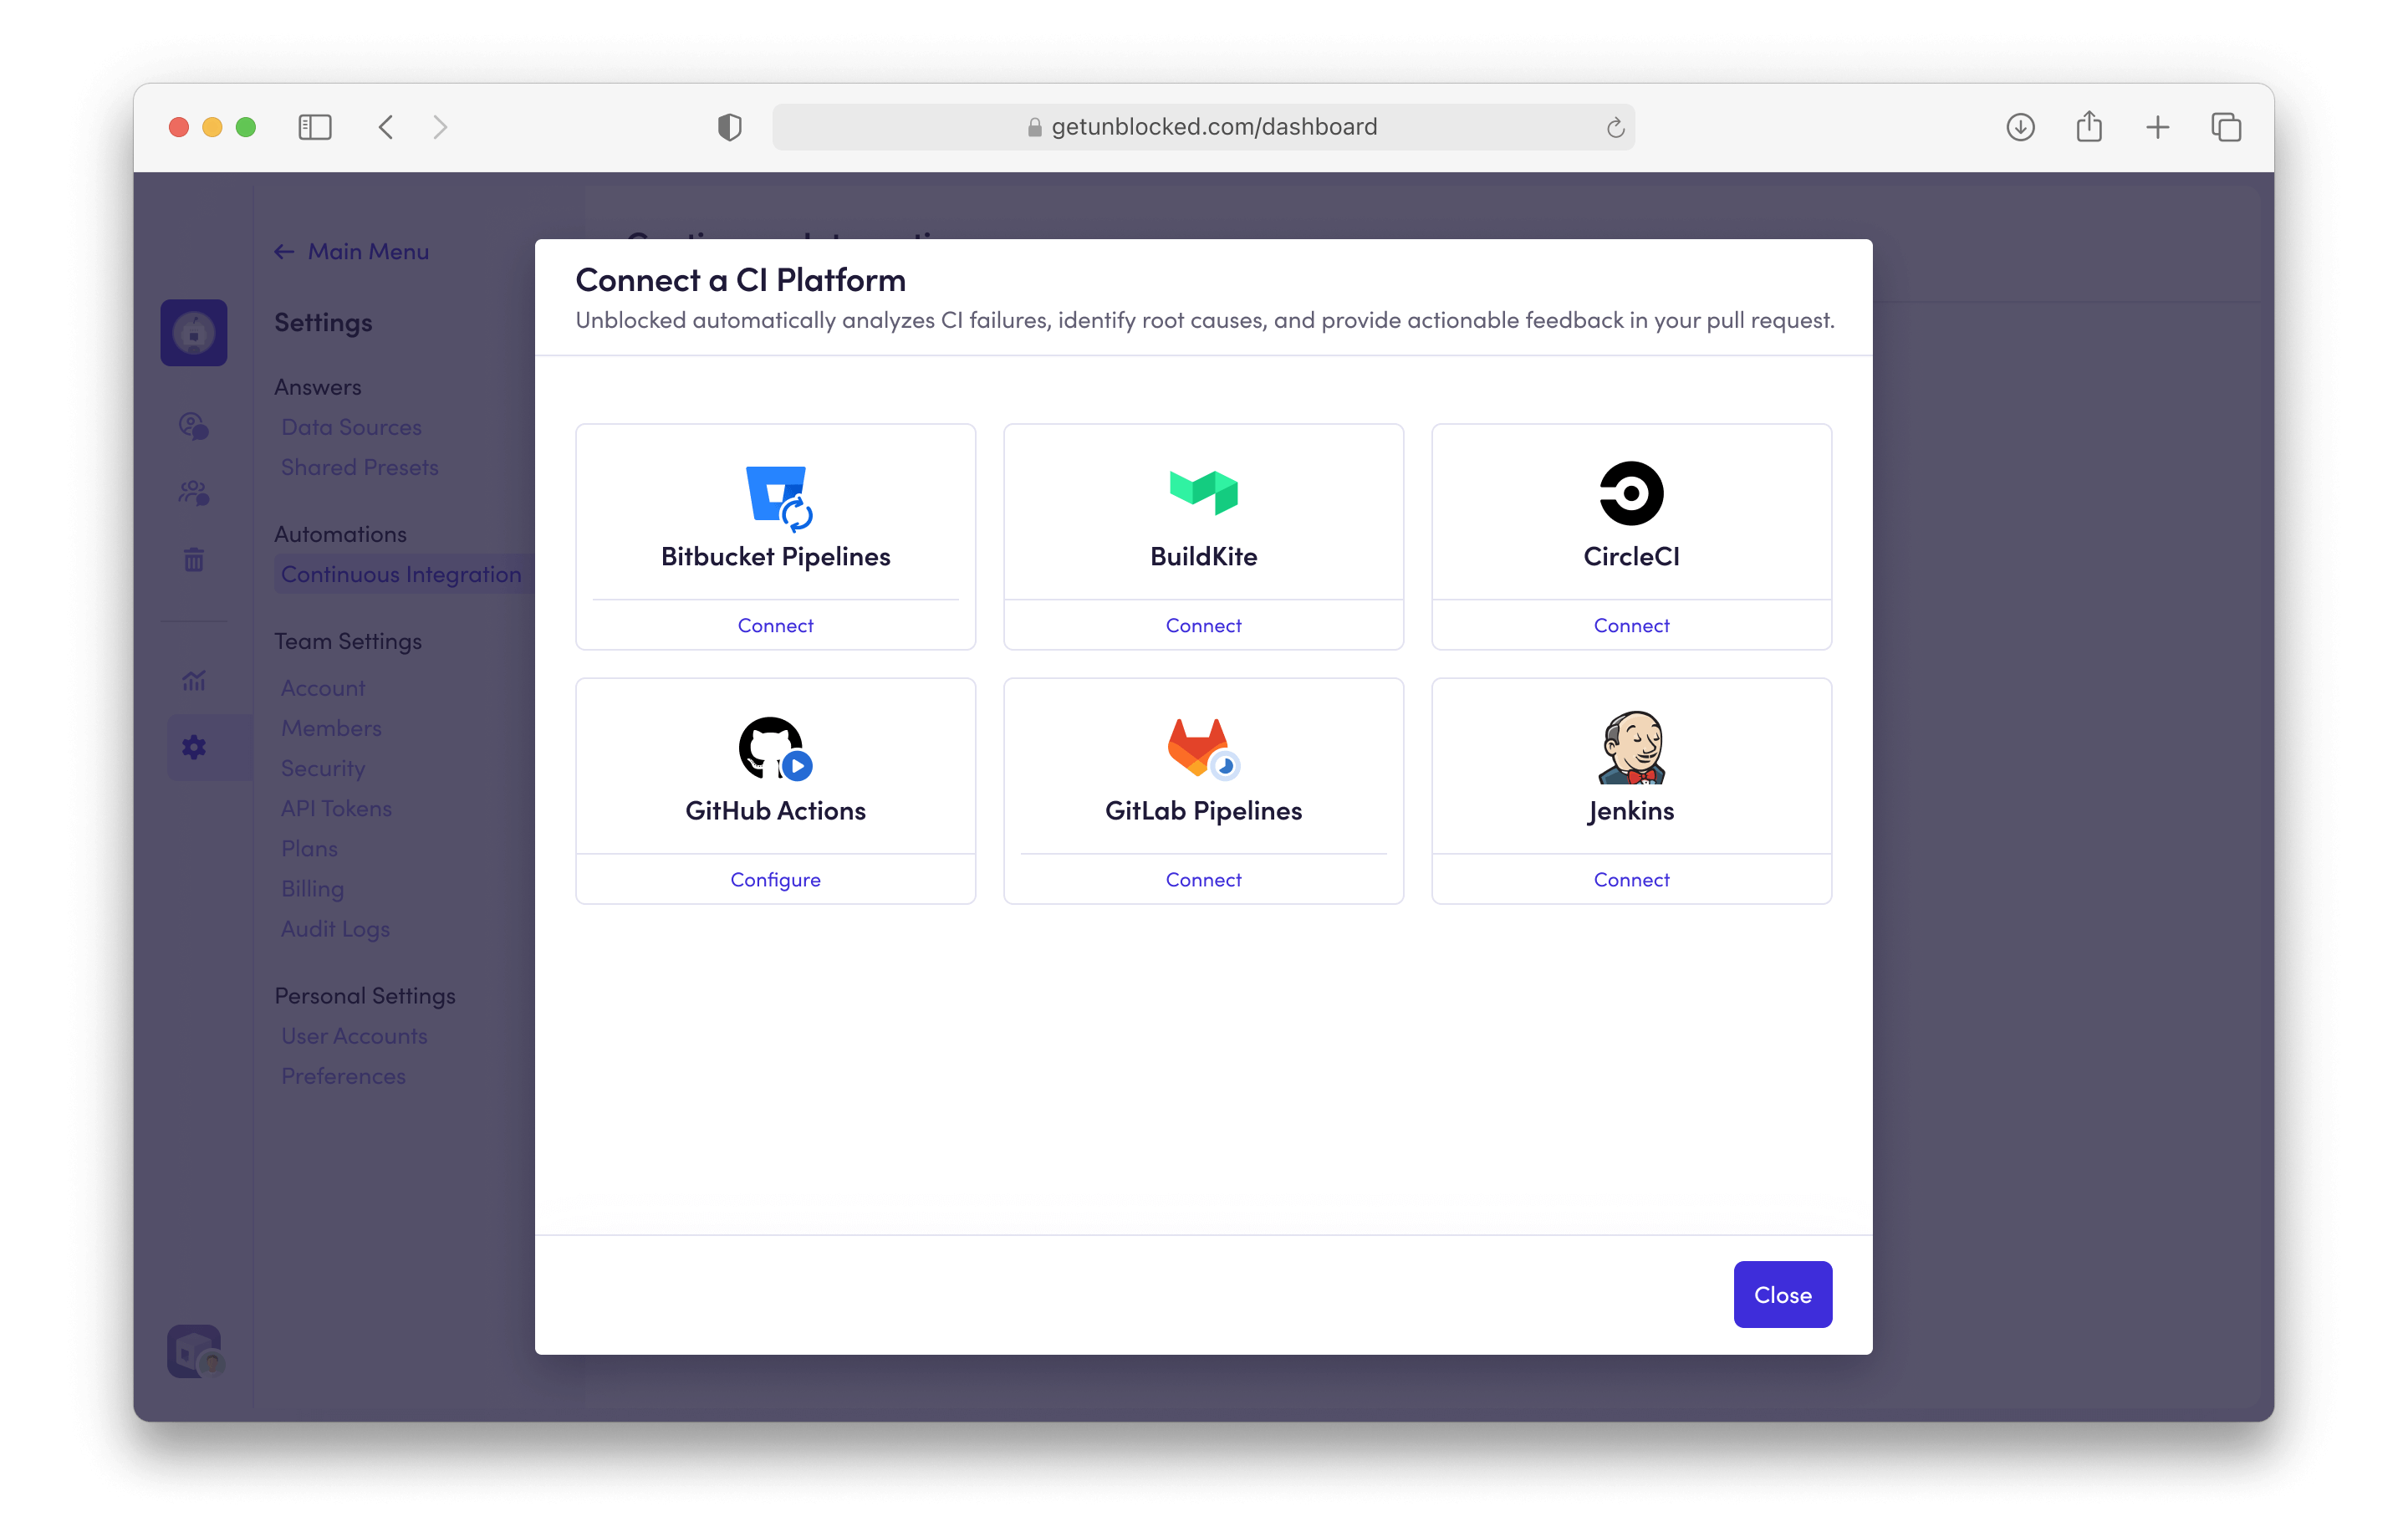
3
Enable CI Failure Agent
Click Select Repositories to choose the repositories
you want to enable CI Failure Agent on. 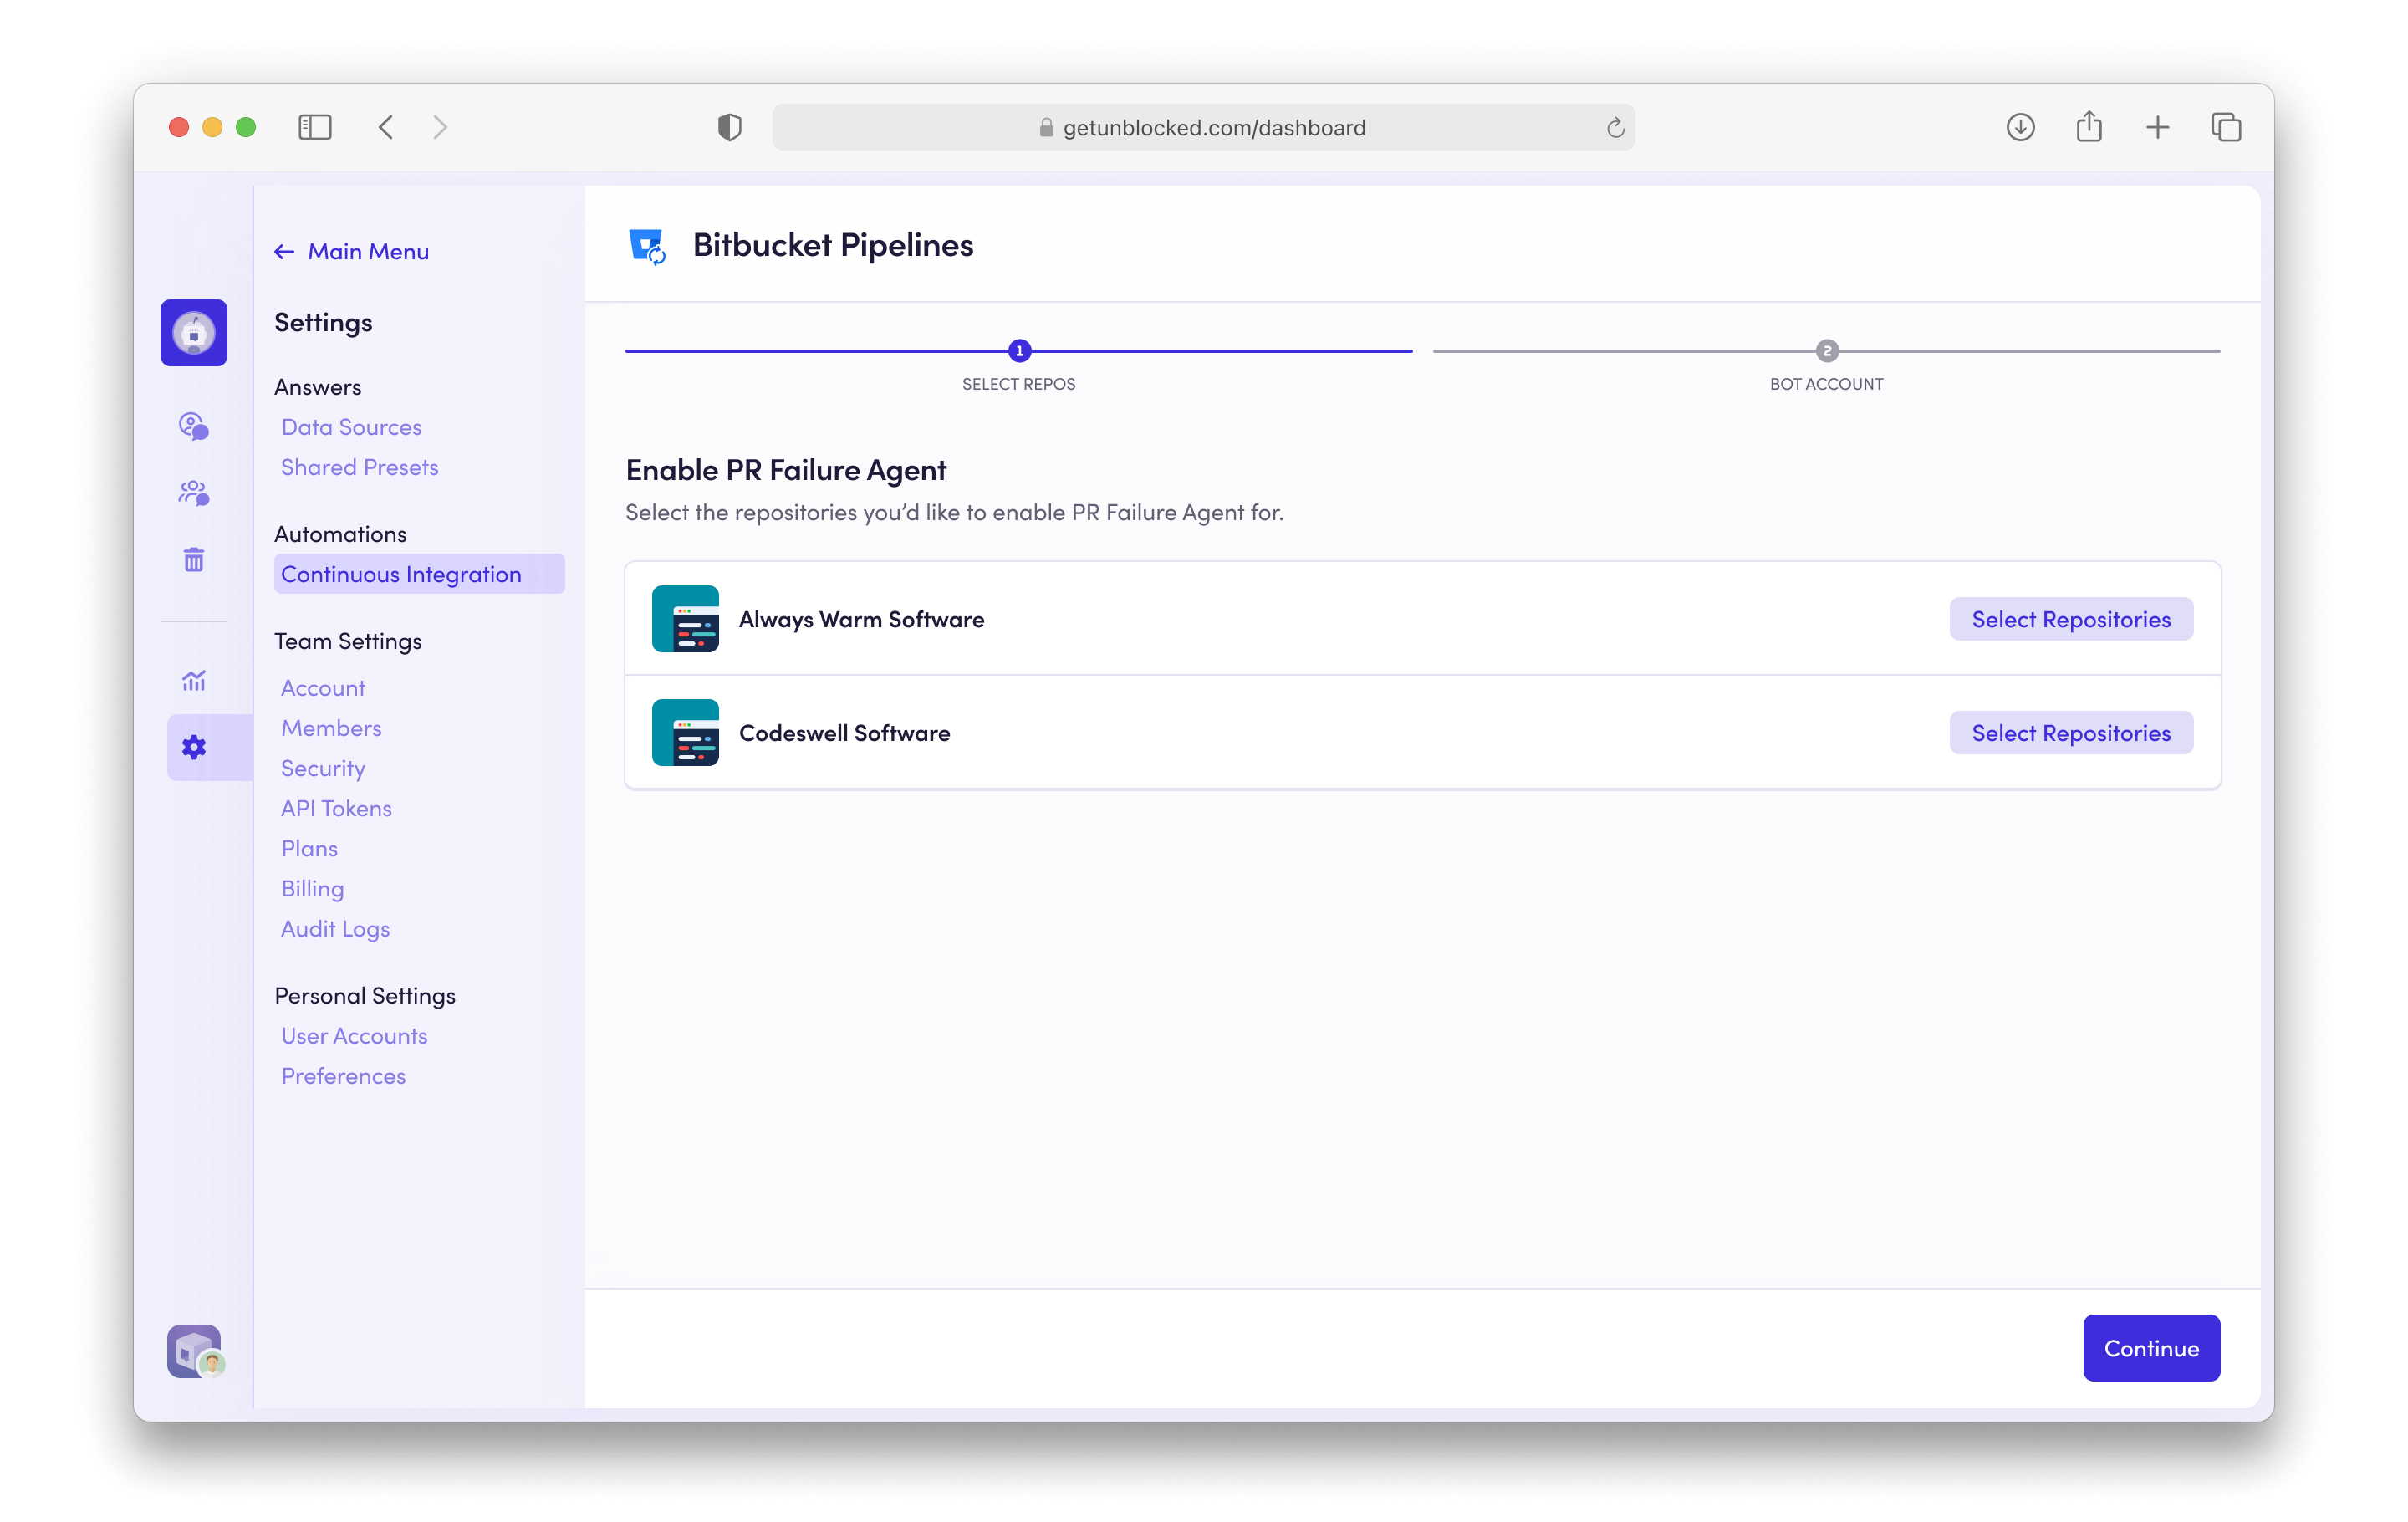
4
Select Repositories
Toggle the repositories you want to enable by selecting them.
5
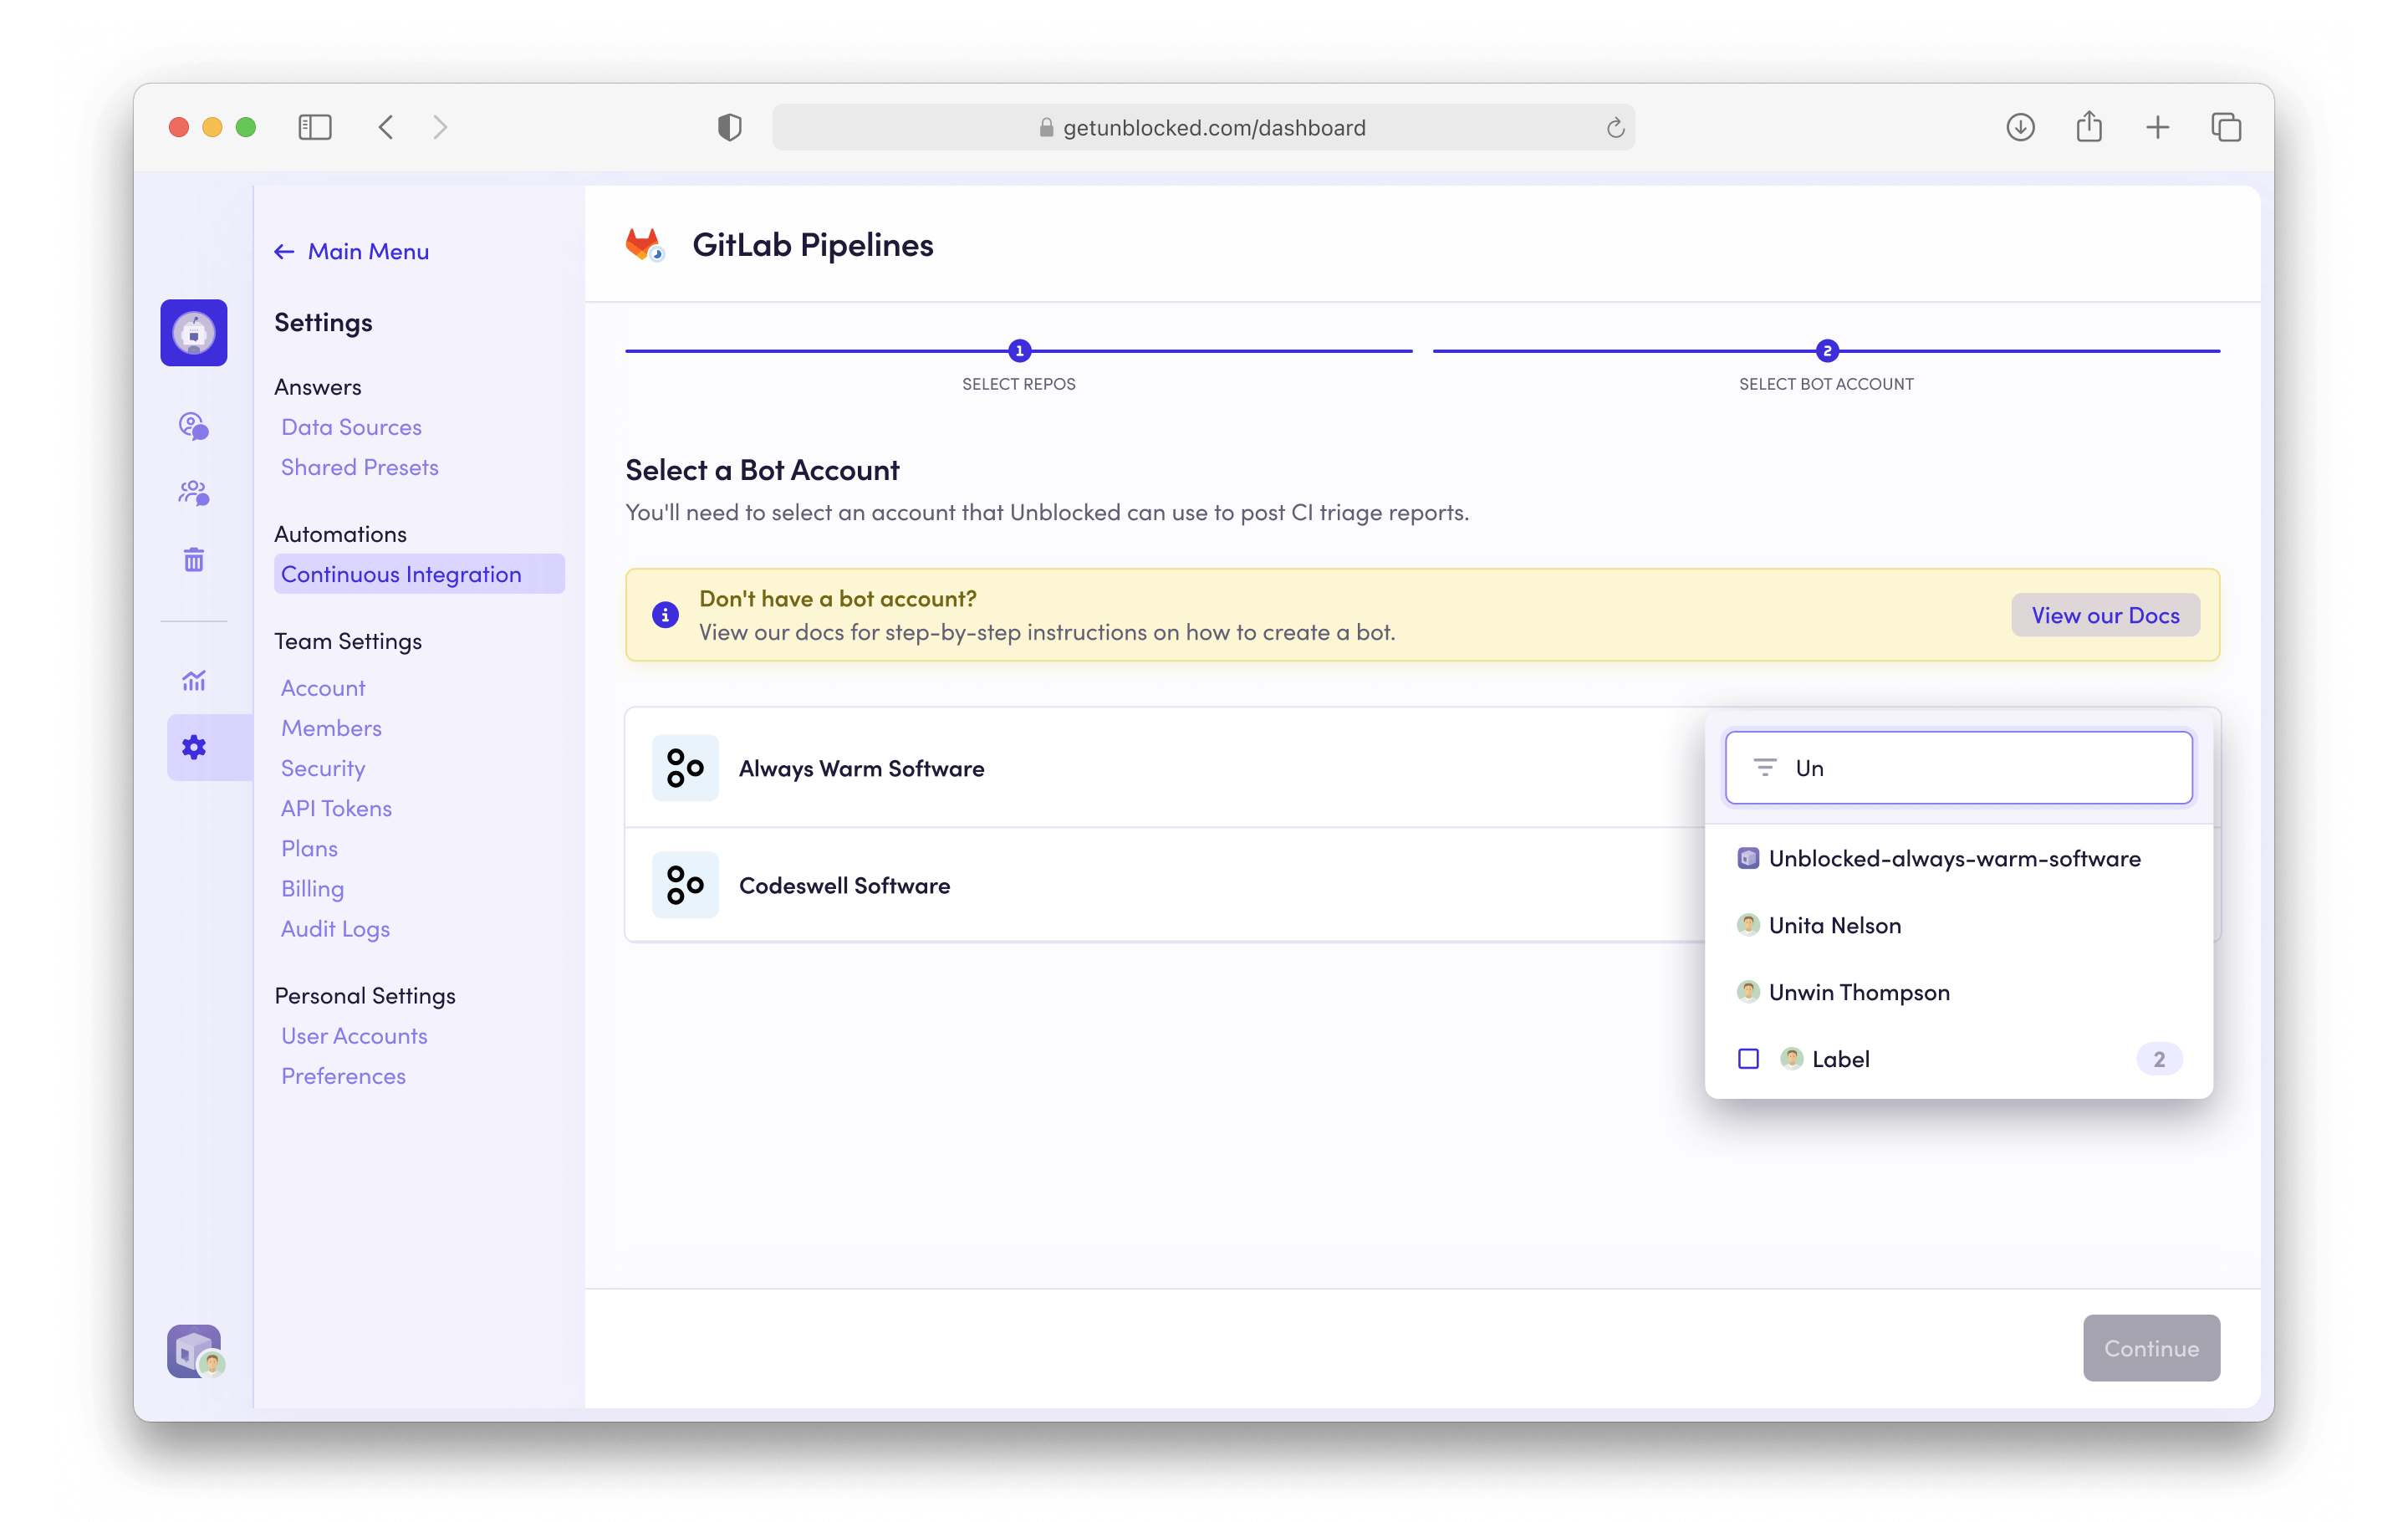
Create a Bot Account
CI reports from the CI Failure Agent need to be posted on behalf of a Bitbucket user account. We recommend
creating an Unblocked bot account for this specific purpose.
Already have a bot account?
Some teams already have a bot account they use for posting automated messages. If you already have a bot account that you can repurpose for posting CI analysis reports, select it and skip to the next step.
-
Create a new account in Bitbucket with the following information:
- Name: Unblocked
-
Avatar: download and use the Unblocked logo below
 Download PNG
- Switch accounts and sign in to your Bitbucket Workspace as a Workspace admin.
- Click the gear icon in the top right of the navigation bar, and select User Management.
- Invite your new bot user to your workspace.
- Accept the email invitation that was sent to your bot account.
6
Select your Bot Account
Search for the Bot Account you just created and select it. You may be required
to authorize this account with Unblocked. 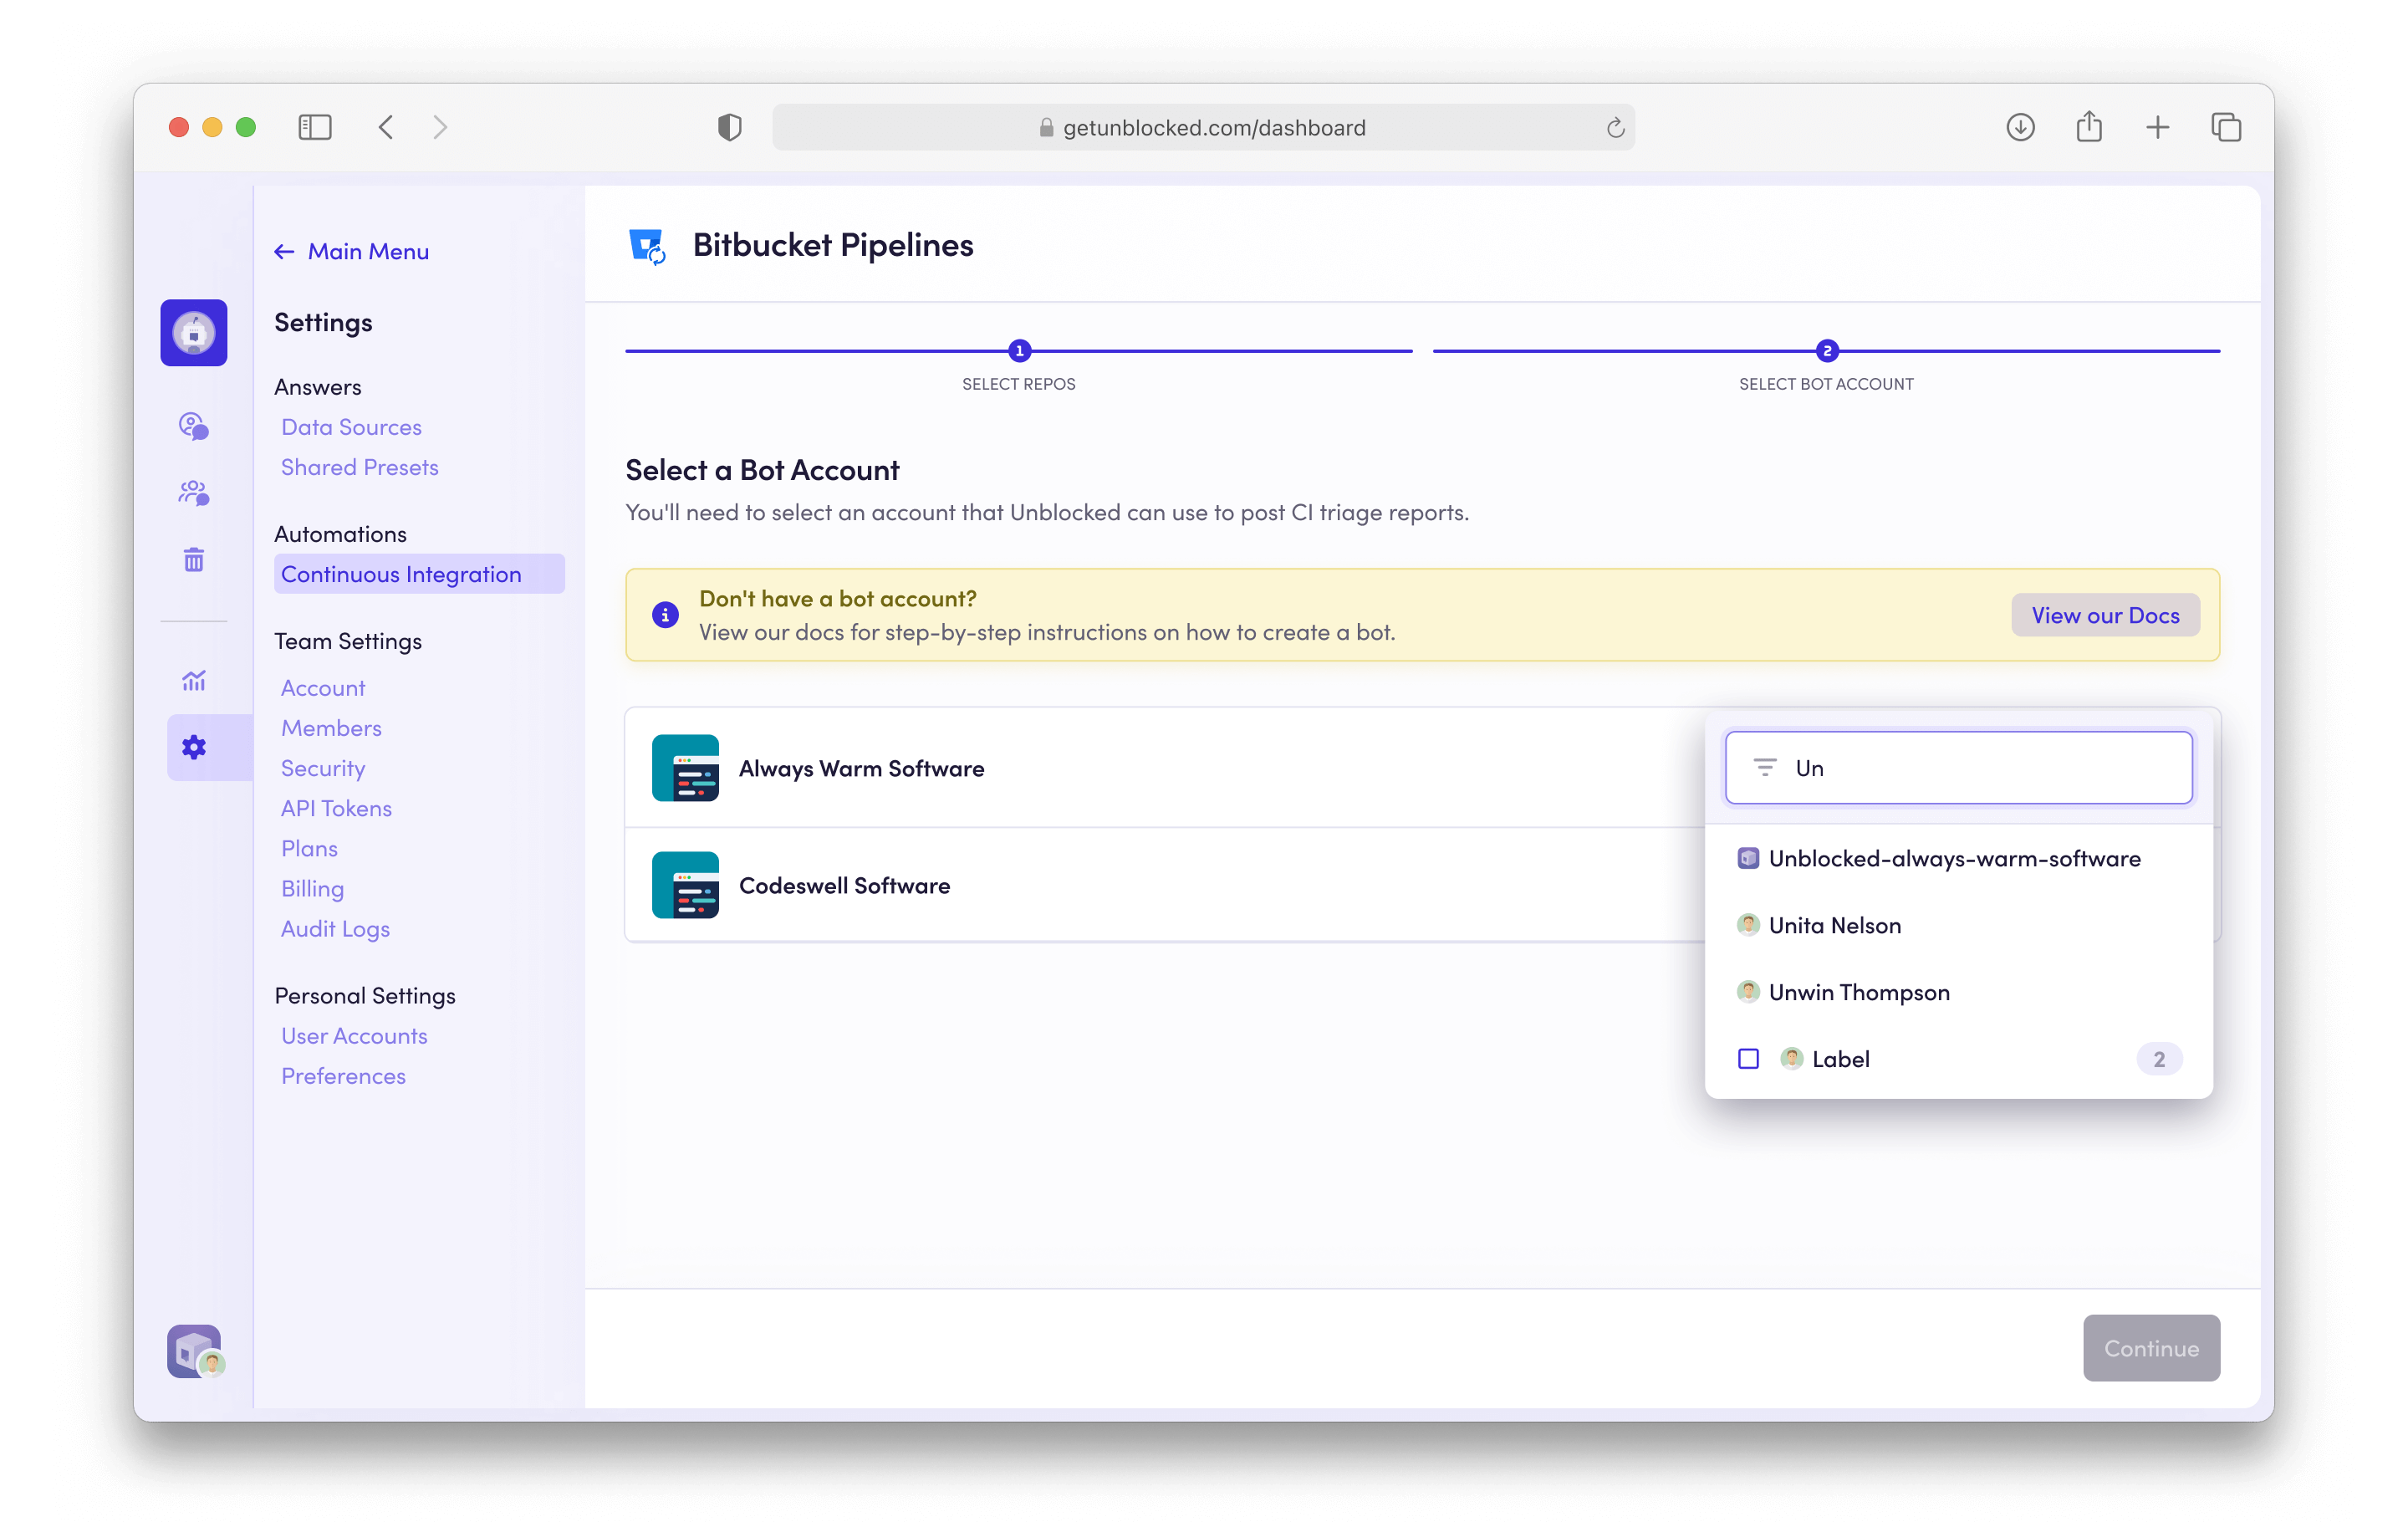
7
Done
Click Save Settings to apply your changes. Now Unblocked will analyze CI
failures in the selected repositories and post reports to pull requests.
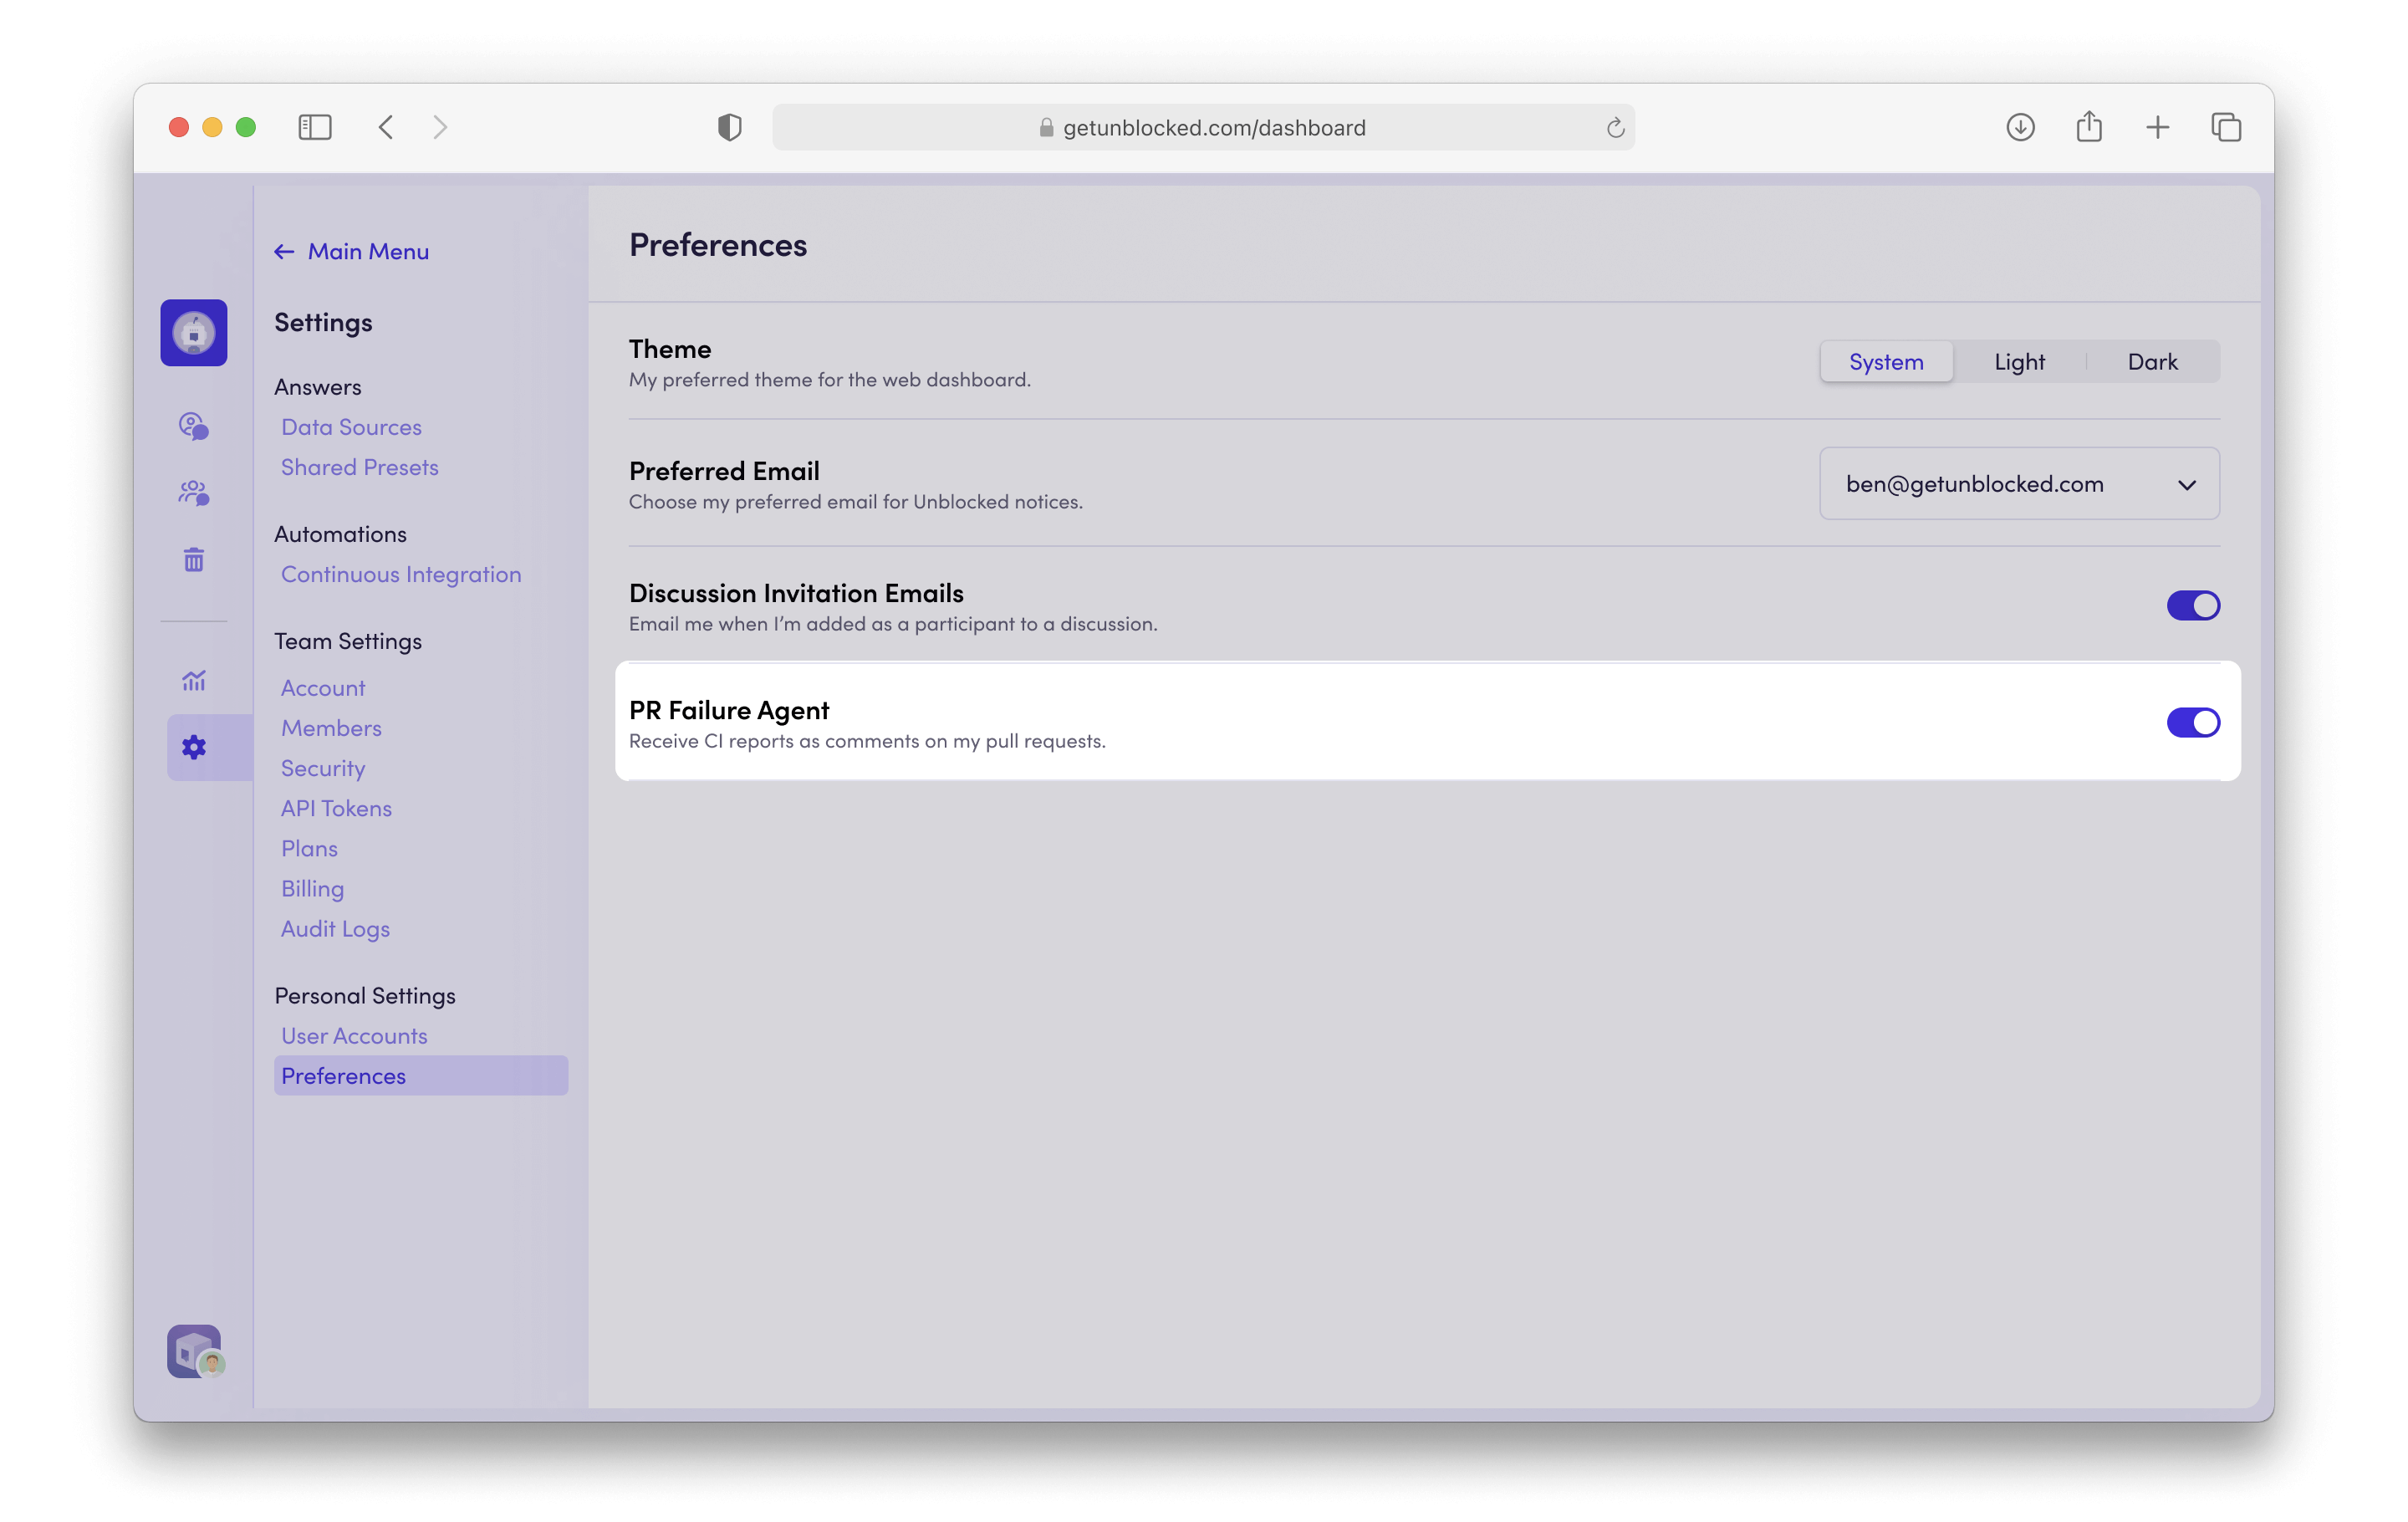
Configuring CI Failure Agent reports in personal settings
By default, Unblocked will post reports for all developers in your organization when it has high confidence in the root cause of a CI failure. As a developer, you can control this behavior for your pull requests:- Navigate to Settings in your Unblocked dashboard
- Select Preferences under the Personal Settings section
- Locate the CI Failure Agent toggle and set it according to your preference