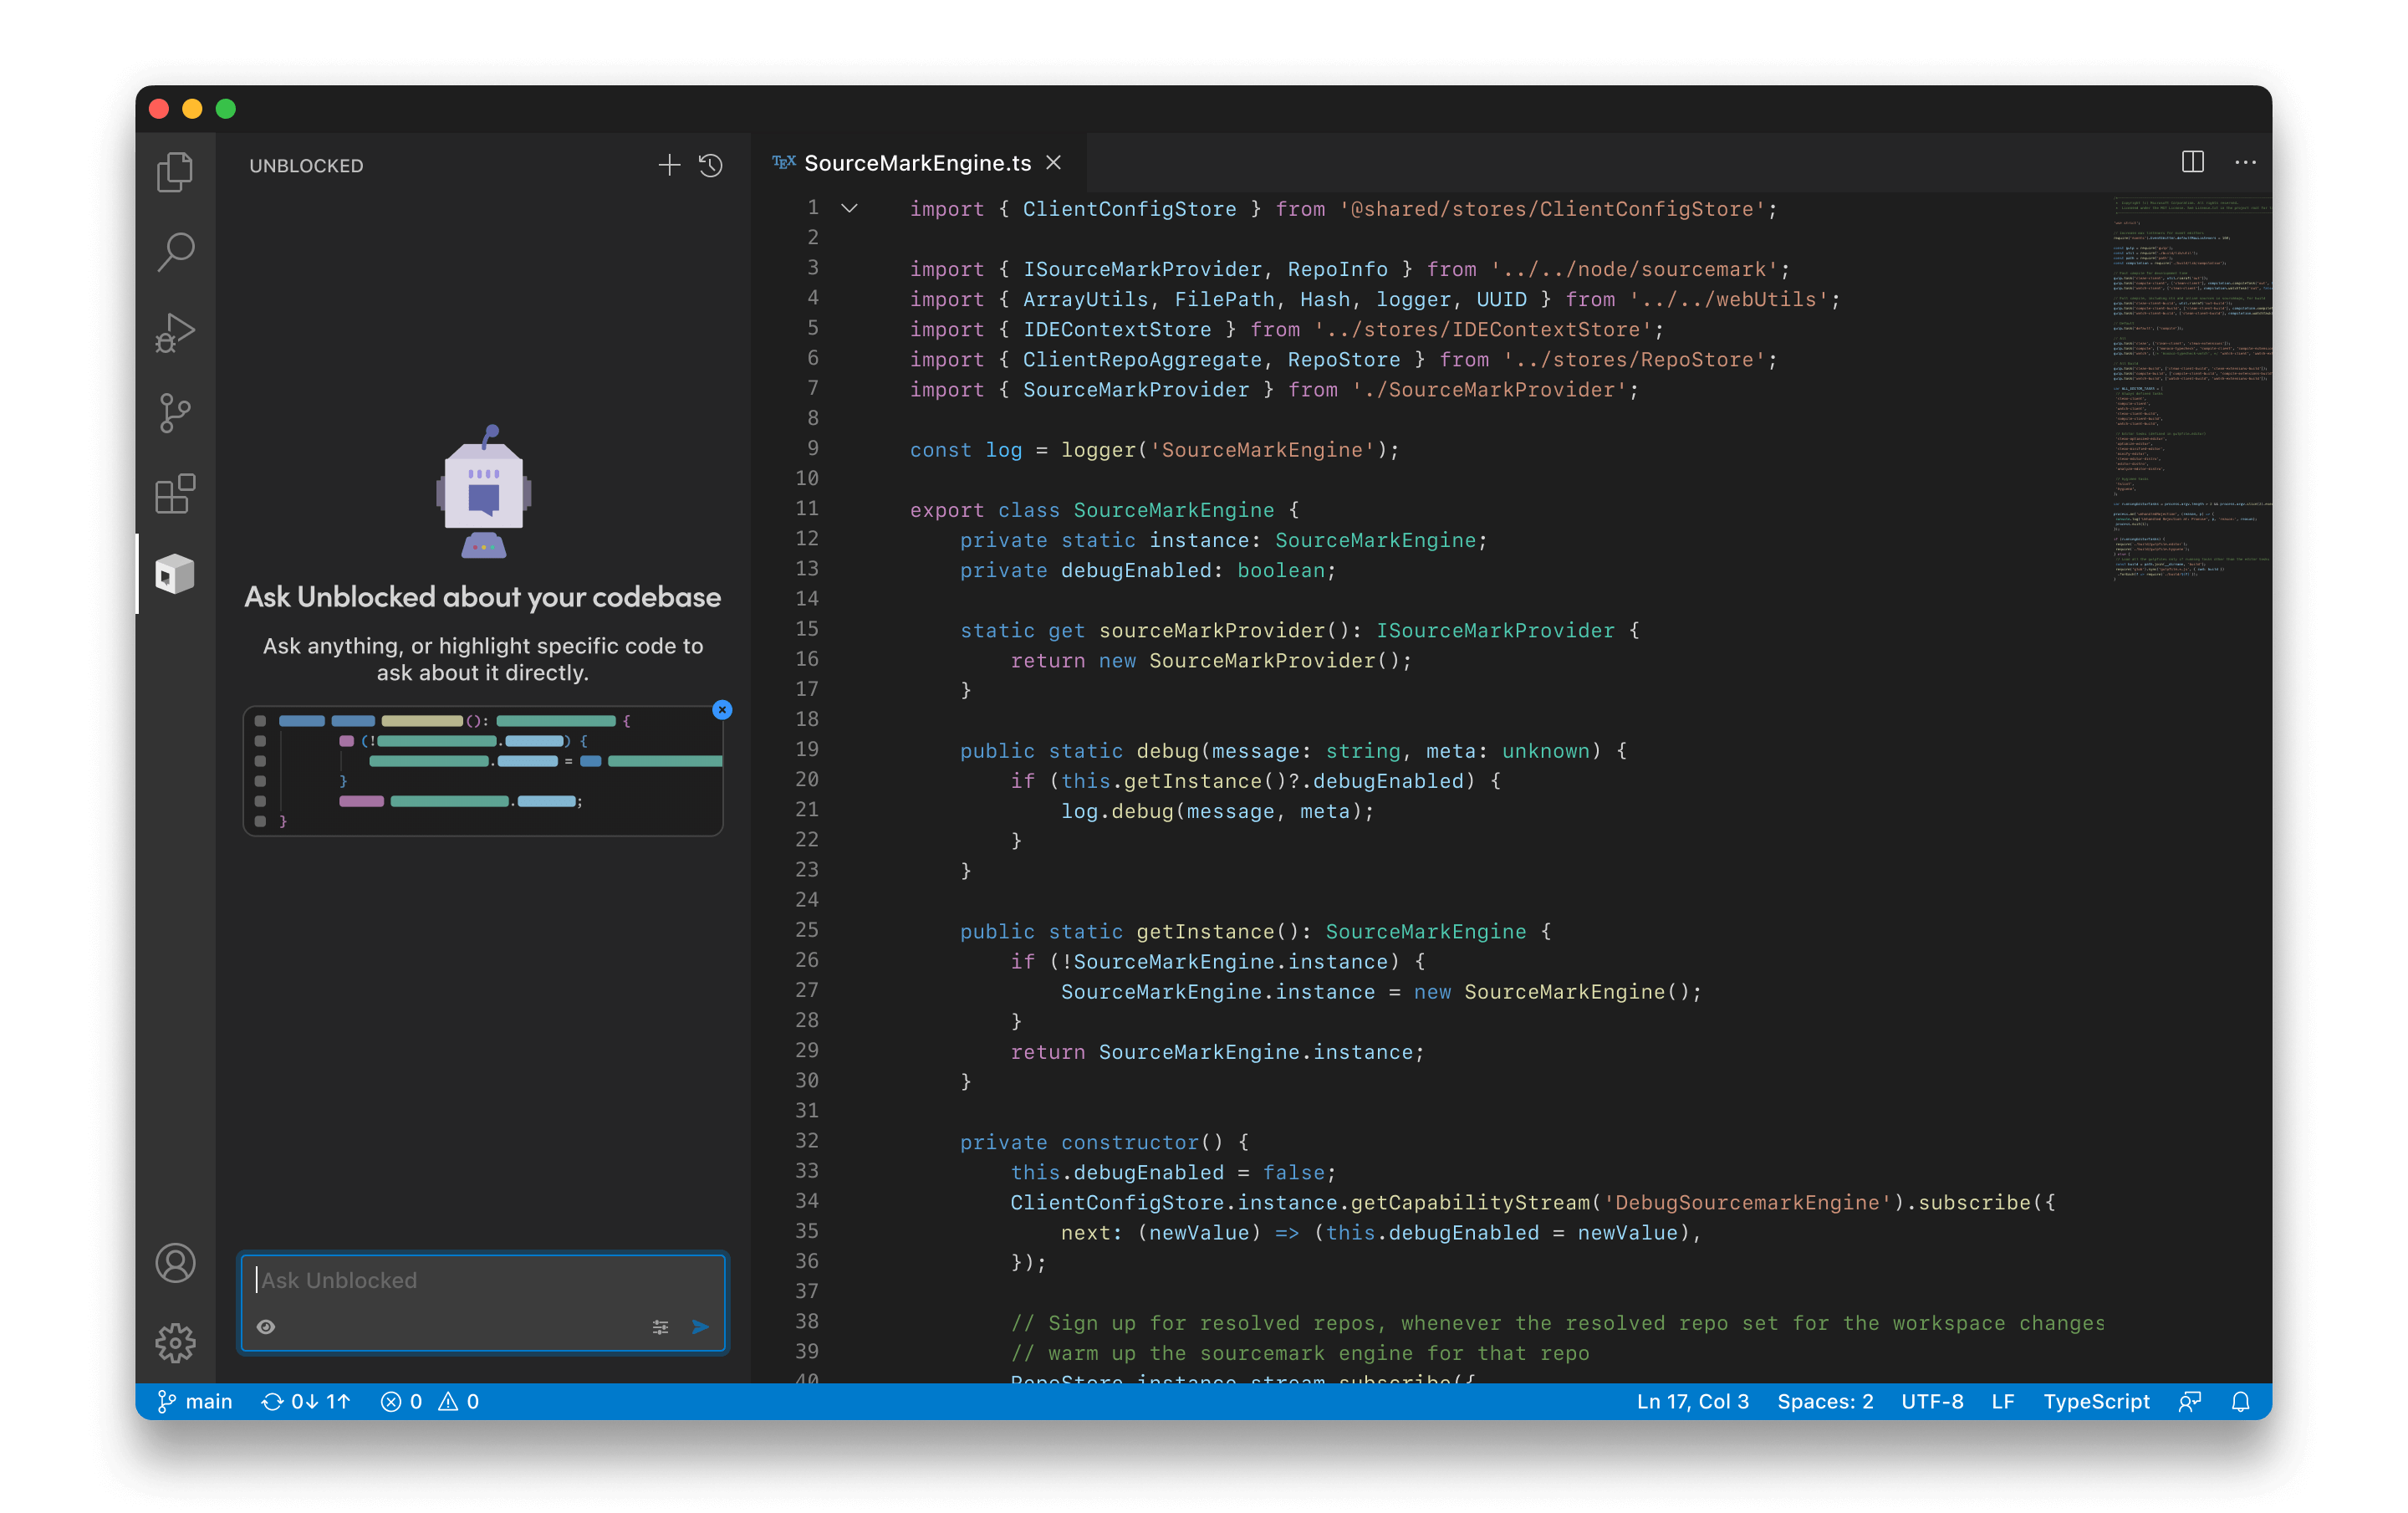
Unblocked is designed to work alongside you wherever you’re interacting with your code. That’s why Unblocked has plugins available for both Visual Studio (VS) Code and all of the JetBrains IDEs. If you’d like to learn more about how to use these plugins, take a look at the Unblocked Explore documentation. This article is about configuring the plugin in your IDE.

Installation

For Mac users, the easiest way to install the right IDE plugins for your environment is to download and install the Mac app for Unblocked. When you install the Mac app, Unblocked automatically checks if you have any supported IDEs installed and installs the right plugins for you.

If you installed a new IDE after installing the Mac app, you can install the Unblocked IDE plugins from within the Mac app.

When you click Install IDE Plugins, the app will check what IDEs you have installed and install the plugins for them.

If you don’t have a Mac, or you would prefer to install the plugins directly for each IDE, that’s also an option.

JetBrains

The JetBrains plugin for Unblocked supports over 15 JetBrains IDEs. It can be installed directly from the JetBrains Marketplace.

Once you’ve installed the plugin, it will prompt you for the authentication method you’d like to use, whether it’s Bitbucket, GitHub, GitLab, or an enterprise server. The plugin will guide you to your browser for authentication with whatever credentials you use with Unblocked.

Visual Studio Code

The VS Code plugin can be installed directly from the VS Code extensions marketplace.

Once you’ve installed the plugin, it will automatically use the GitHub credentials that you used to sign into VS Code. If you haven’t signed into a GitHub account, you can authenticate with Unblocked by signing in via GitHub to sync your VS Code settings.