1
Add CI Data Source
In the left sidebar, click on Settings and then Continuous Integration.
Then click on Add CI Provider.
2
Connect Bitbucket Pipelines
Click on the Bitbucket Pipelines tile. 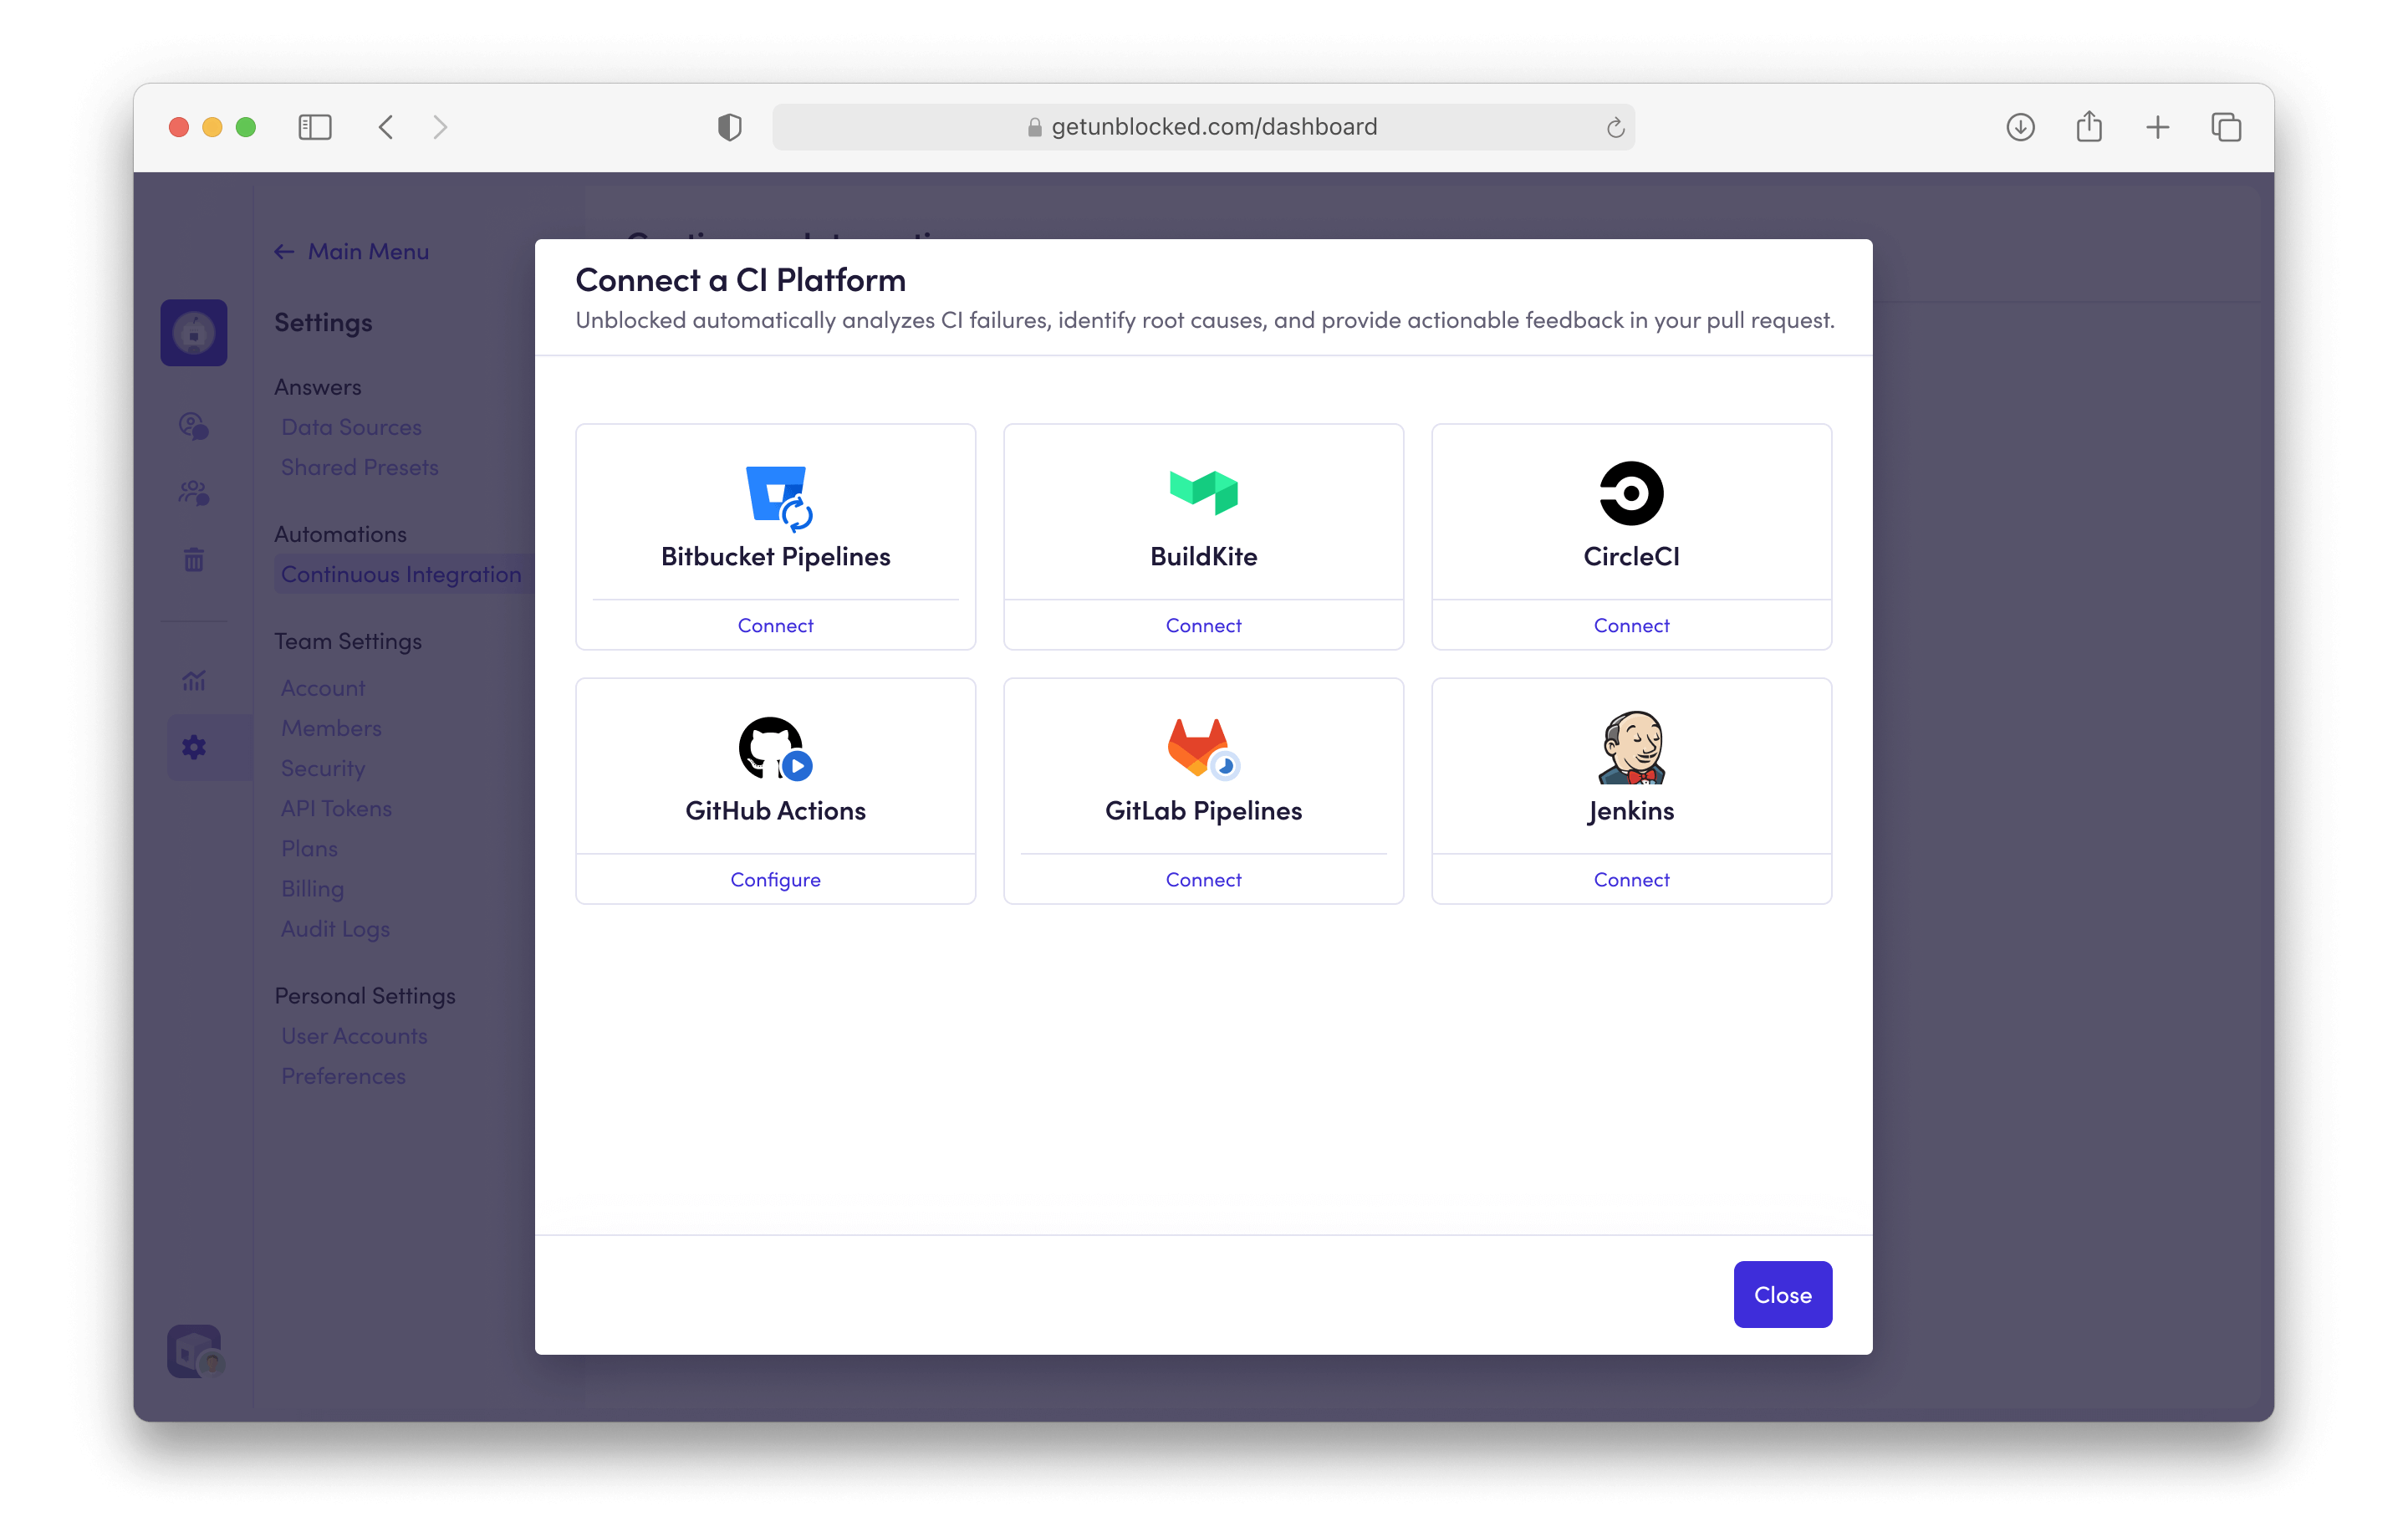
3
Enable CI Failure Agent
Click Select Repositories to choose the repositories
you want to enable CI Failure Agent on. 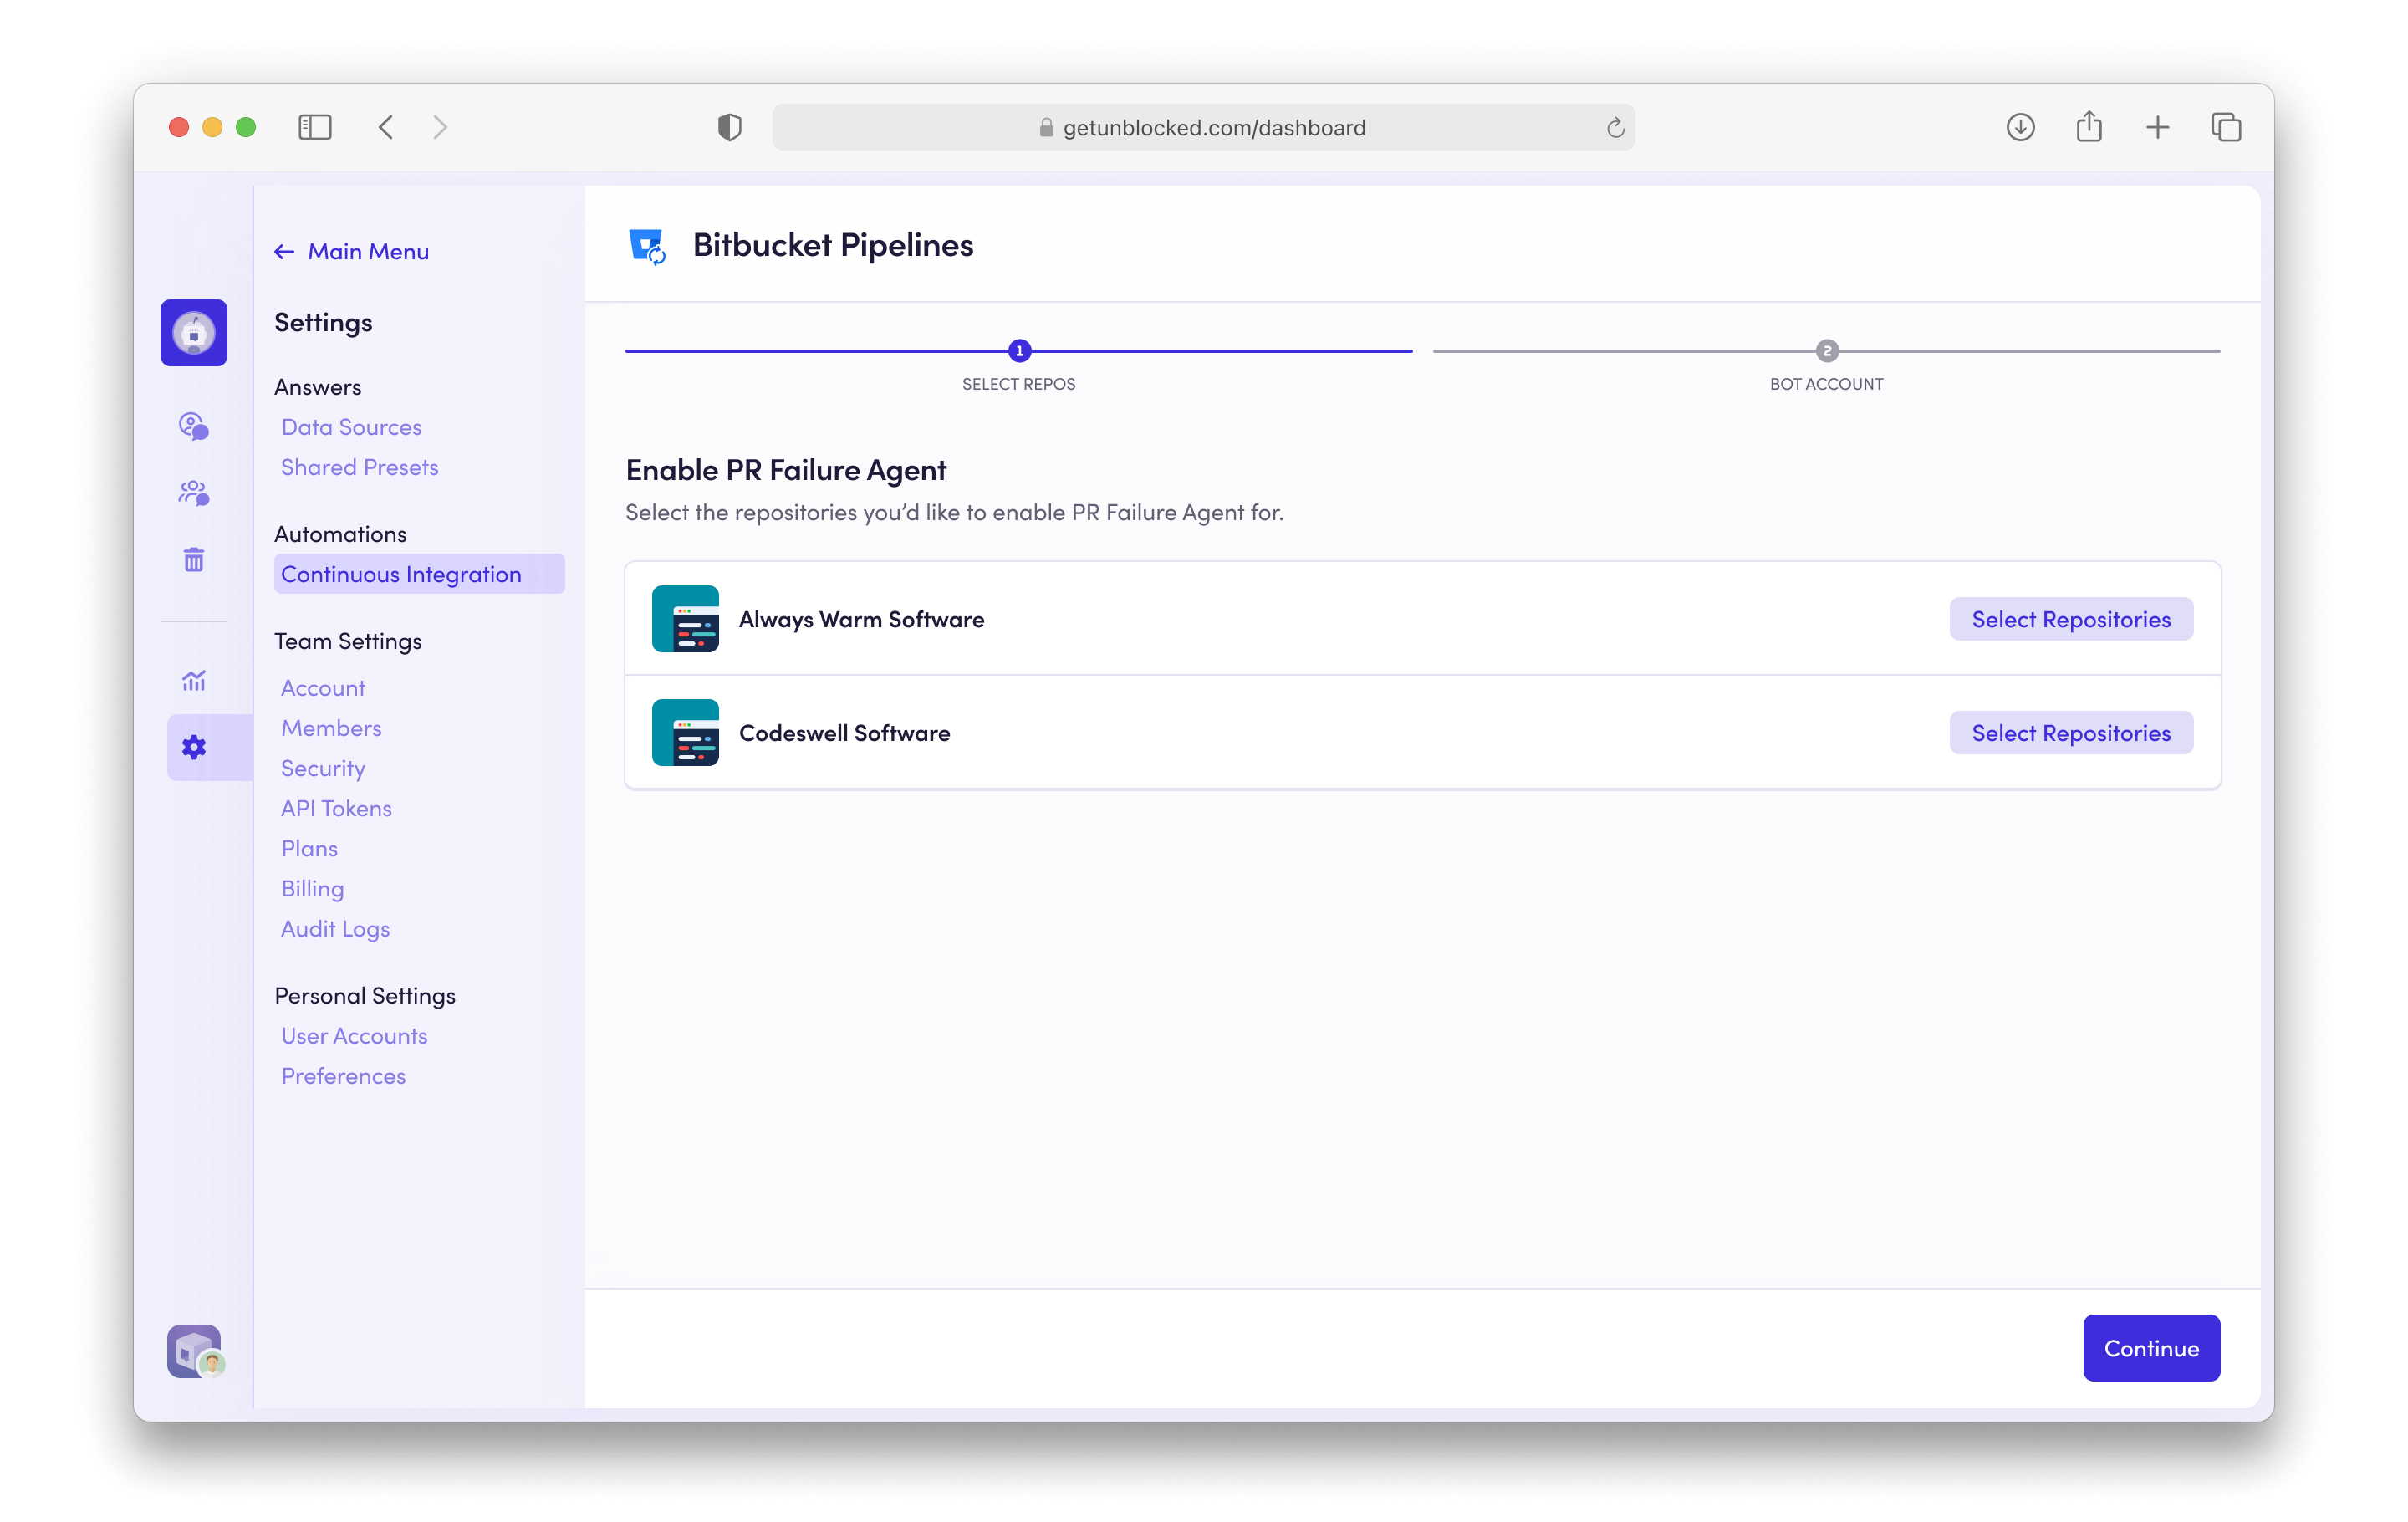
4
Select Repositories
Toggle the repositories you want to enable by selecting them.
5
Create a Bot Account
CI reports from the CI Failure Agent need to be posted on behalf of a Bitbucket user account. We recommend
creating an Unblocked bot account for this specific purpose.
Already have a bot account?
Some teams already have a bot account they use for posting automated messages. If you already have a bot account that you can repurpose for posting CI analysis reports, select it and skip to the next step.
-
Create a new account in Bitbucket with the following information:
- Name: Unblocked
-
Avatar: download and use the Unblocked logo below
 Download PNG
- Switch accounts and sign in to your Bitbucket Workspace as a Workspace admin.
- Click the gear icon in the top right of the navigation bar, and select User Management.
- Invite your new bot user to your workspace.
- Accept the email invitation that was sent to your bot account.
6
Select your Bot Account
Search for the Bot Account you just created and select it. You may be required
to authorize this account with Unblocked. 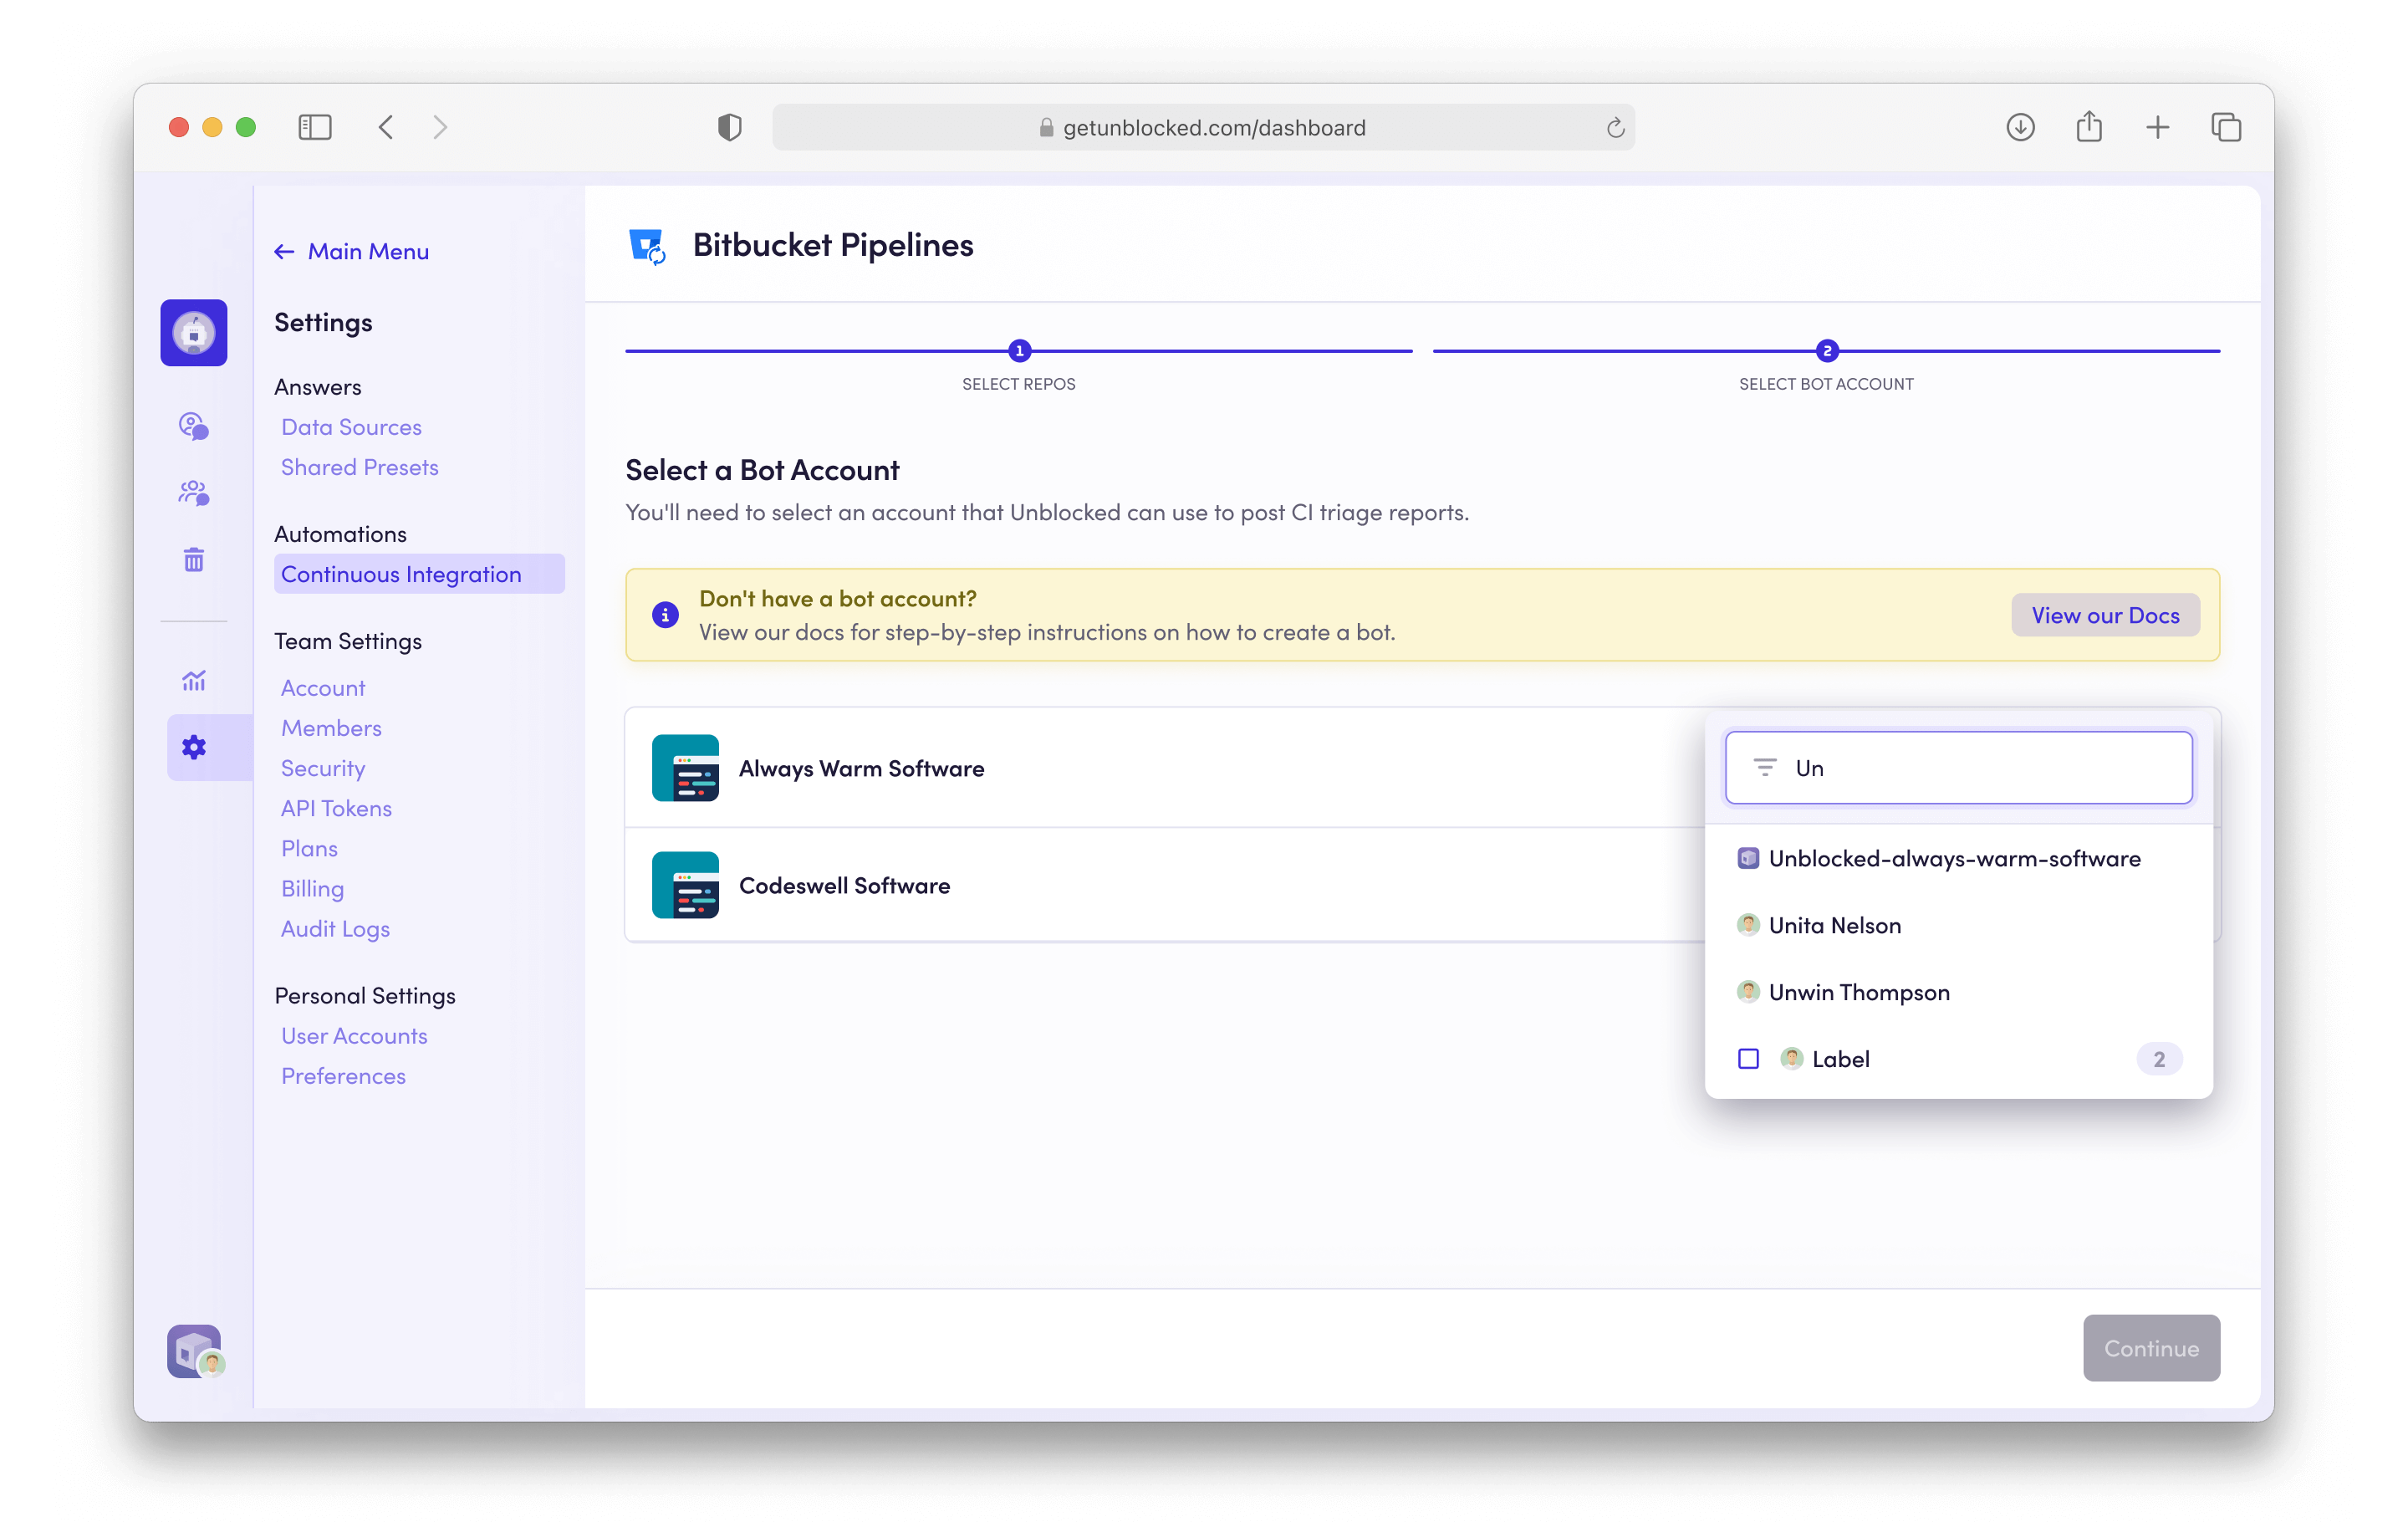
7
Done
Click Save Settings to apply your changes. Now Unblocked will analyze CI
failures in the selected repositories and post reports to pull requests.