Using Bitbucket.org? Go take a look at the Bitbucket.org
documentation instead. If you are running your own
Bitbucket Data Center self-managed server, this is how you can get started. To connect Bitbucket Data Center with Unblocked, you need to be on the
Enterprise Plan. You can view all the features of Unblocked’s plans on our
pricing page.
- Unblocked indexes your repositories and stays current as your team pushes changes, so answers reflect both the latest code and its full history.
- Pull requests and issues from your Bitbucket Data Center instance appear as cited sources in answers.
Connect your organization and repositories
You need to be a Bitbucket Data Center administrator to install Unblocked into
your Bitbucket server.
Sign in to Unblocked
Whether you sign in with Bitbucket credentials, another code repository, or your SSO provider, you first need to authenticate to Unblocked. To authenticate with your Bitbucket Data Center server, click to View enterprise options.
Authorize the Unblocked app
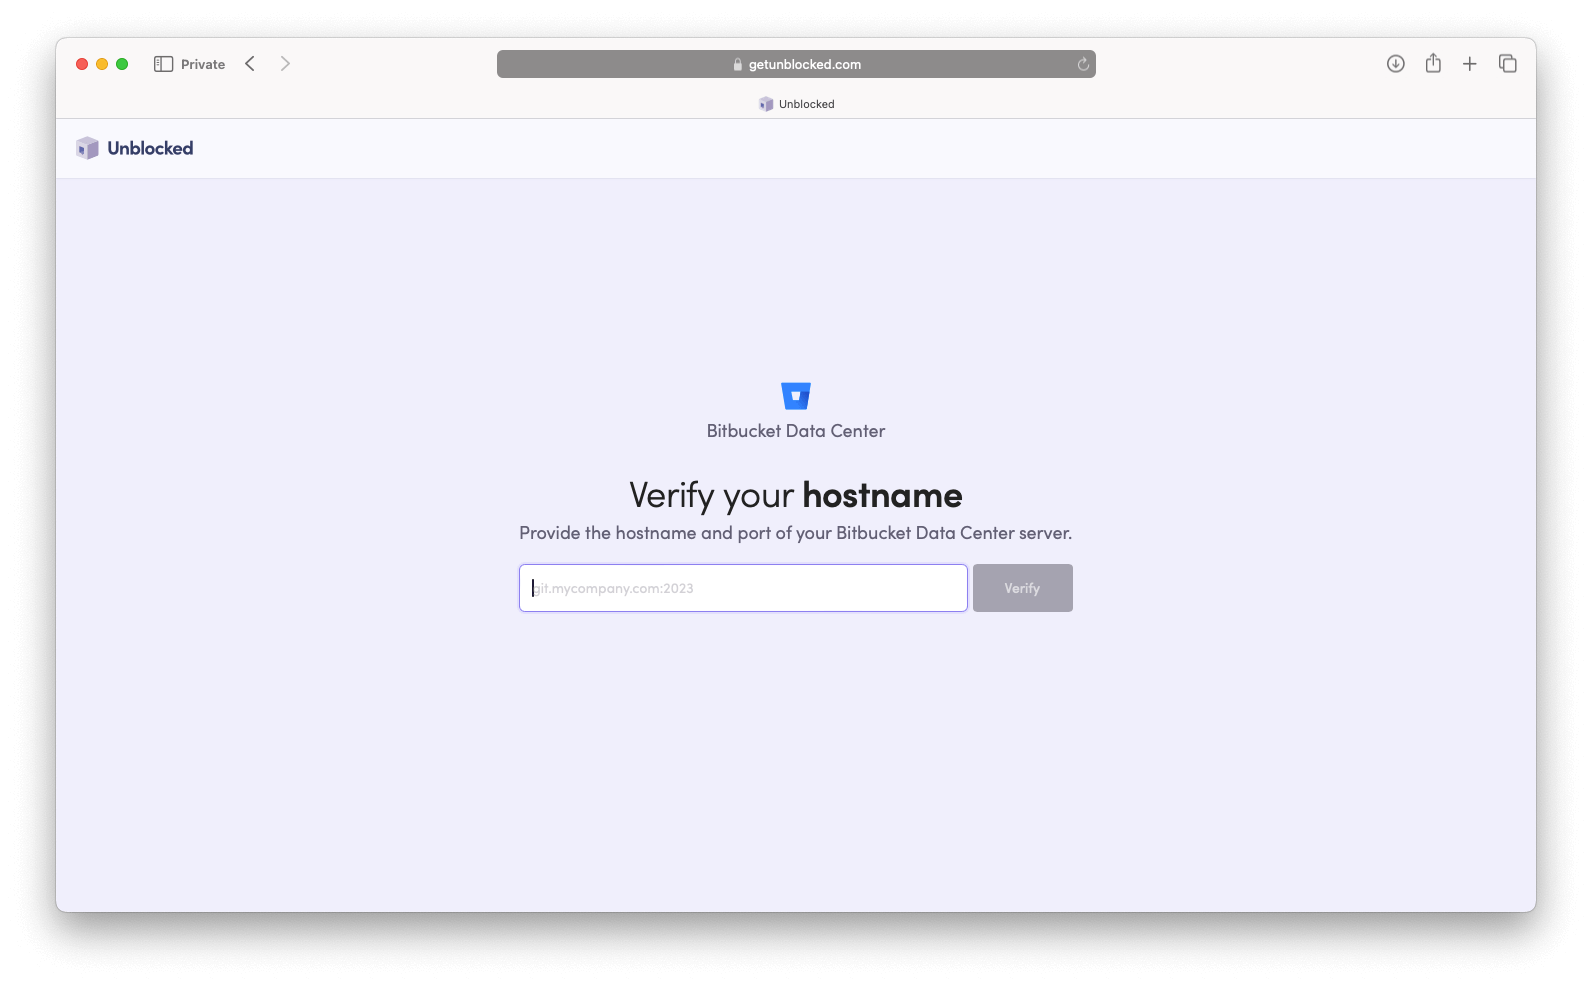
Before proceeding to your Bitbucket Data Center server, you need to provide Unblocked with the hostname and port where you are hosting it.
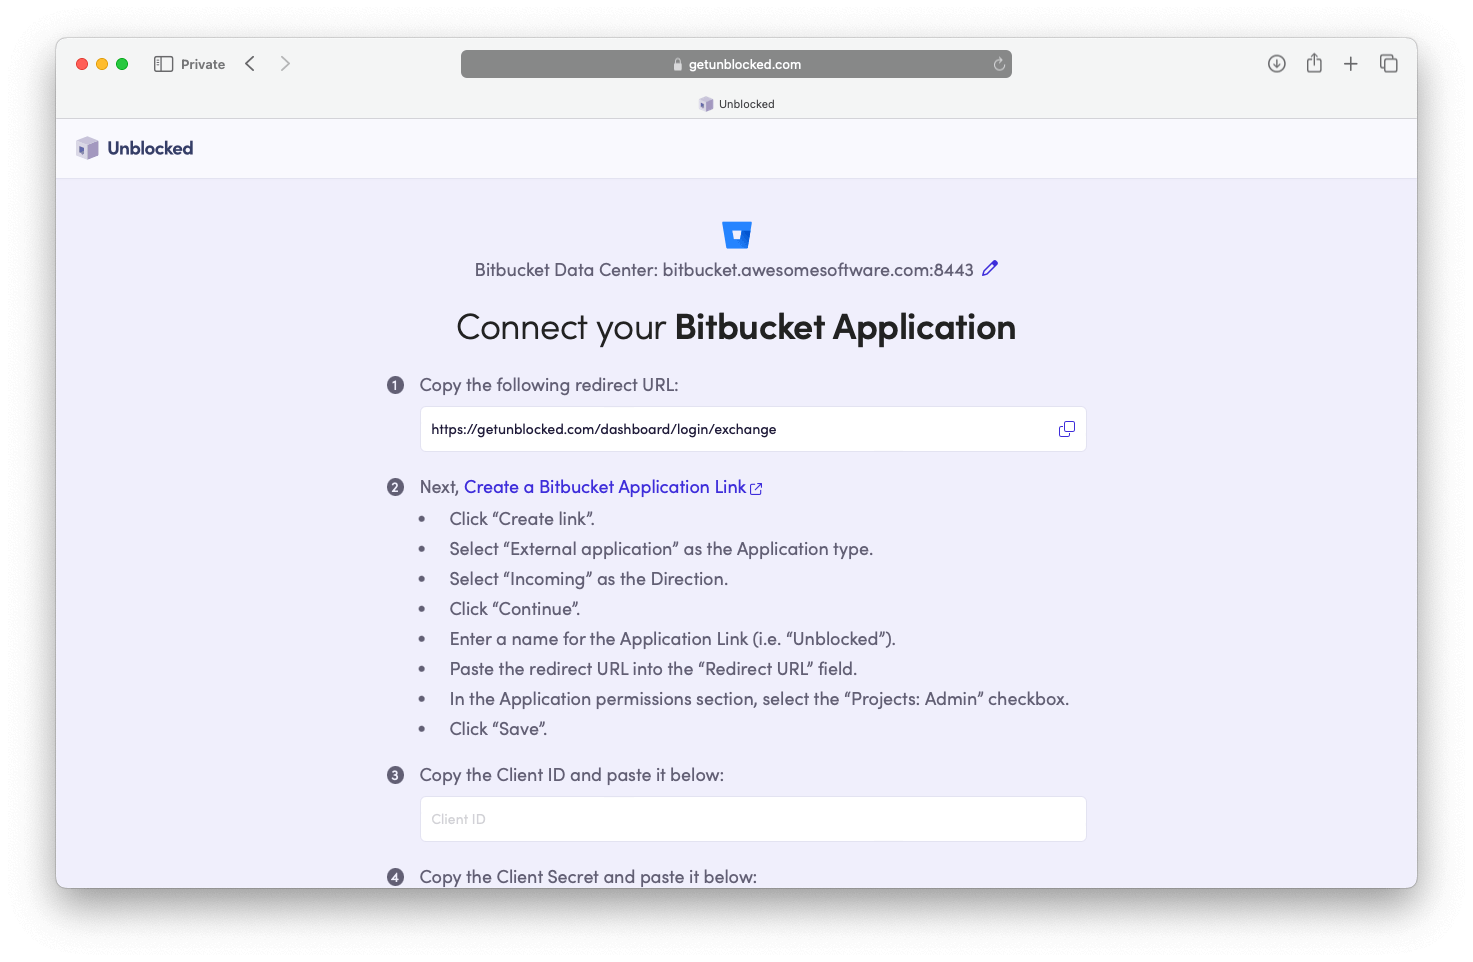
 Once Unblocked connects to your Bitbucket server, it will prompt you with instructions to configure a new Bitbucket Application Link.
Copy the redirect URL from step 1 and click Create a Bitbucket Application Link in step 2. When you access your Bitbucket Data Center server, you will need to enter an administrator password to access the Application Links page.
Click Create link and complete the form as instructed by Unblocked.
Once Unblocked connects to your Bitbucket server, it will prompt you with instructions to configure a new Bitbucket Application Link.
Copy the redirect URL from step 1 and click Create a Bitbucket Application Link in step 2. When you access your Bitbucket Data Center server, you will need to enter an administrator password to access the Application Links page.
Click Create link and complete the form as instructed by Unblocked.
- Application type: External application
- Direction: Incoming
Click Continue. Enter the Name and Redirect URL for the Application link.
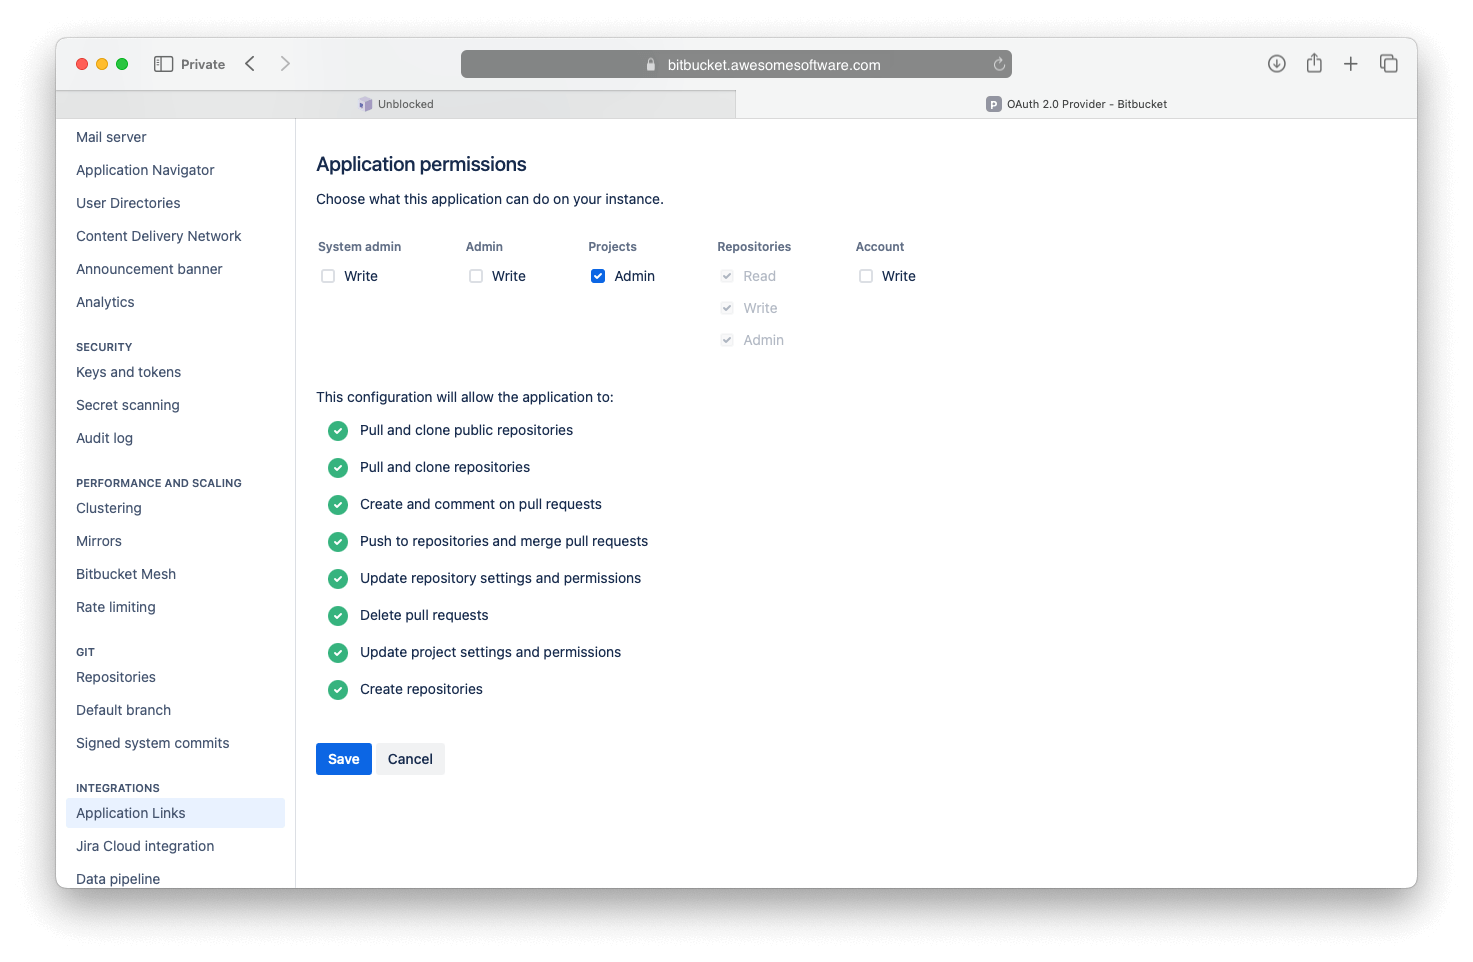
In the Application permissions section, check the Admin box under Projects. Click Save. Bitbucket Data Center will provide a Client ID and a Client secret as credentials.
Copy the Client ID and secret, then paste them into the form on Unblocked.
 Click Create Application and Continue.
Now that you have configured an application link to your Bitbucket Data Center server, you can use that server to sign in.
Bitbucket will ask if you’d like to provide Unblocked with access to your account. Click Allow. This access will allow Unblocked to read the workspaces you are a part of as well as check for repositories in those workspaces, but it won’t begin indexing those repositories yet.
Click Create Application and Continue.
Now that you have configured an application link to your Bitbucket Data Center server, you can use that server to sign in.
Bitbucket will ask if you’d like to provide Unblocked with access to your account. Click Allow. This access will allow Unblocked to read the workspaces you are a part of as well as check for repositories in those workspaces, but it won’t begin indexing those repositories yet.
Connect your repositories
Unblocked will need to know which repositories you want it to answer questions about. After granting access to your Bitbucket account, you’ll be redirected back to Unblocked, where you’ll be prompted to select the workspace you want to use with Unblocked.
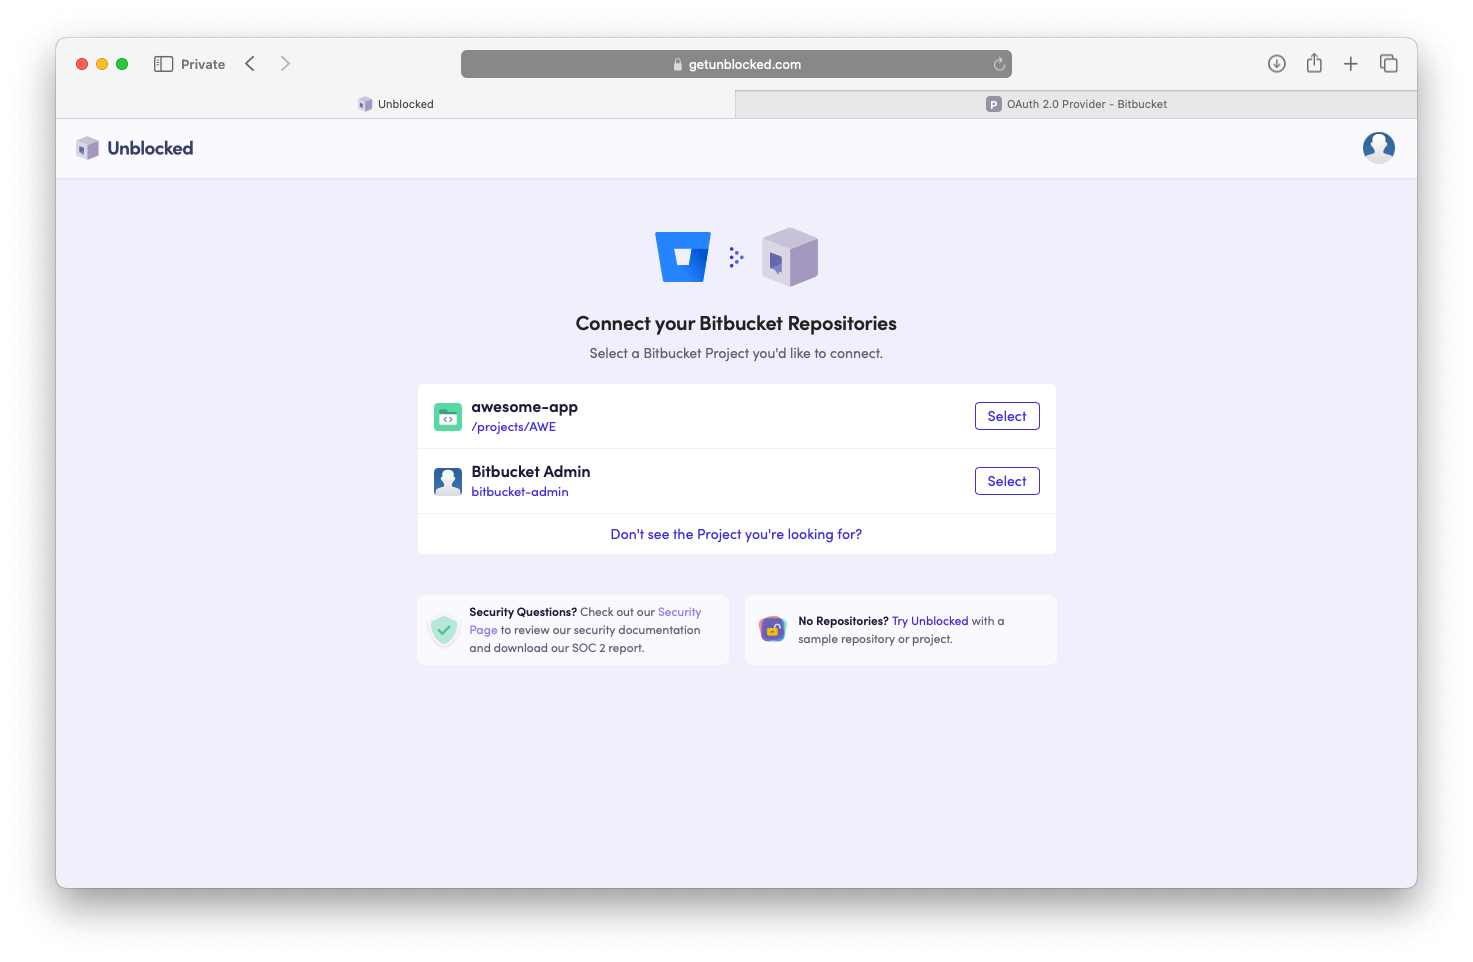 While you can install Unblocked in any Bitbucket workspace, Unblocked works best with your work organization and repositories.
Unblocked preselects the repositories that have been active in the last 6
months. Forked and archived repositories are not preselected.
Generating a model for answering questions
Unblocked is able to answer questions for the repositories that it has ingested into its model. After giving Unblocked initial access to your workspace, you’ll choose which repositories it should ingest. You can also select whether all new repositories should be automatically ingested into your Unblocked model.
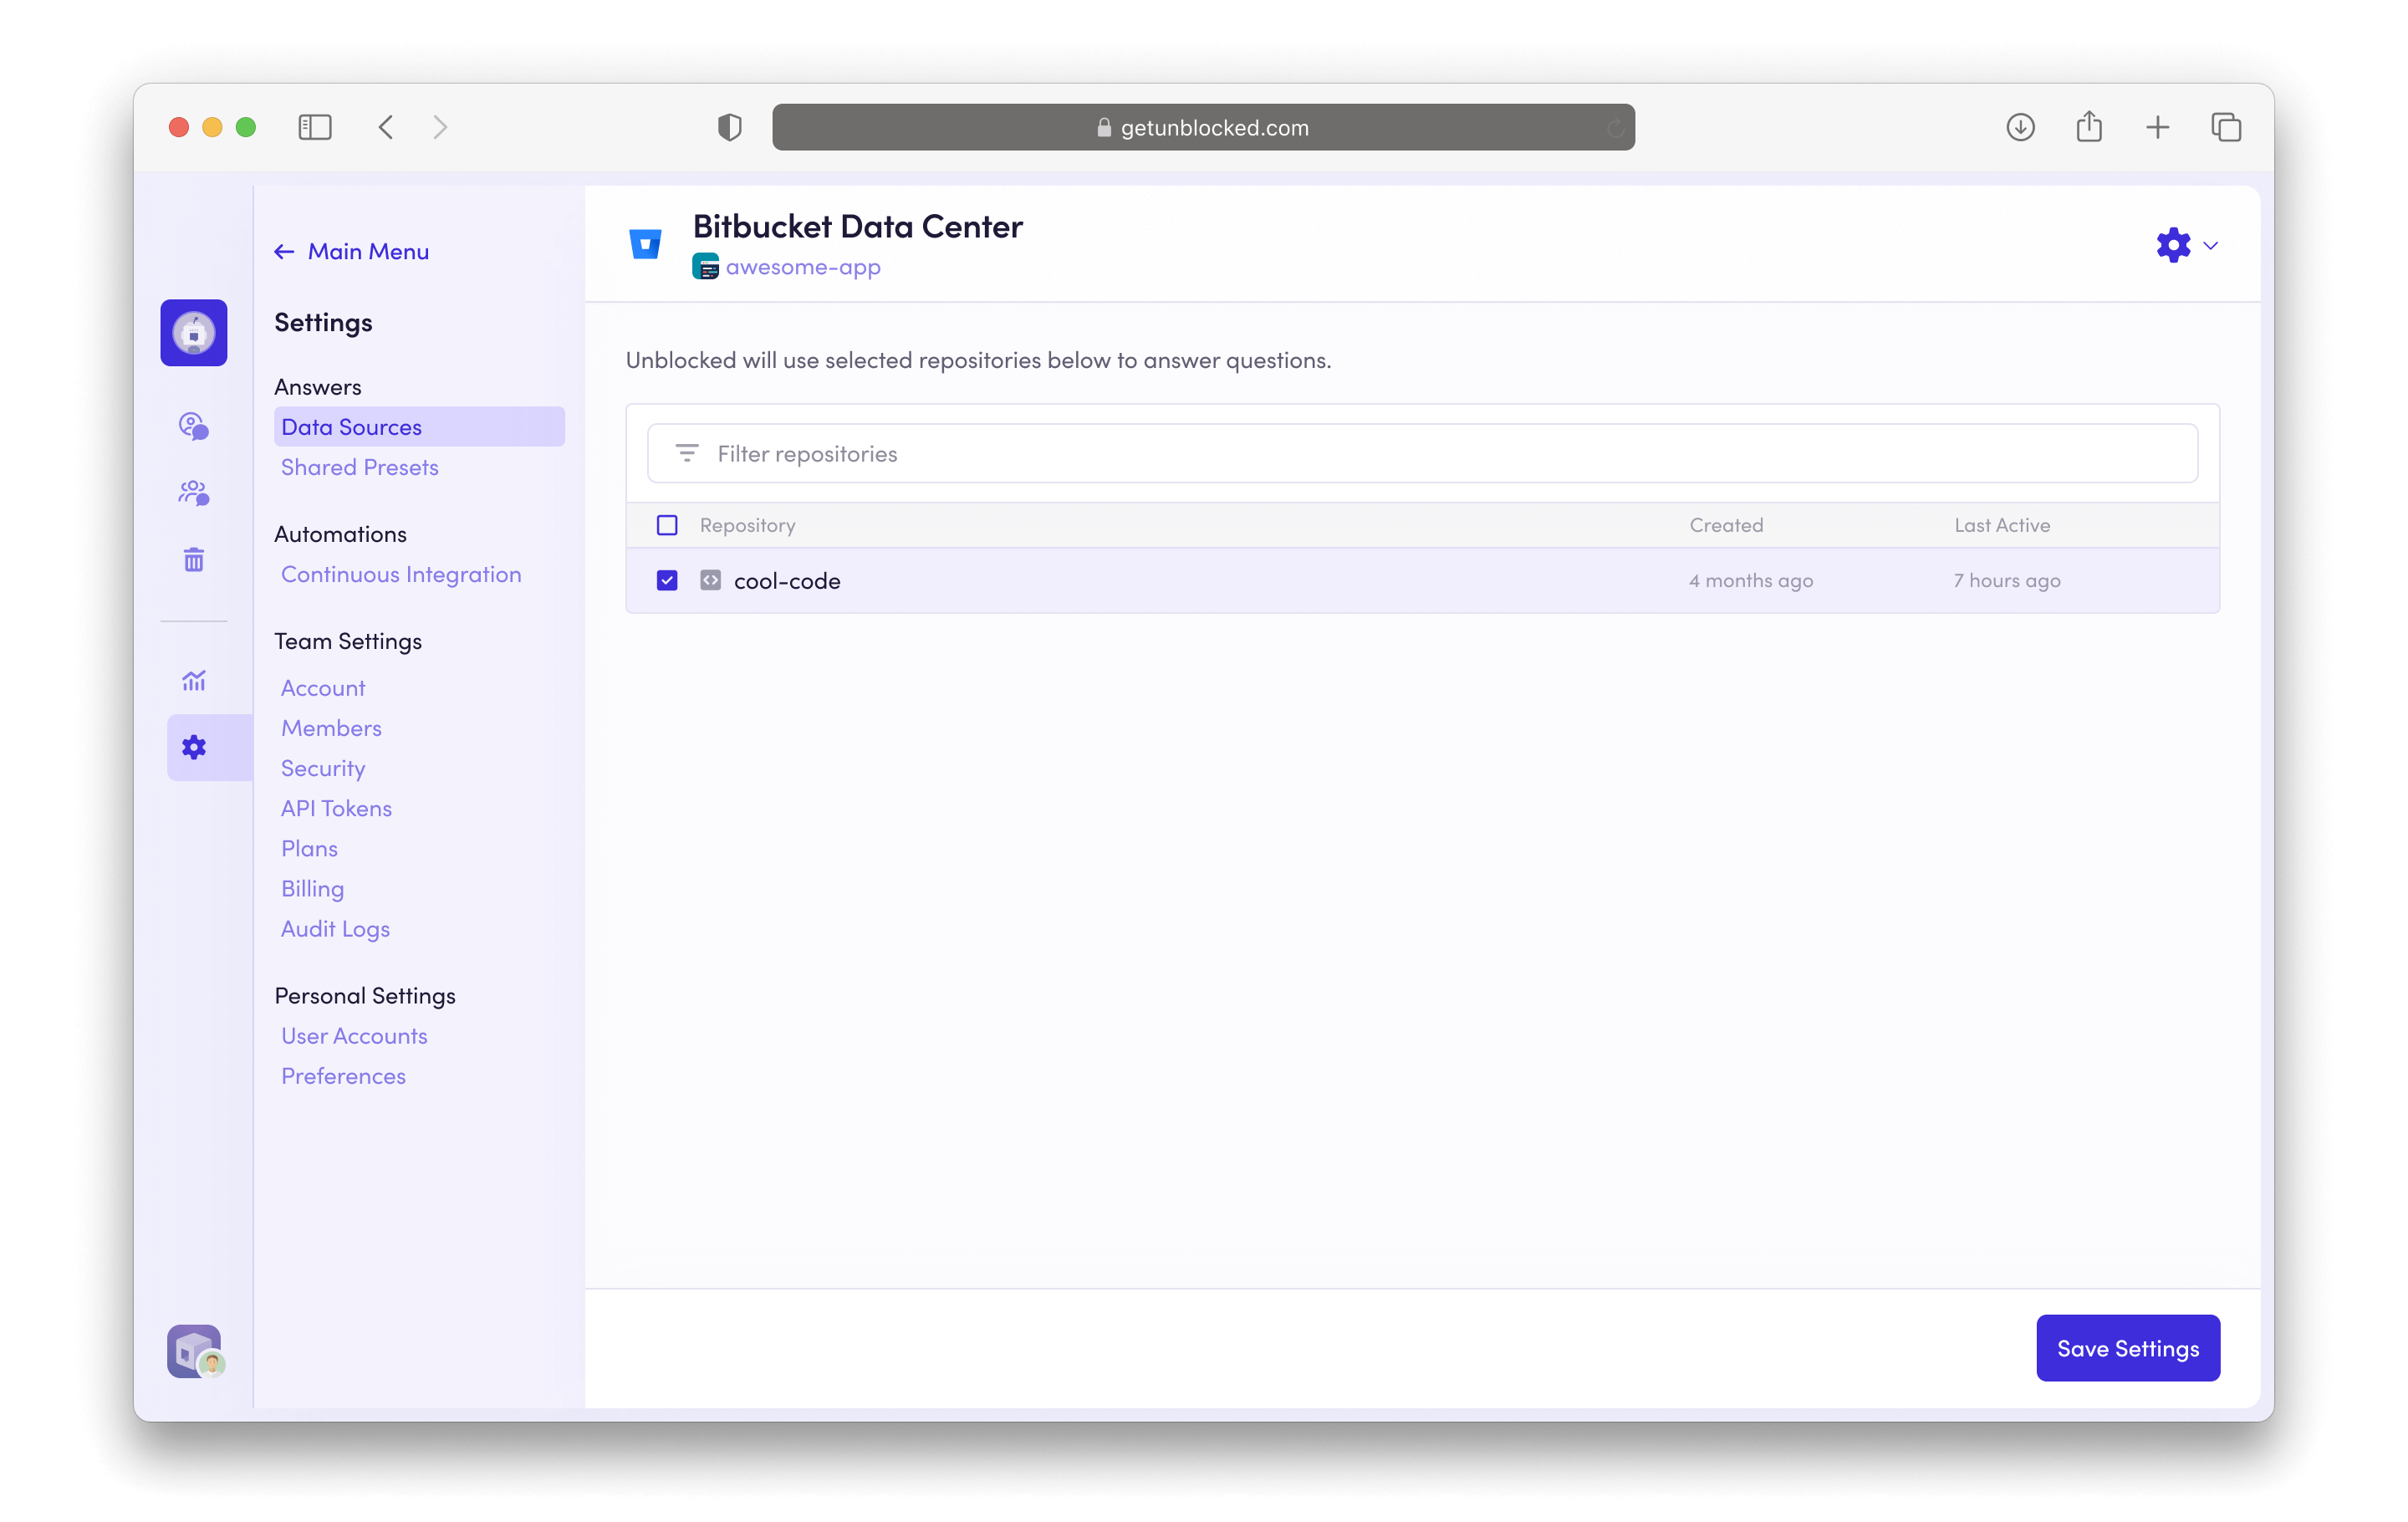 Once you select the repositories you want to ask questions about, click Save and Continue, and Unblocked will get to work.
While it is certainly possible to use Unblocked without incorporating any further data sources, we strongly encourage you to include as many other systems in which you have documented or even discussed your applications. If you’re using Unblocked’s Enterprise plan, you can also connect other source code management systems to your Unblocked workspace.
Once you select the repositories you want to ask questions about, click Save and Continue, and Unblocked will get to work.
While it is certainly possible to use Unblocked without incorporating any further data sources, we strongly encourage you to include as many other systems in which you have documented or even discussed your applications. If you’re using Unblocked’s Enterprise plan, you can also connect other source code management systems to your Unblocked workspace.