Unblocked Starter and Business plans can be set up through self-service. For help setting up payments for the Enterprise Plan, please contact our sales team.

Selecting a plan

You can select a plan at any point during your team’s 21-day free trial. To start, sign in to Unblocked on the web, and then click Settings in the sidebar of the Unblocked web app.

Under Company Settings, select Plans. This will pull up a page with each of the Unblocked plans listed.

Here you can select either the free Starter Plan or the Business Plan. You can also contact sales to further discuss the Enterprise Plan.

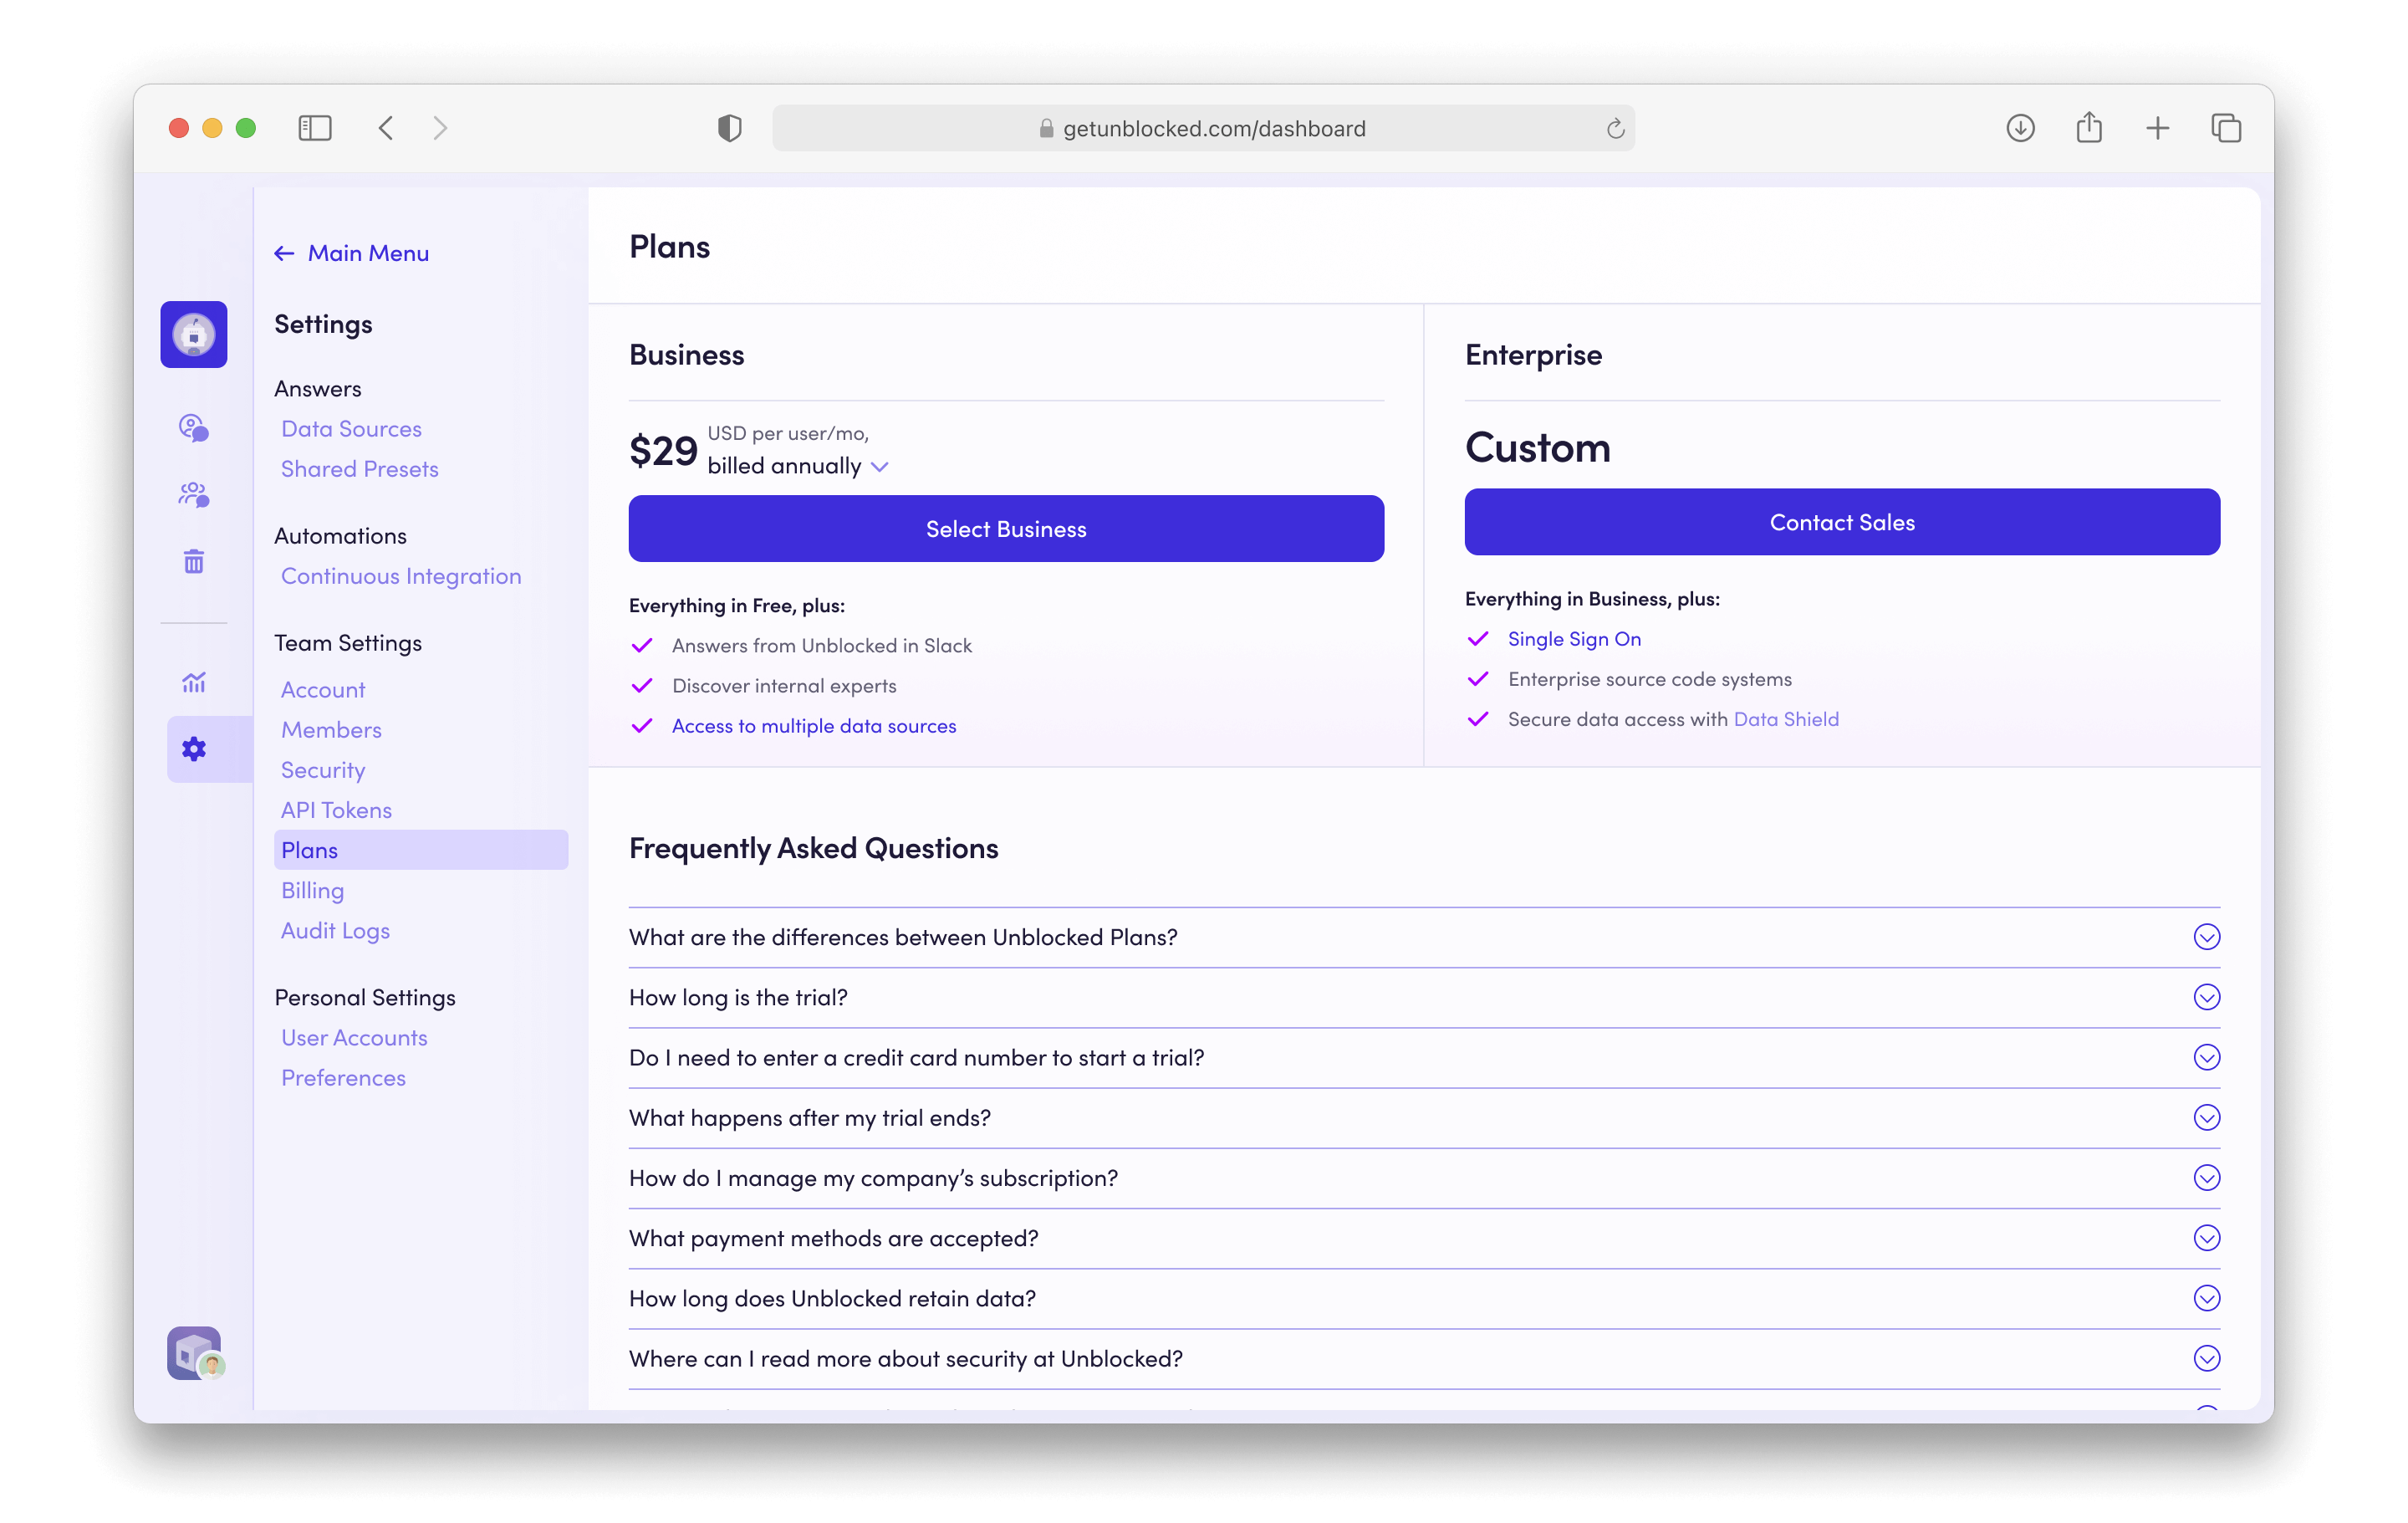
Entering payment details

Selecting the free Starter Plan does not require payment. On this plan you can have unlimited users and connected repositories, but do not get access to many of Unblocked’s important features like Unblocked’s Slack App, Unblocked Explore, and support for connected data sources beyond Linear.

If you’ve selected the Business Plan, you’ll be directed to a screen to enter your payment details.

Before entering your credit card you’ll need to select either a monthly or annual billing cycle, and then enter the number of licenses you are purchasing for your team. This information will be used to give you a billing total.

Next, you’ll need to enter the email address for the billing contact. This email address will be used by Unblocked to send receipts and other billing reminders.

You can also invite a user to your Unblocked Team to handle billing. Follow the instructions in the article on adding a billing admin to set this up.

Finally, enter your credit card information and select Pay Now.

Your team will be automatically placed on the Business Plan and billed according to the term you selected.